
Hi. Oh boy. A number of days have transpired for sure. In the little time slice I gave to this hobby of mine, I was able to get ready some scatter terrain for my version of the Mordheim Starter Box Terrain. Namely, the Chimney and the Monument.
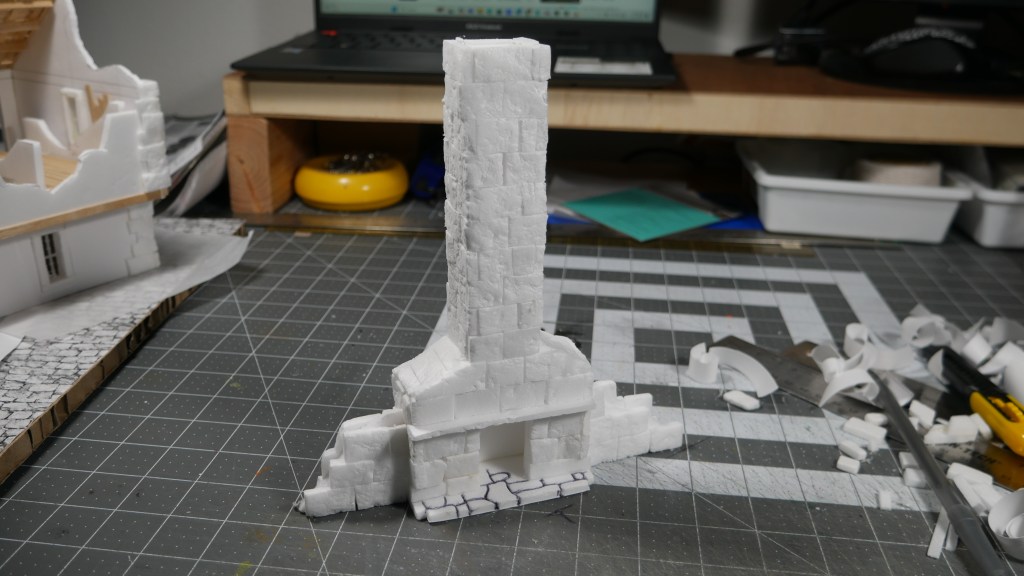
I said to myself as I was looking over the Build Instructions from the original box starter set those famous last words, “How hard can it be?” Well. Not too hard. I started with the Chimney. I did the usually perusing the interwebs for inspiration and referencing the build instructions and scans of the official card version. I thought maybe I could just cut out the front and back and use the scrap cutoffs for the sides/crumbled wall. I would then use some foamcore/foamboard for the base or even some cardboard as I have been doing with the previous structures in this series.
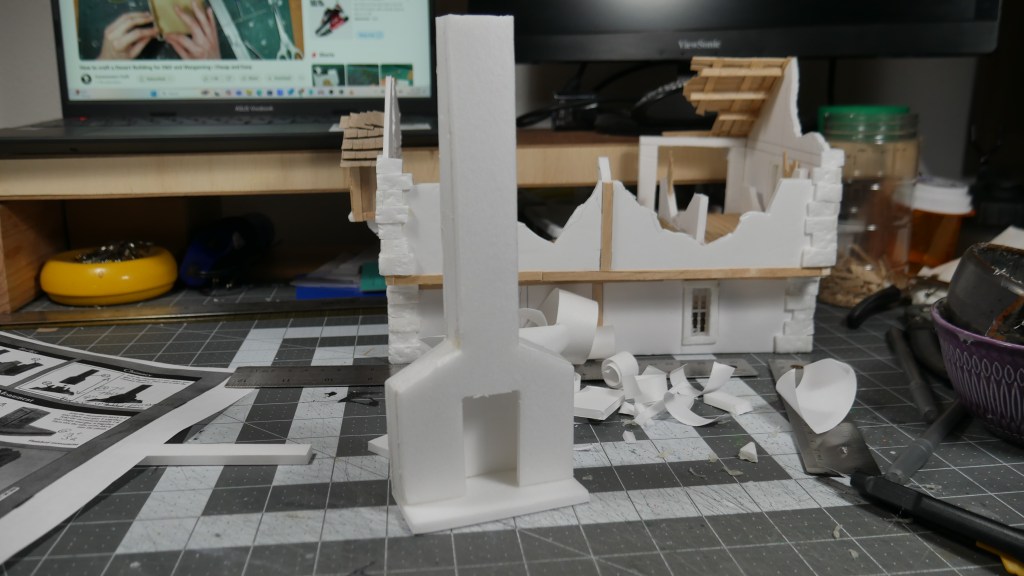
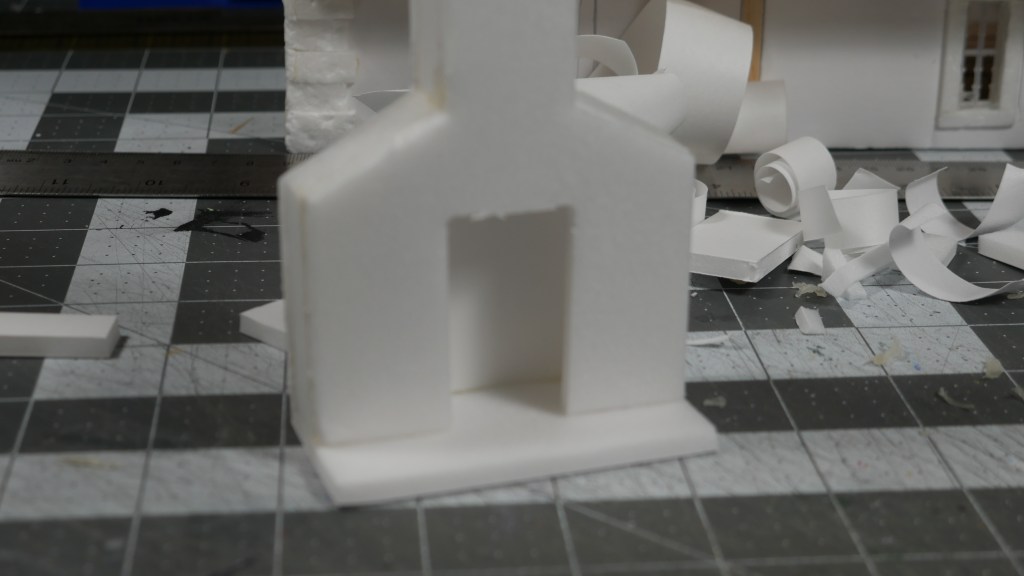
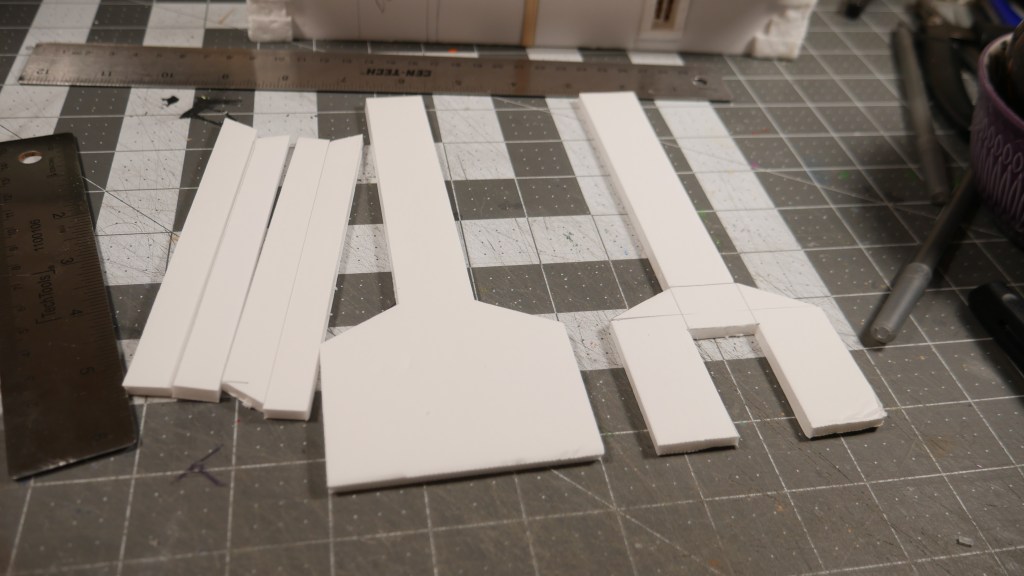
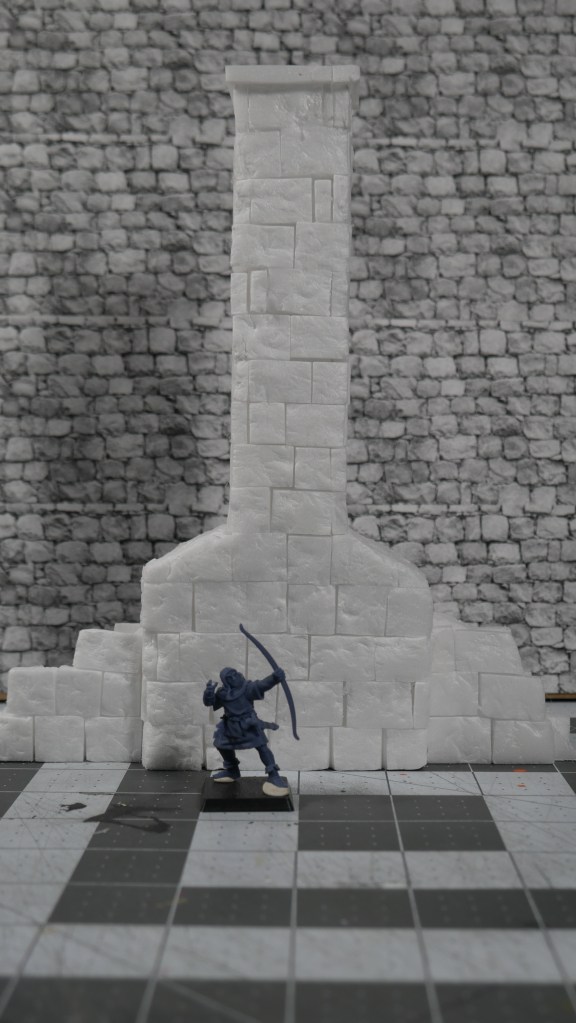
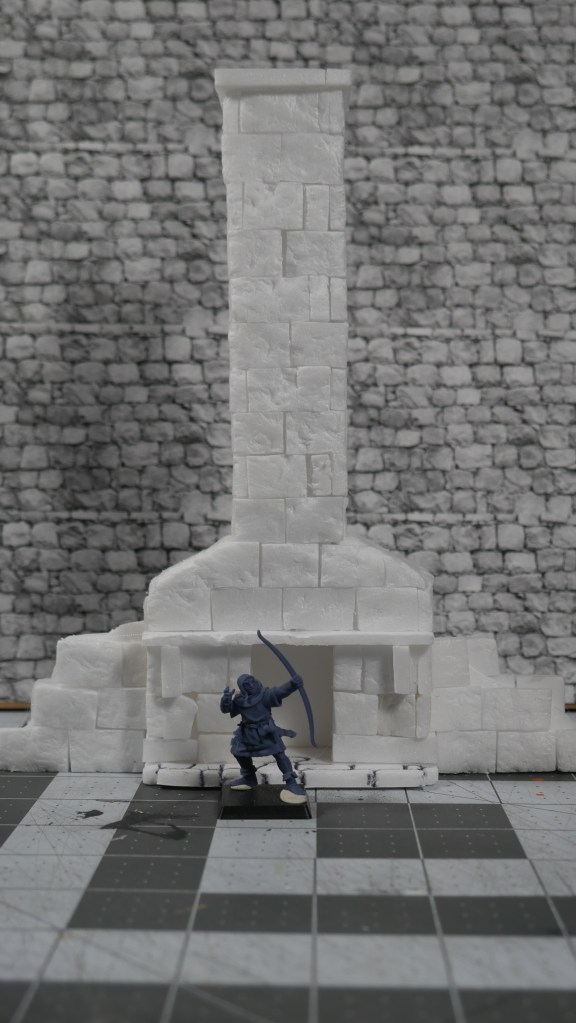
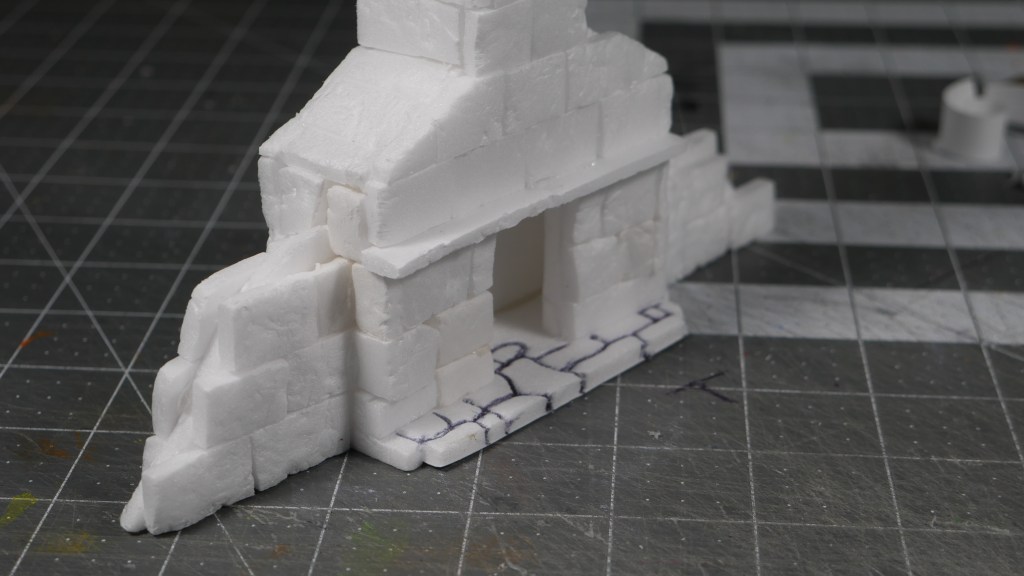
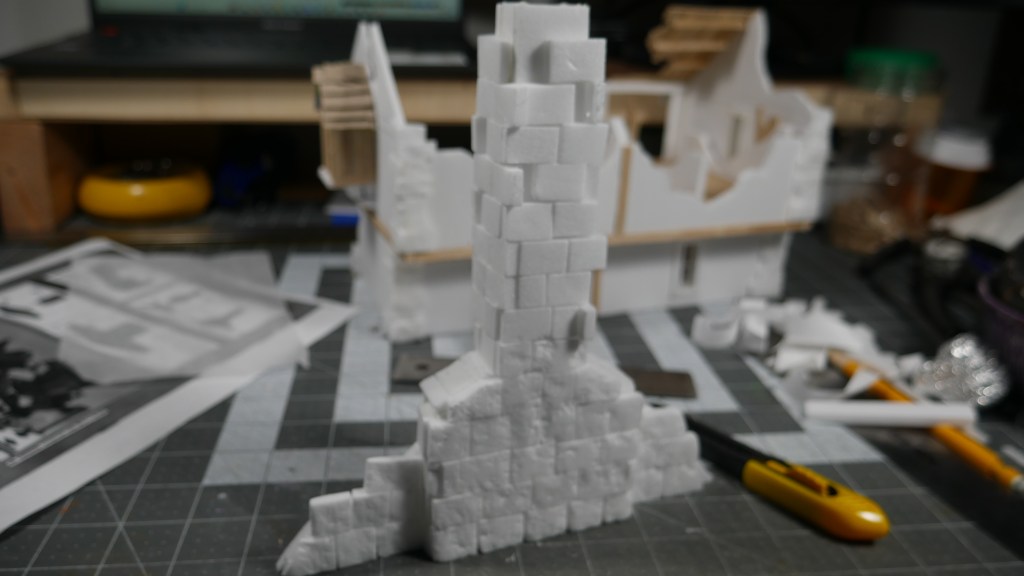
I would then simply use a ball-point pen to engrave the stonework into the soft foam. Nah. I decided to clad the structure in even more foamcore stones/bricks. That did take a while to complete, but I feel gave the structure more “beefy-ness” it needed to survive the twin-tailed comet’s path of destruction. Towards the end of this session, I did end up drawing stones for the hearth.

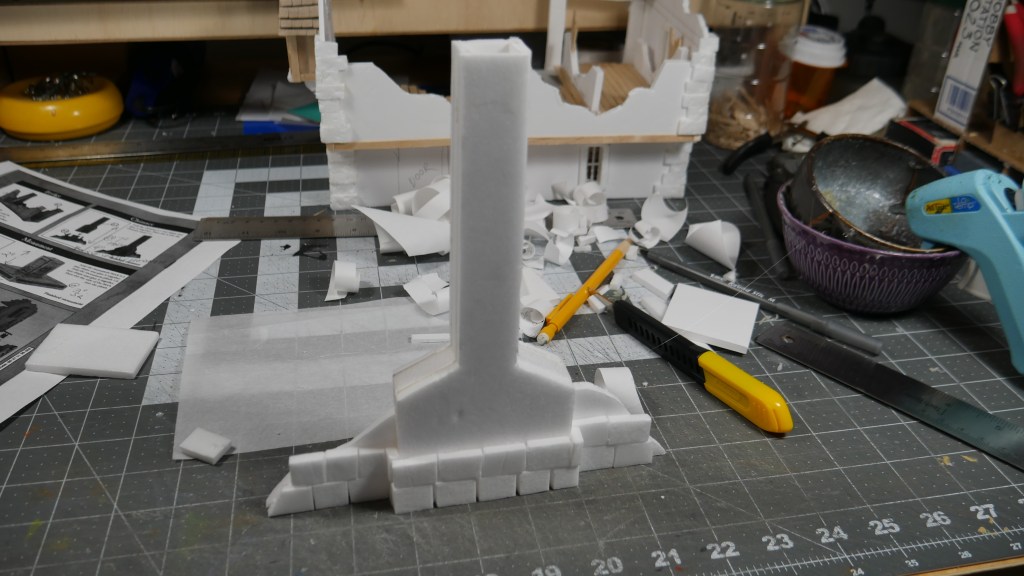
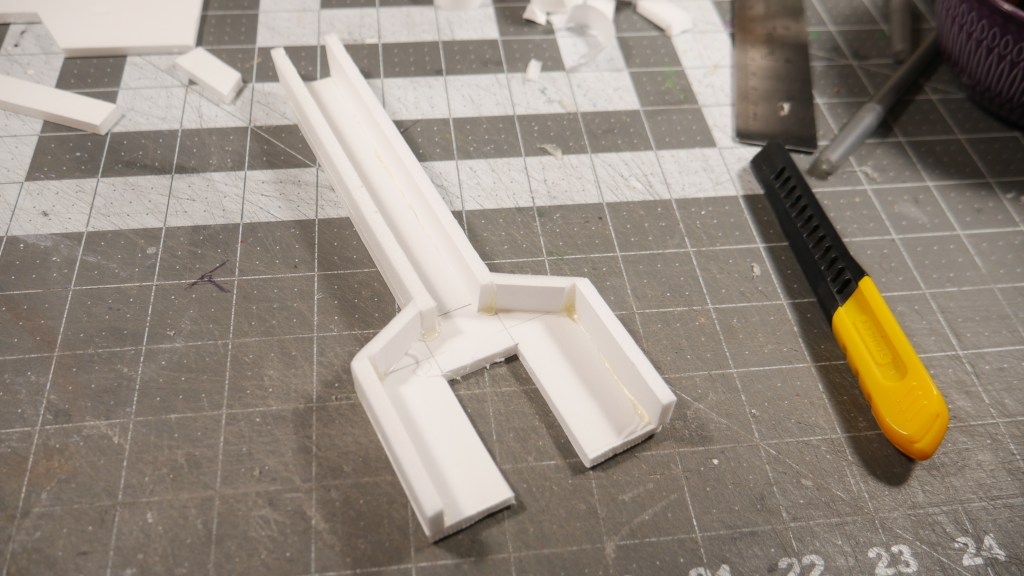
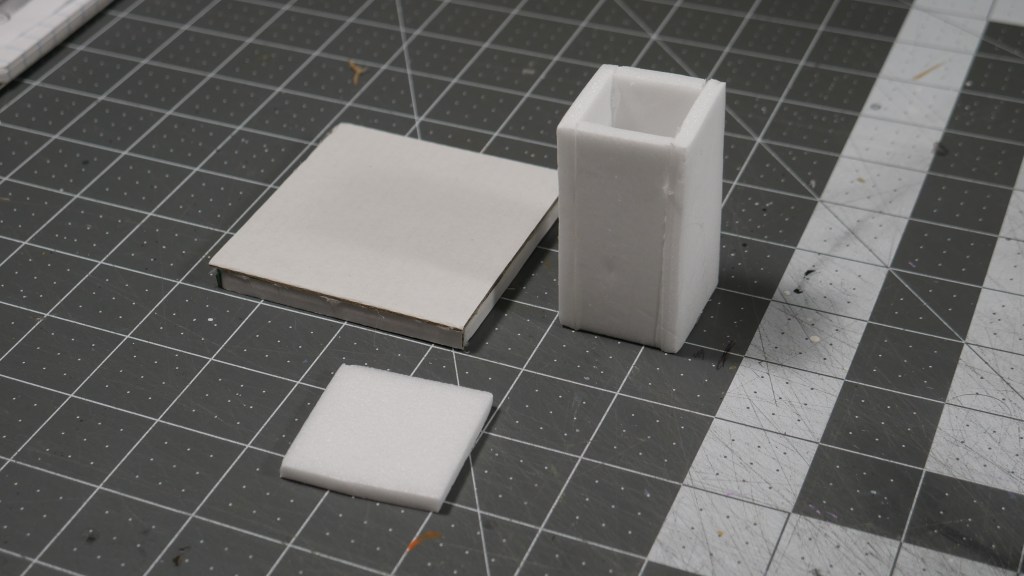
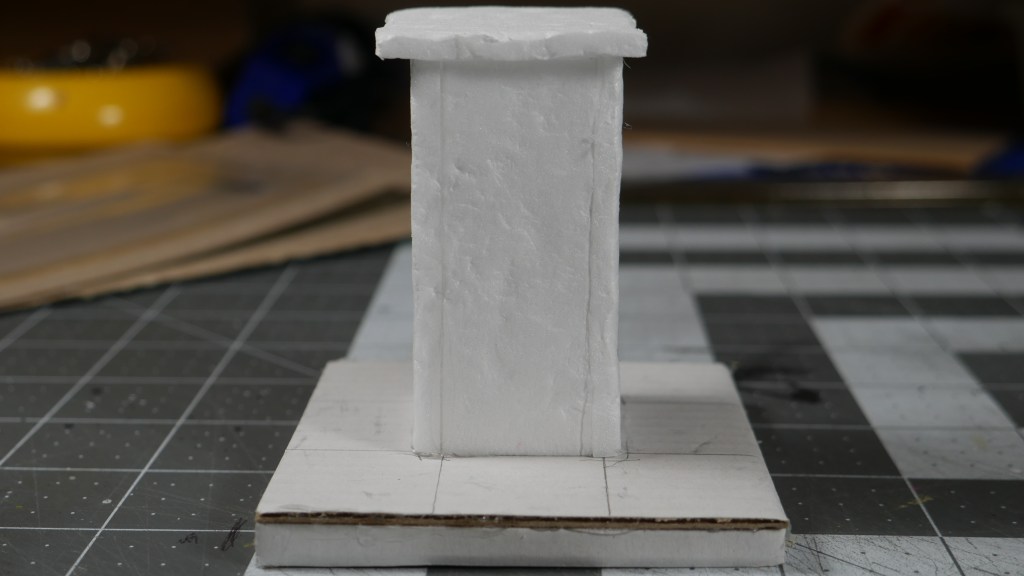
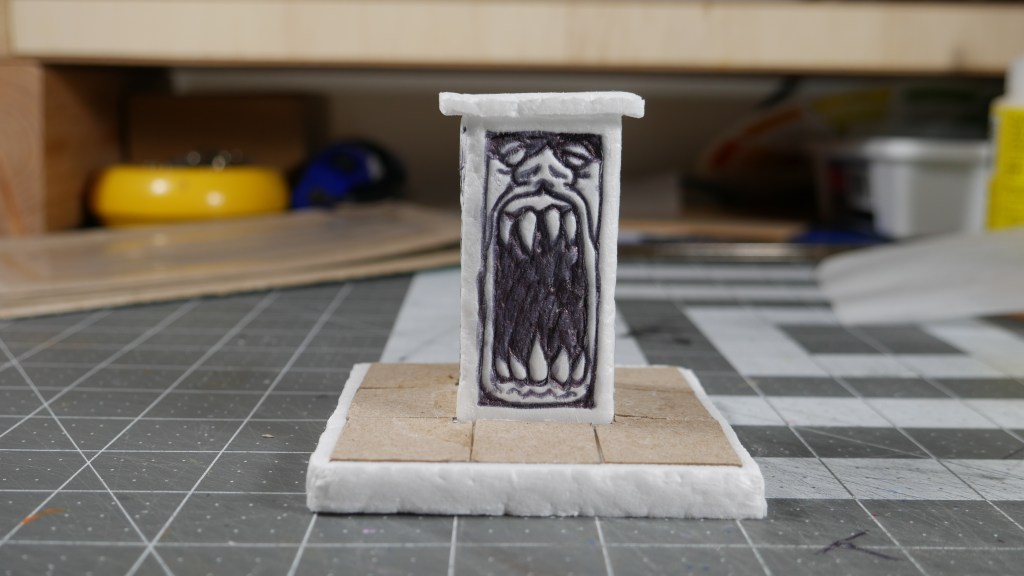
The Monument was also another structure I thought was going to be a simple build. I decided to use cardboard for the base and foamcore for the rest of the structure.
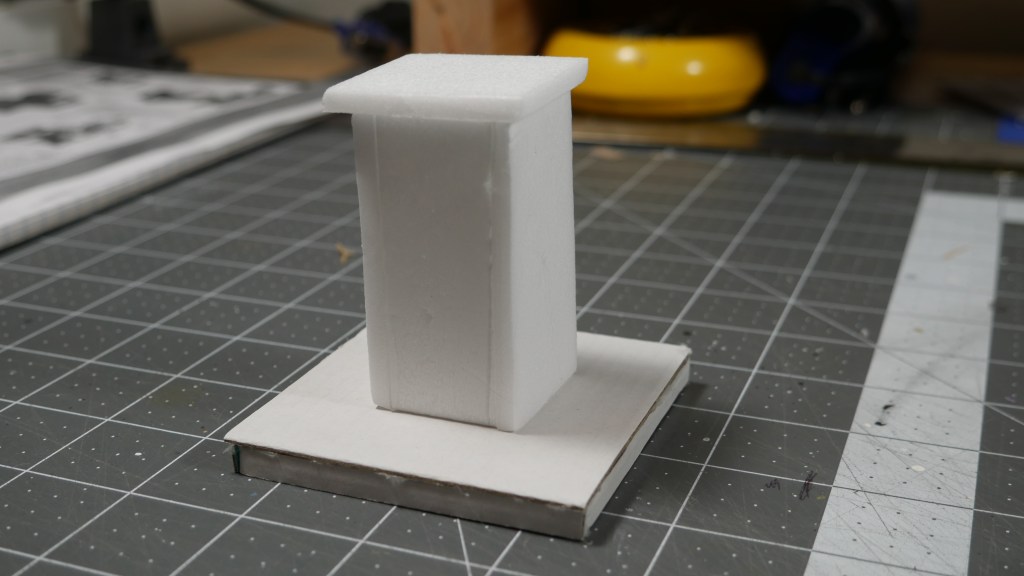
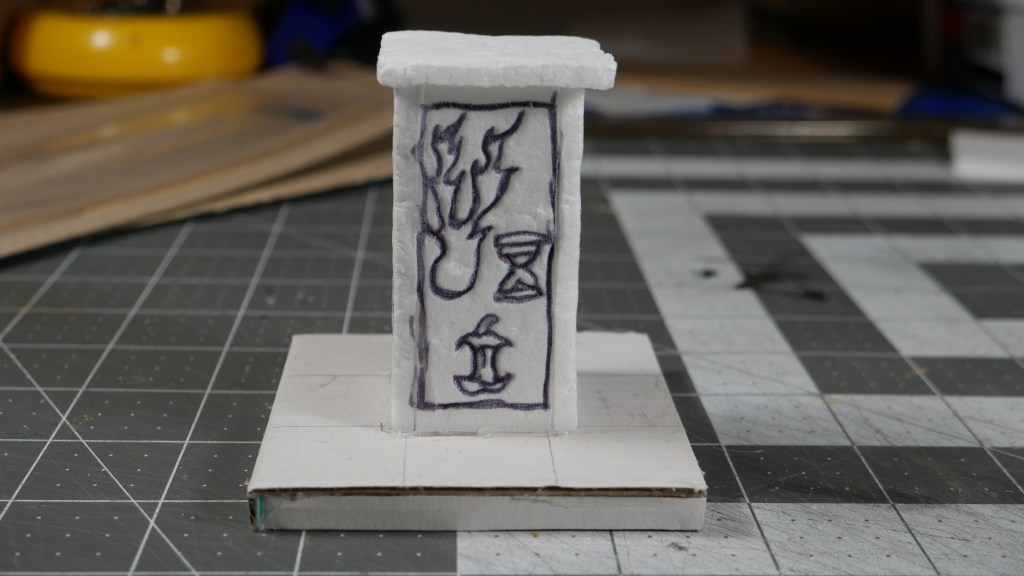
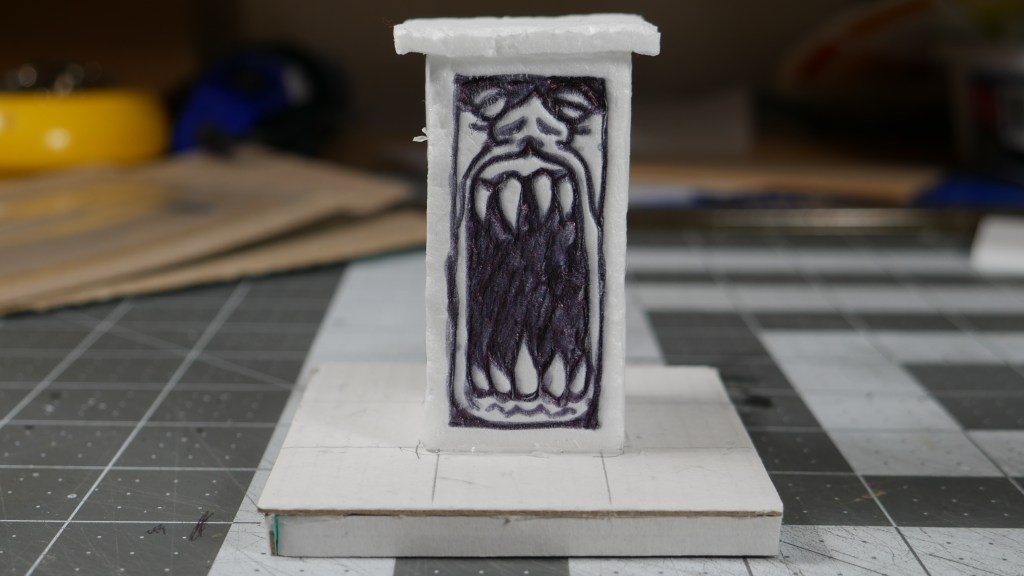
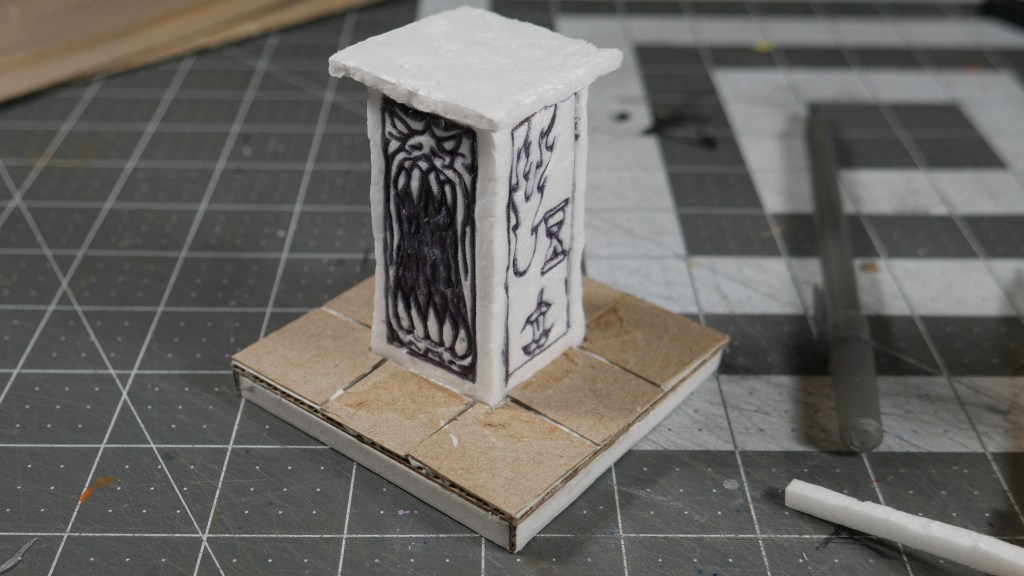
In looking at the build instructions and scans of the original cardboard cutouts, I saw there were etchings on the sides of the monument. Since the foamcore took drawn lines well, I decided to freehand the images of what I am calling the “demon face” and “time of the comet” with a ballpoint pen. I think it turned out OK. What do you think?
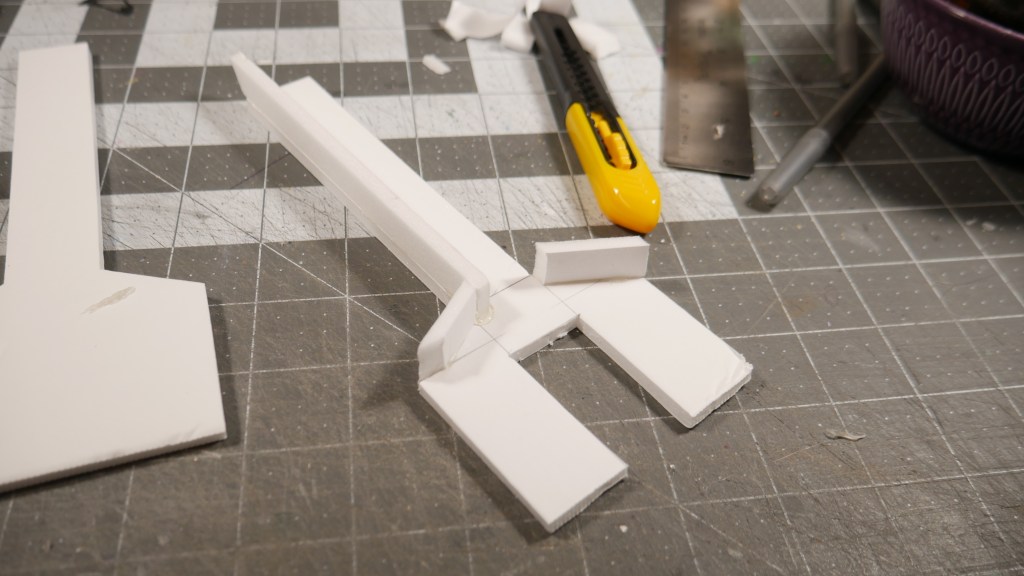
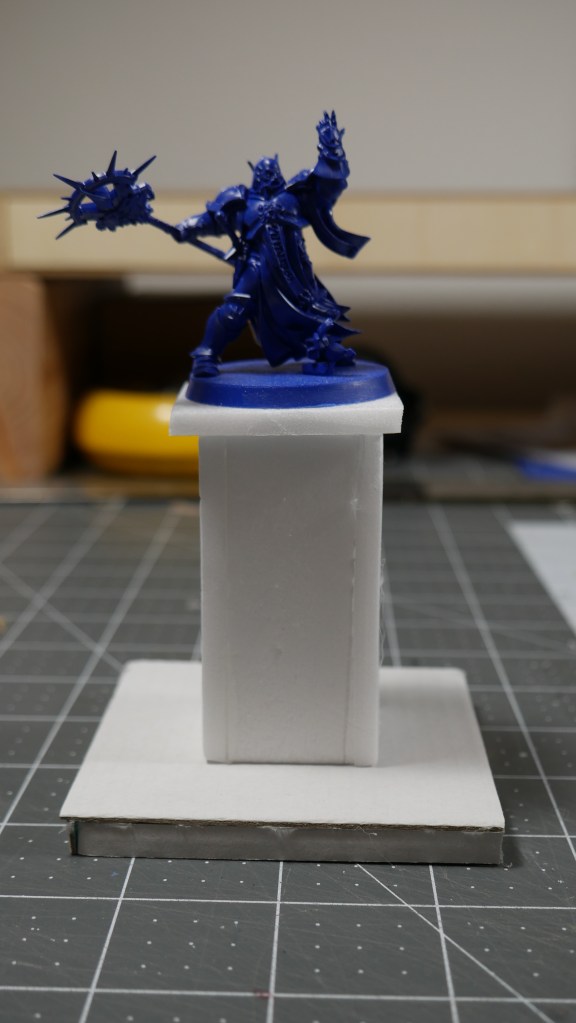
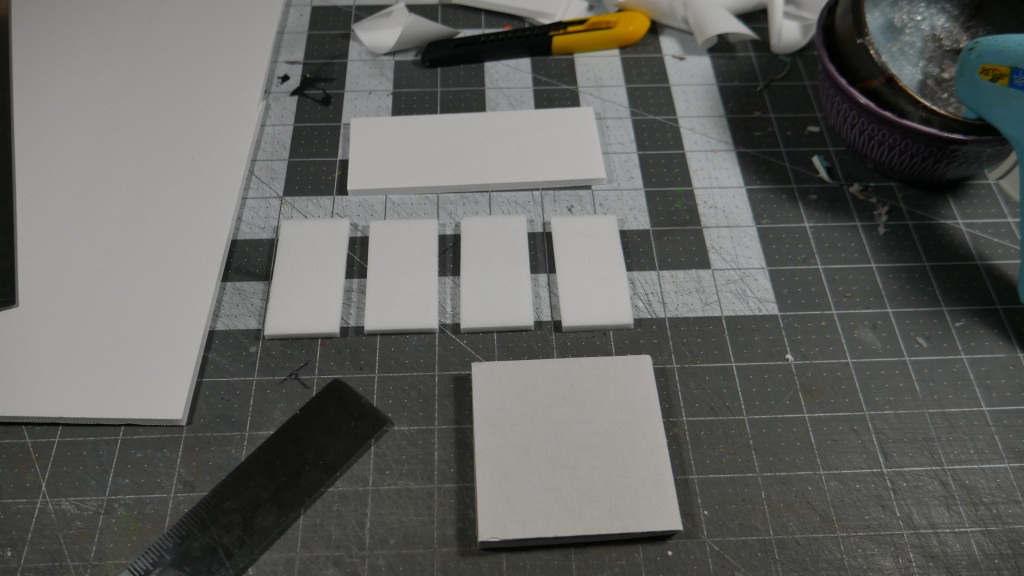
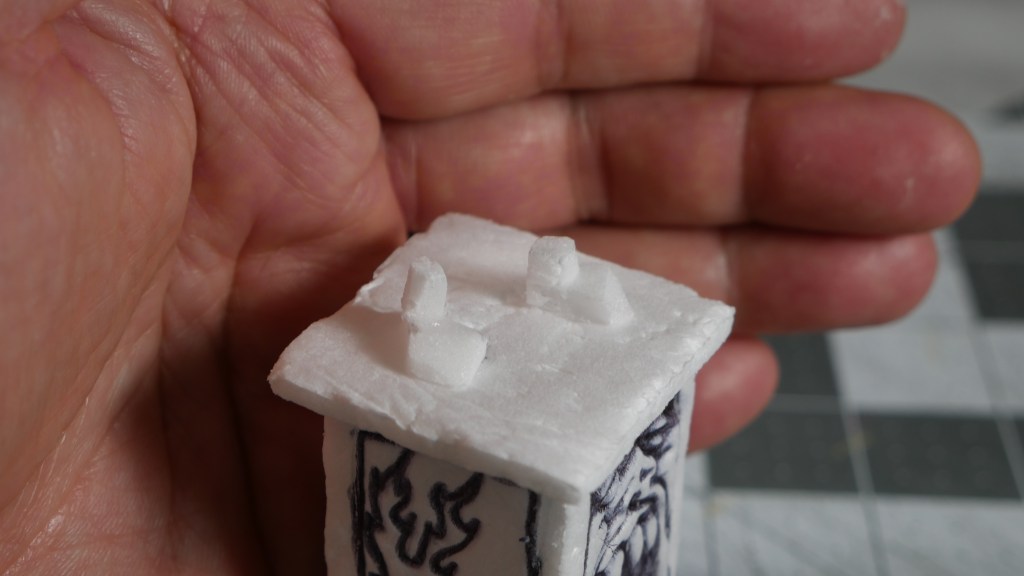
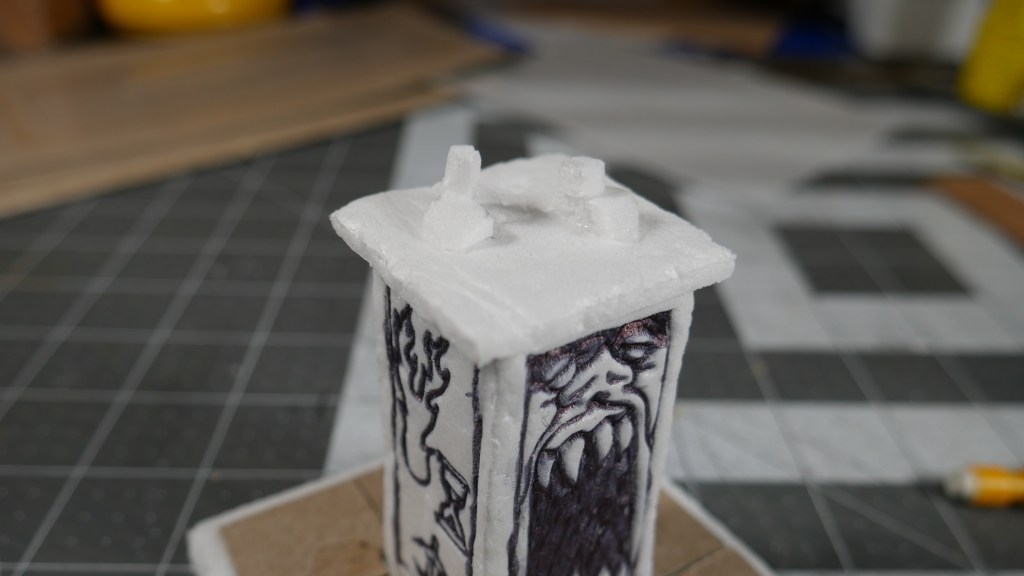
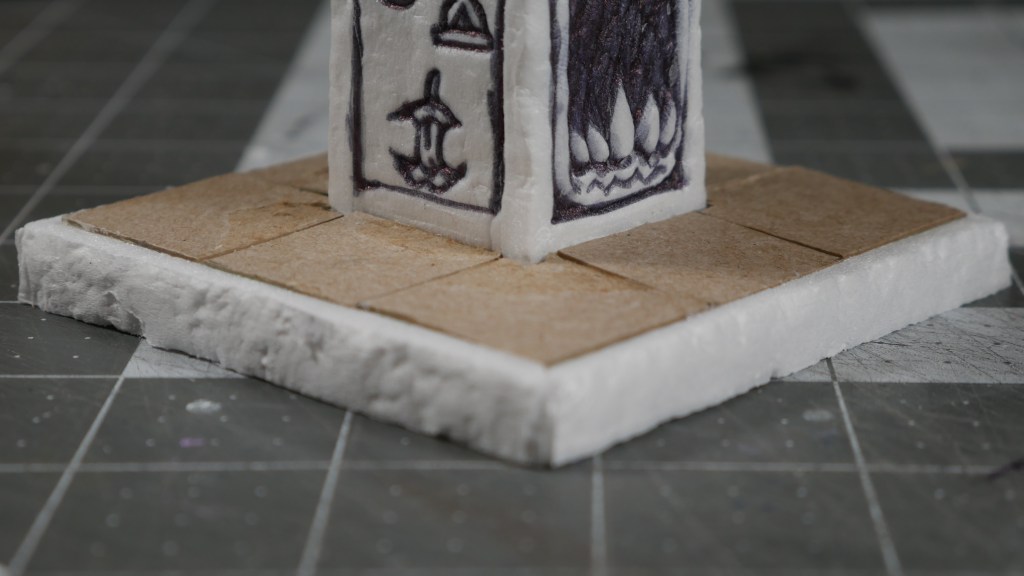
I then added some cardstock “tiles” to dress up the base. I added some foamcore also to trim out the base edges. I finally added some remnant statue feet. Don’t ask where the rest of the statue went. I don’t know.

I think both builds turned out OK. The last item from the Build Instructions is a “Bridge” which I thought was kind of weird since there was already a bridge as part of the Bridge House structure. I may or may not get to that one.
Now, it’s long overdue time to add some pigment to these structures. Sounds like fun times ahead. What hobby projects are you working on? Care to share in the comments?
Until next post, Happy Crafting!
