More Coats of Paint and the Home-stretch

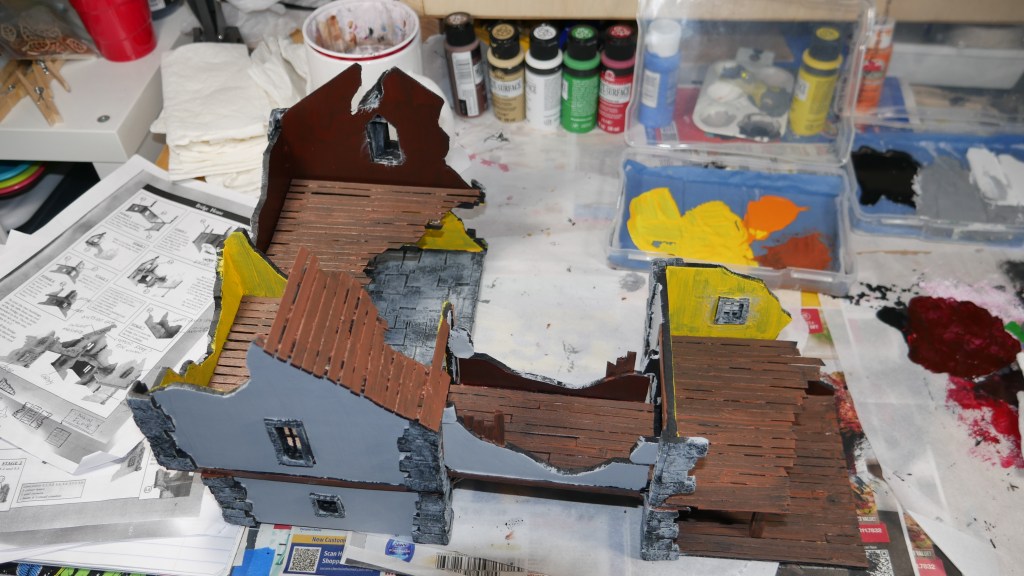
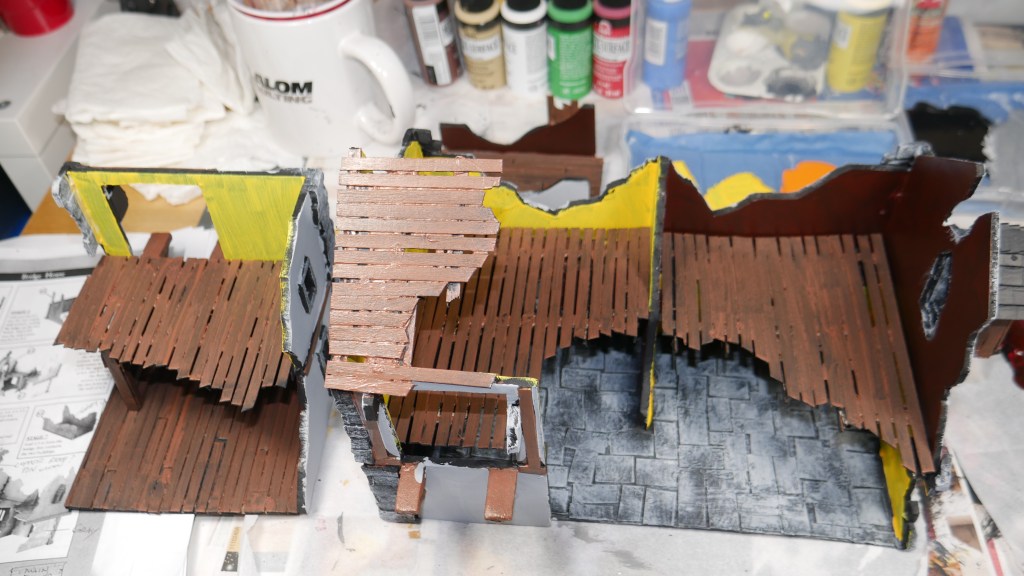
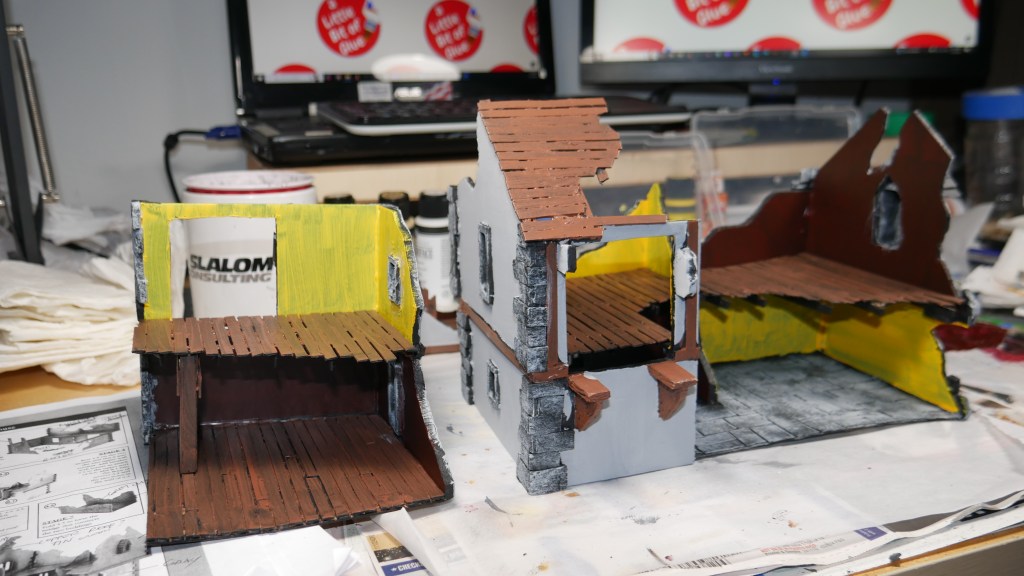
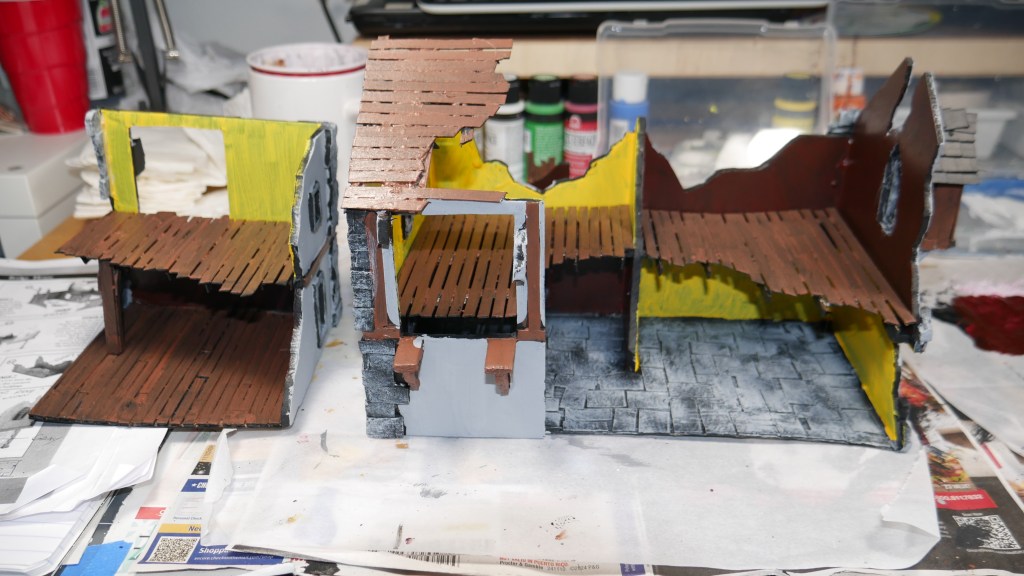
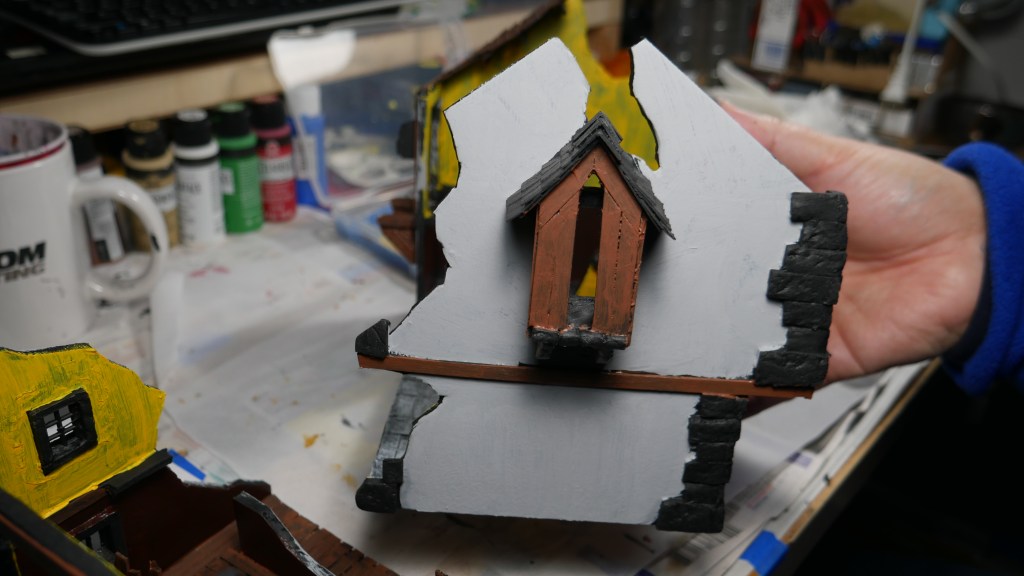
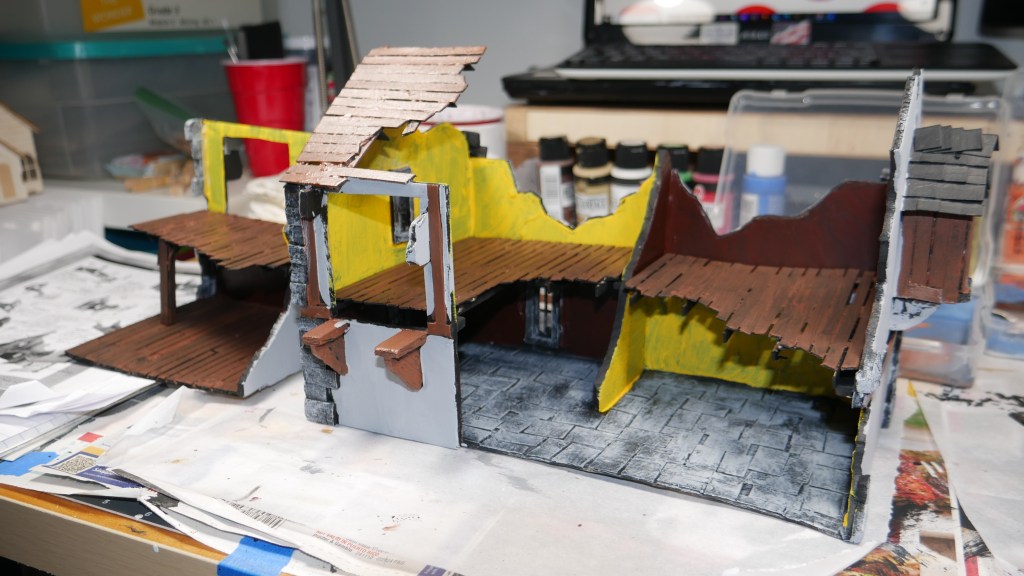
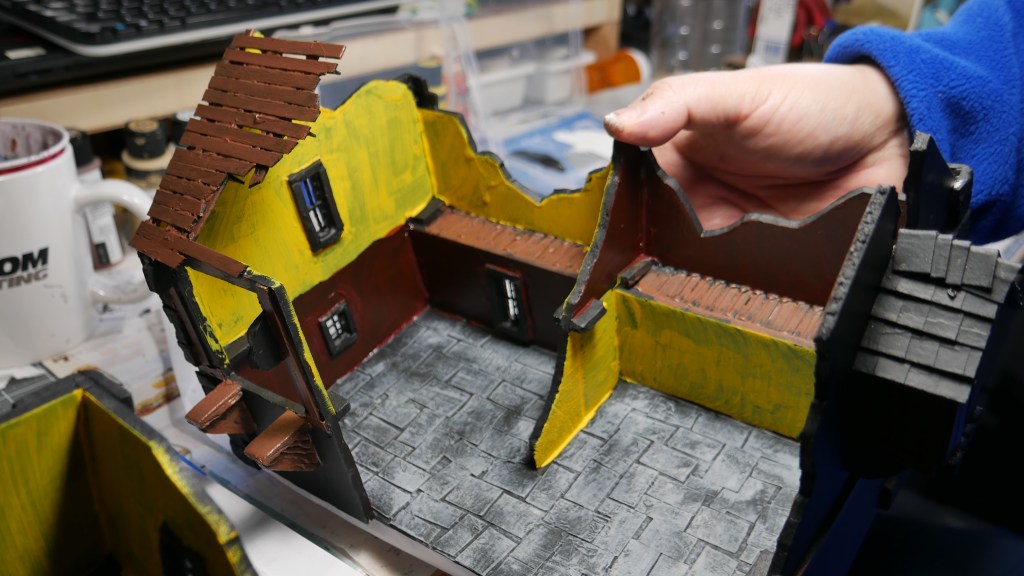
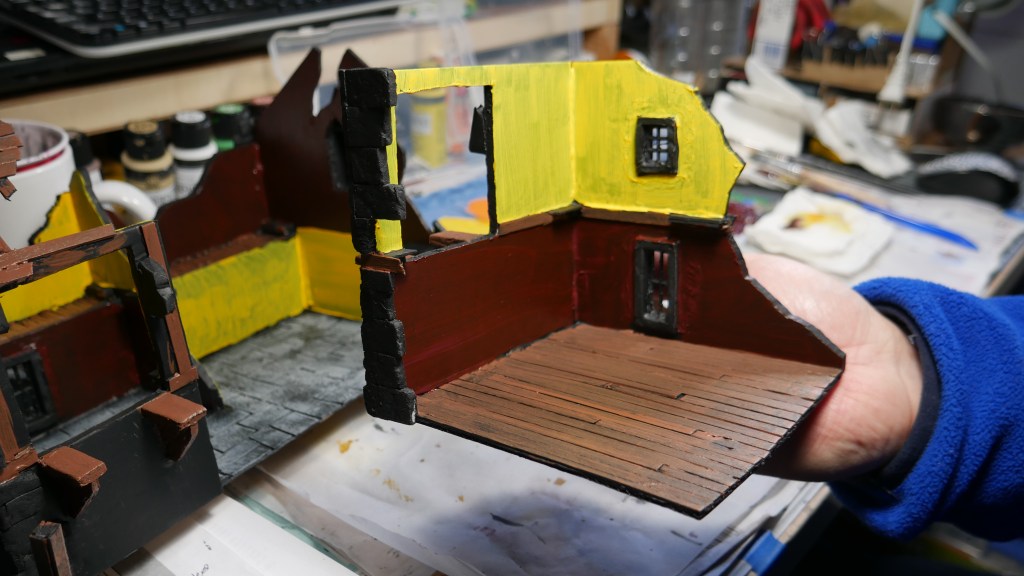
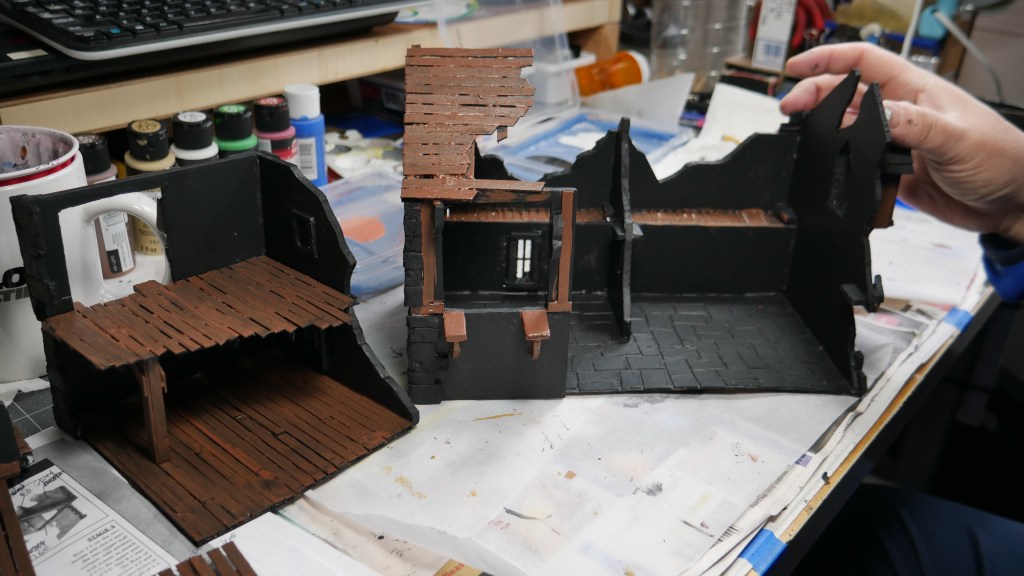
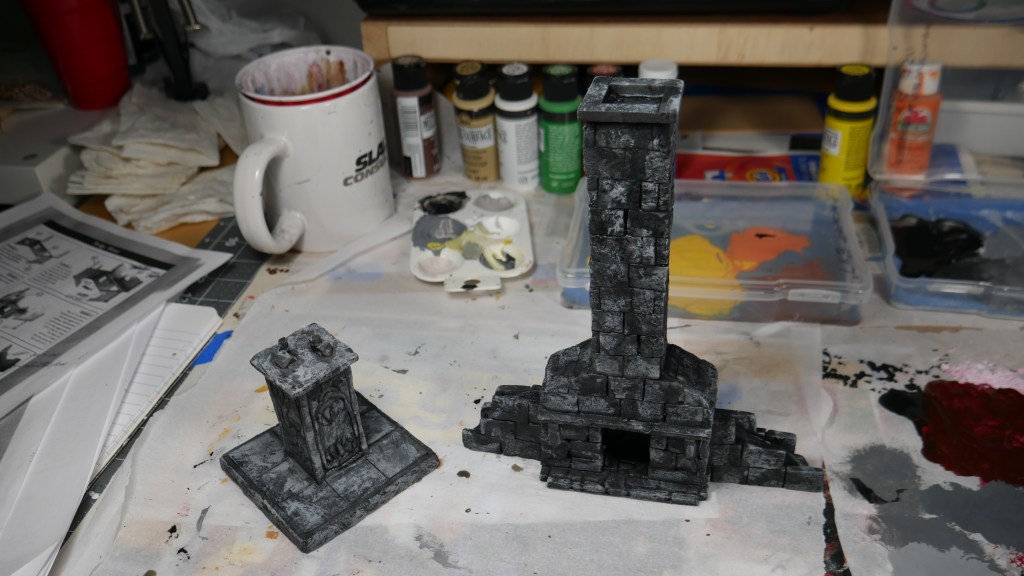
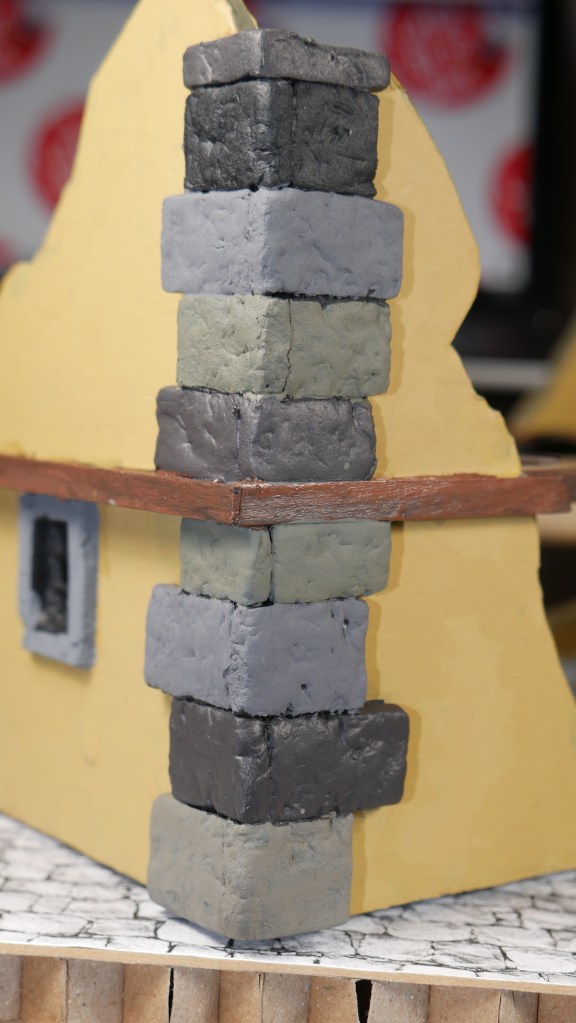
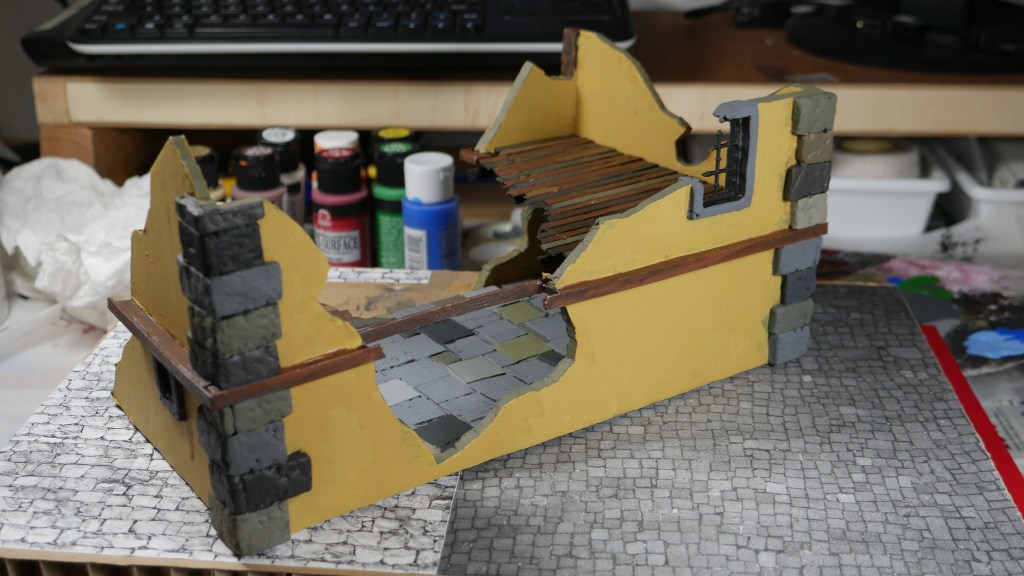
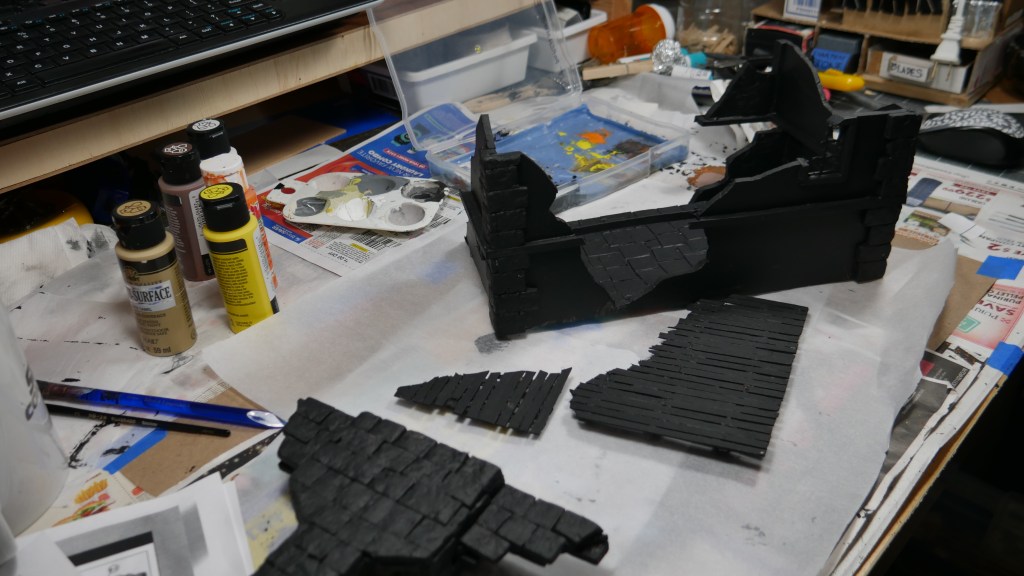
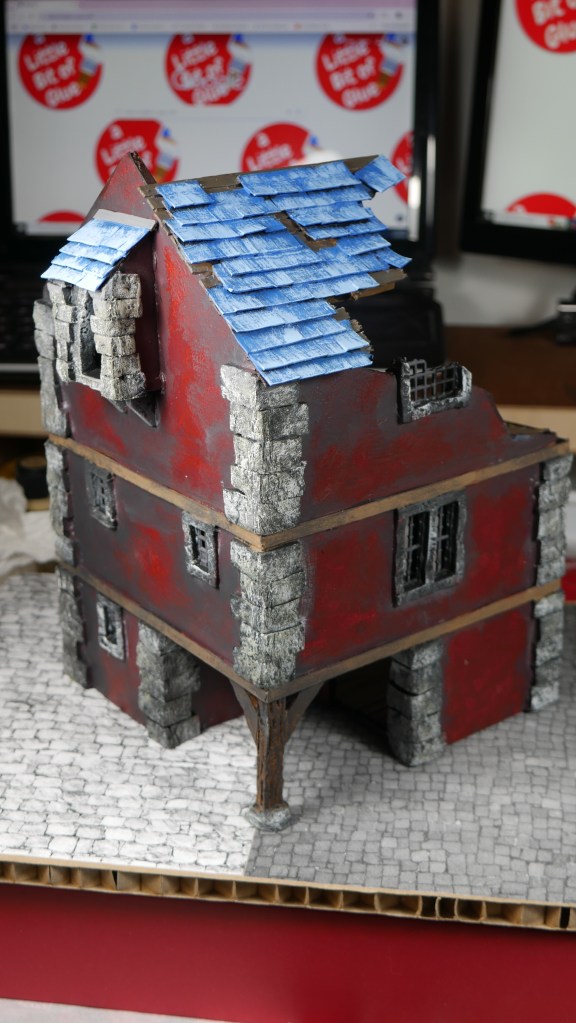
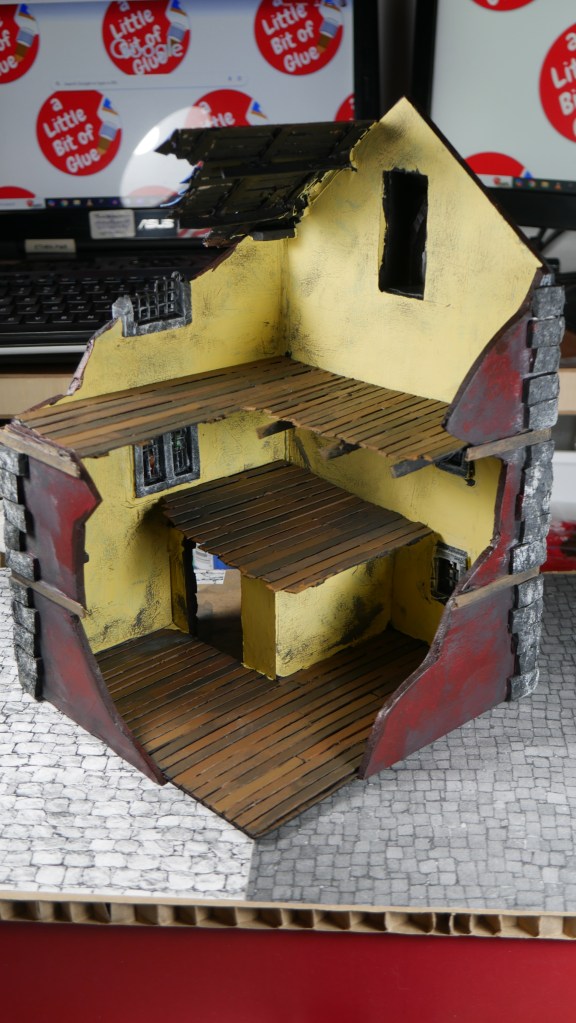
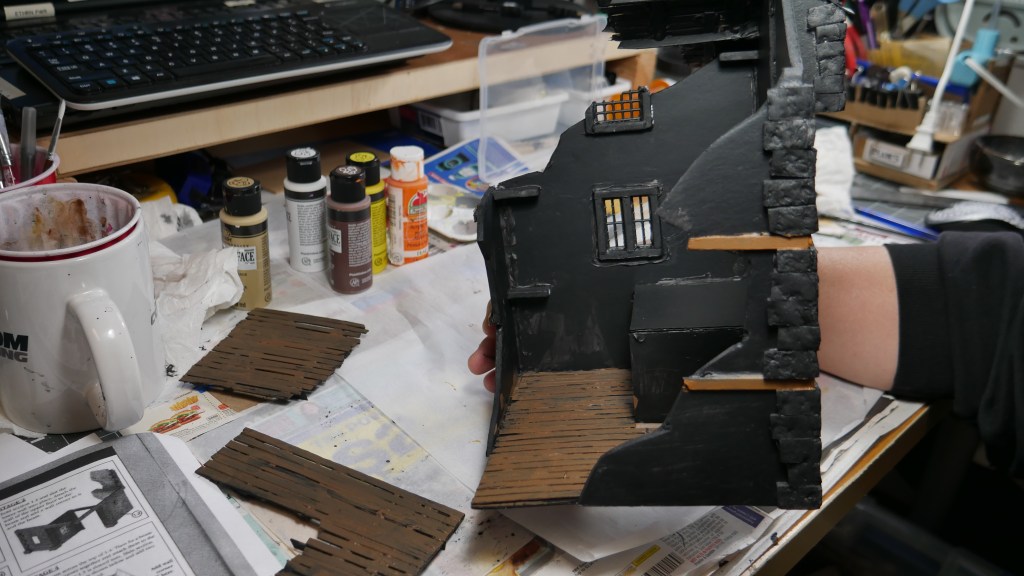
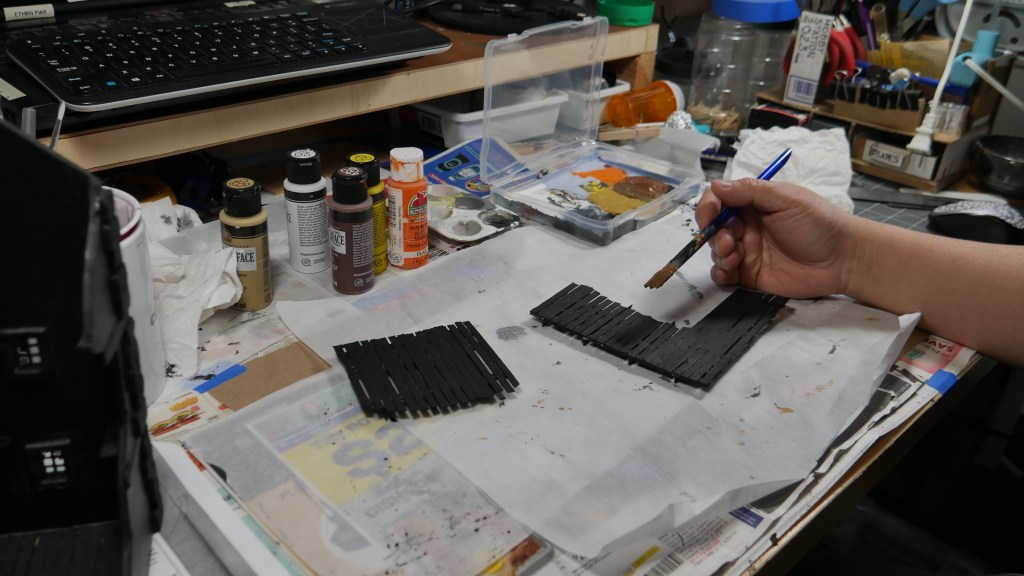
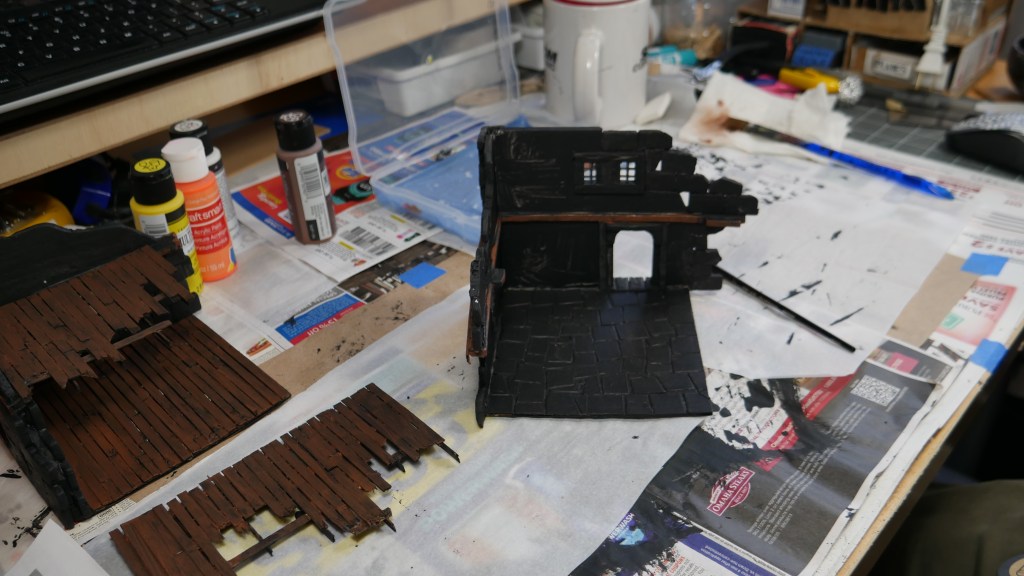
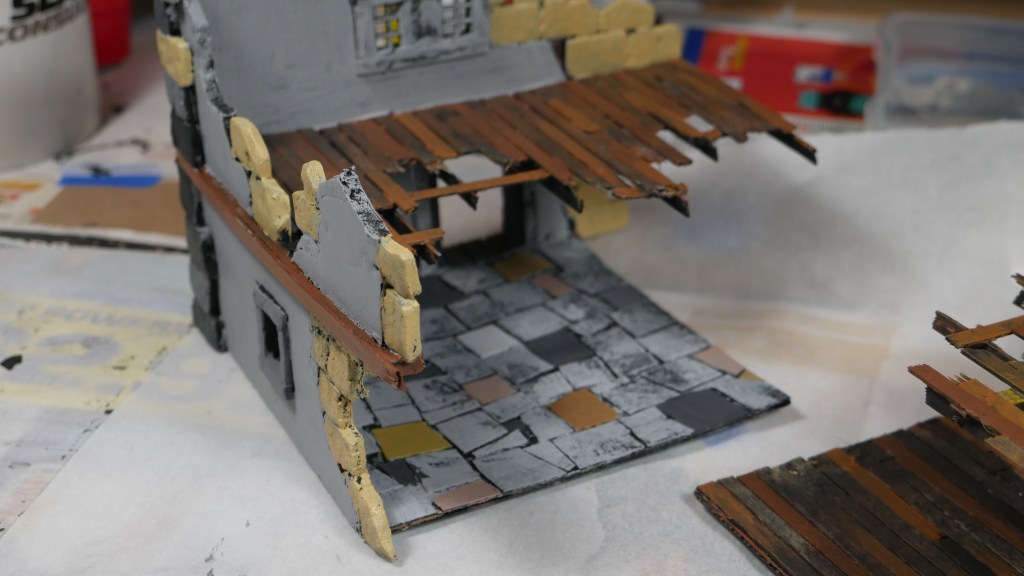
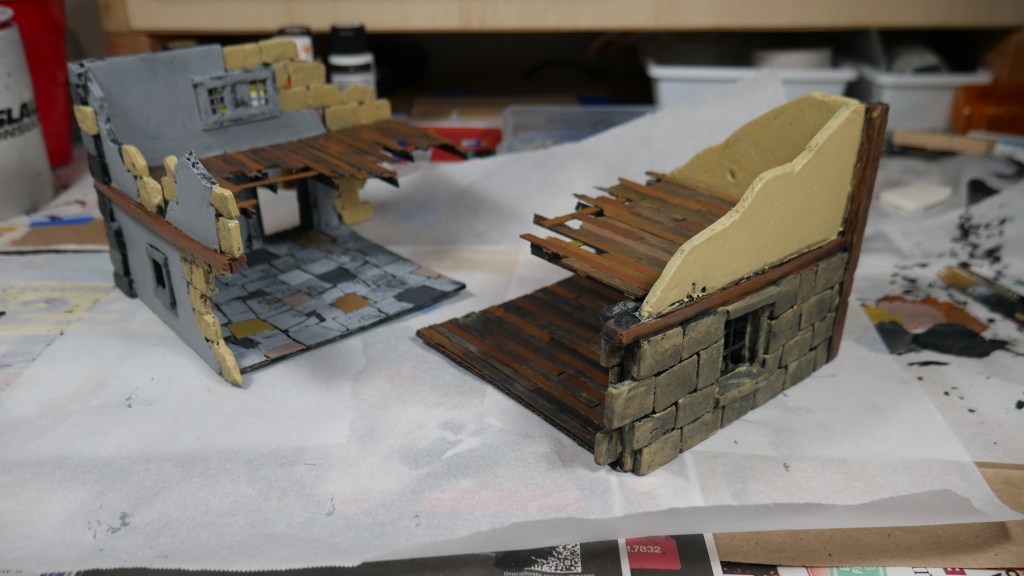
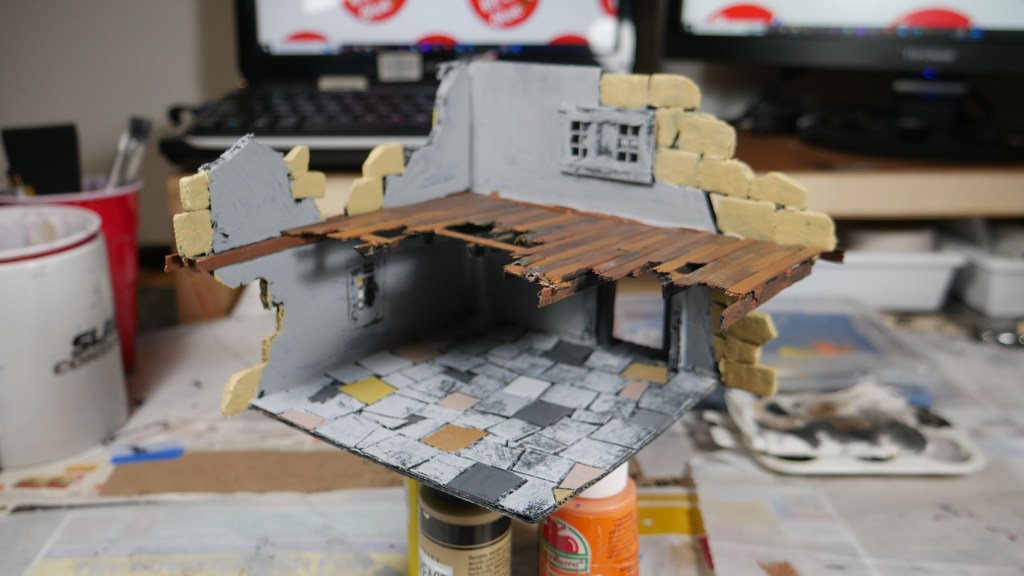
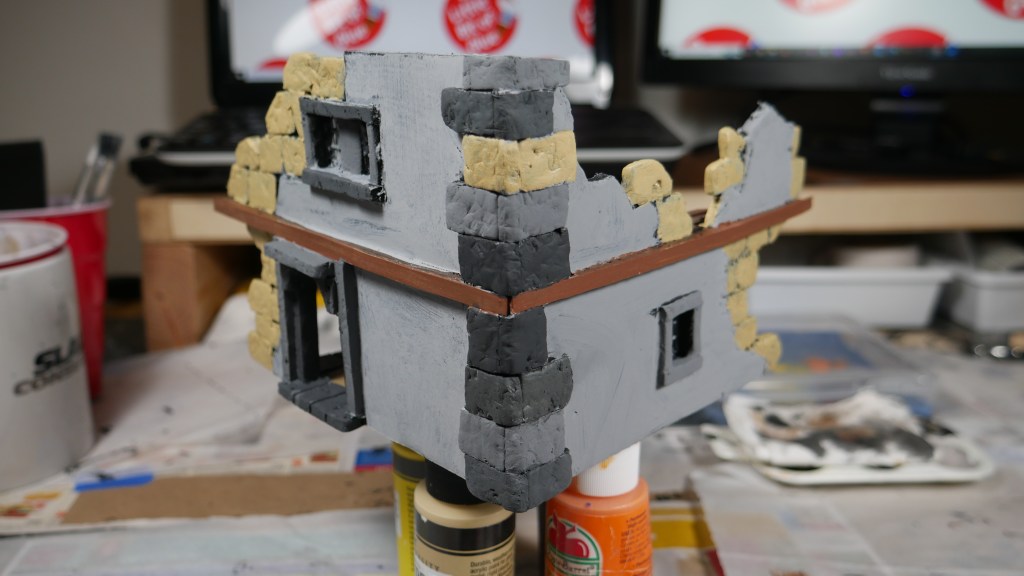
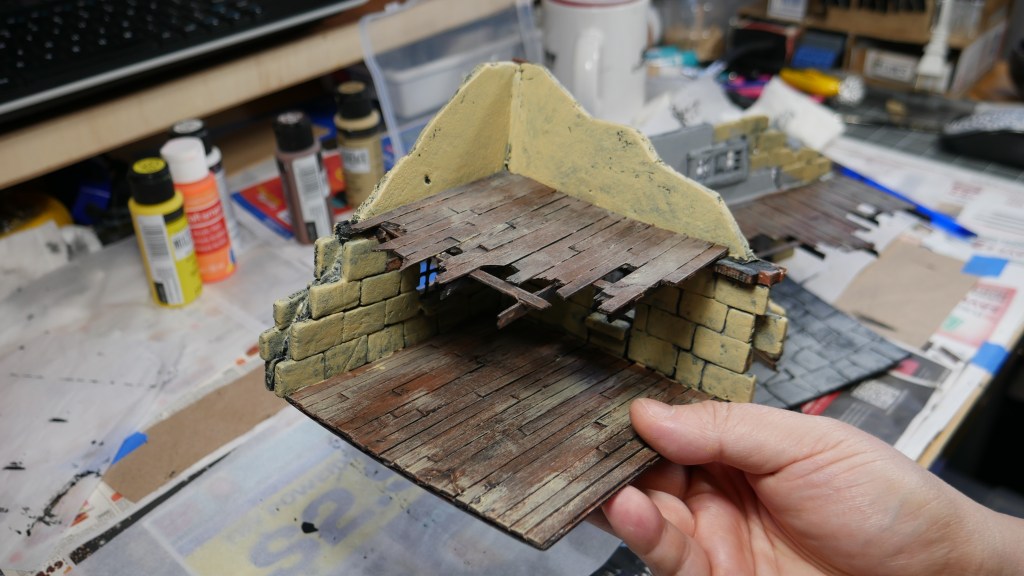
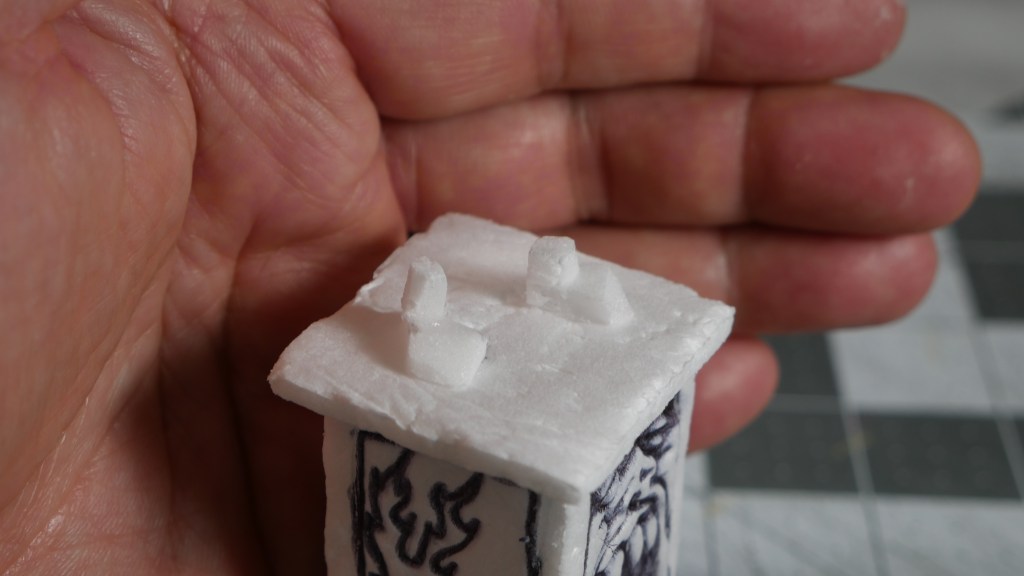
Hi. What can I say? Life somehow manages to pull me away. But, I am back with an update. I made more progress on the Mordheim Starter Box Terrain (my take on this iconic set). I managed to put some paint on the Bridge House, the Chimney and Monument. Hooray!

It’s the first Sunday in February 2025. After a month into the new year, snow has finally fallen in my area for the first time. It’s a light dusting in comparison to other parts of this state or parts of the US for that matter. I am content looking out my hobby room window while I work on the final pieces.

Please keep in mind, I have yet to add the details, like ruble and debris, let alone final paint touches like graffiti, posters and blood splatters. Soon. Yes. Soon.

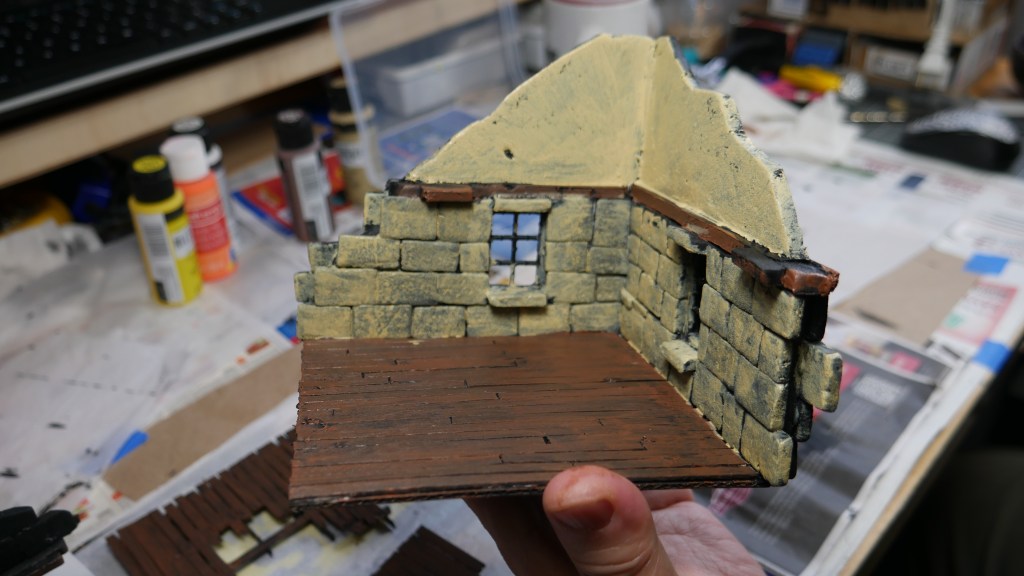
The Bridge House got some paint on the walls and after the initial paint on the “wooden” portions like the flooring and trim. I had to look up some reference pics again to find out what the original colors were and try to pay homage to them in my build.

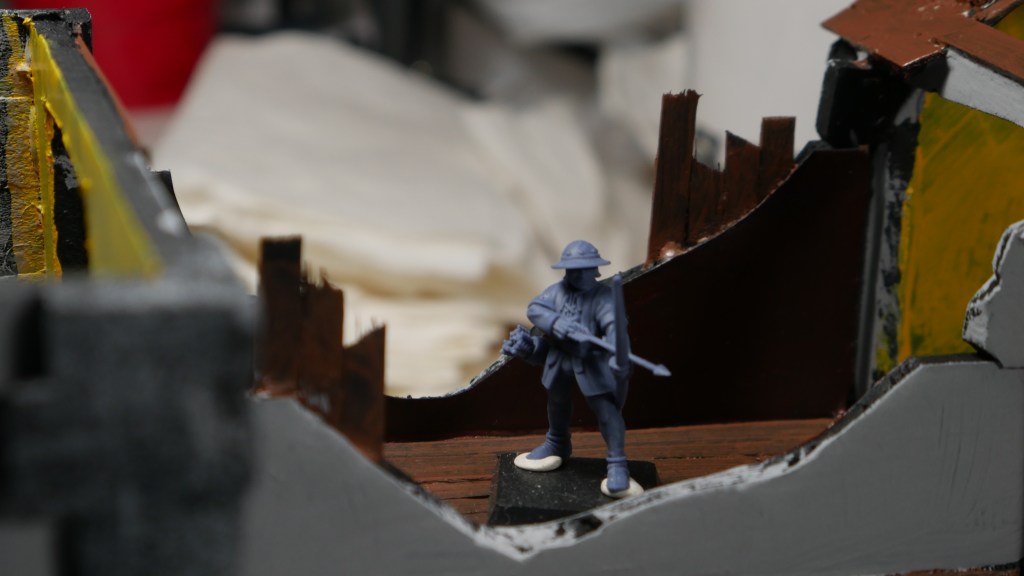
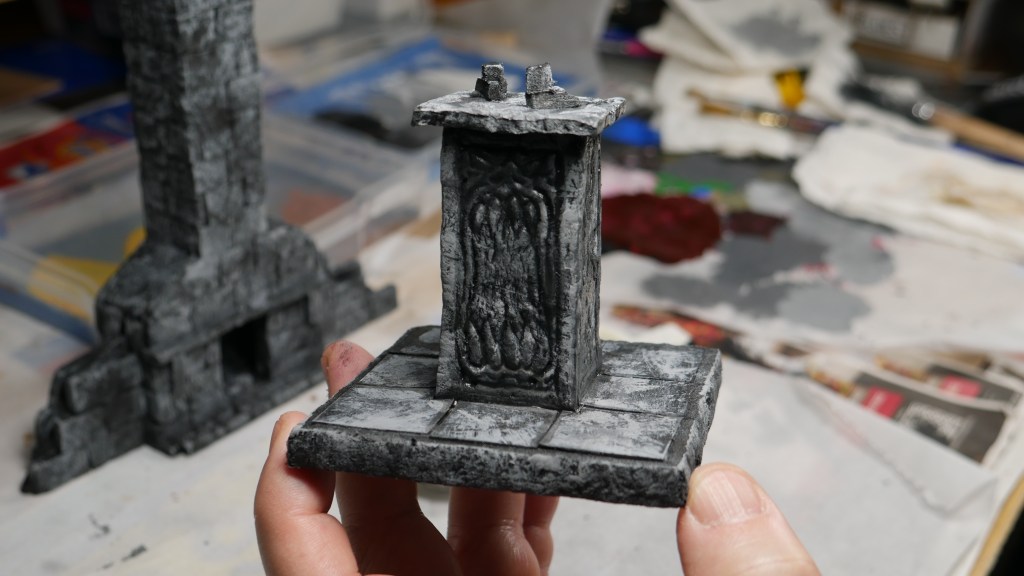
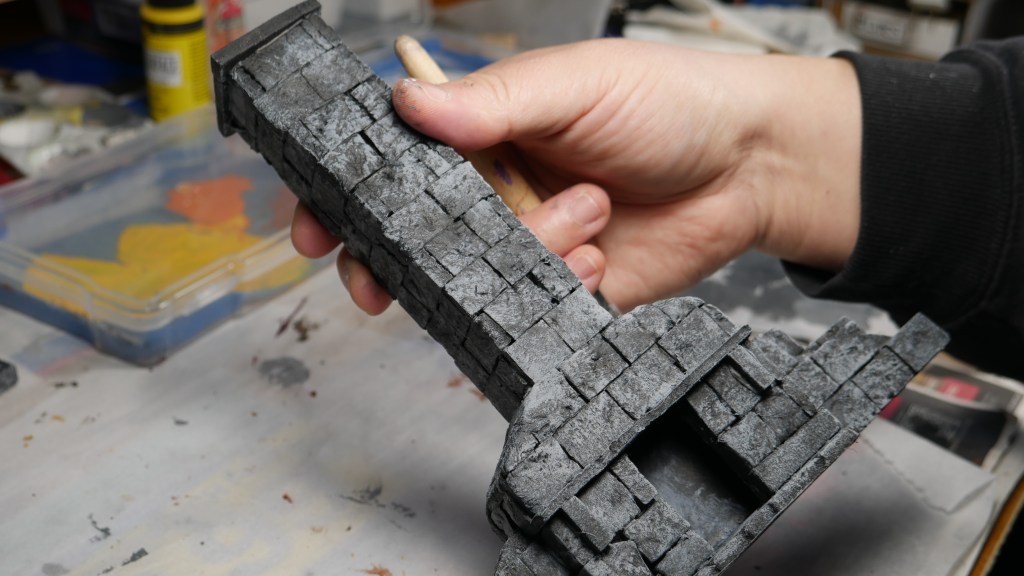
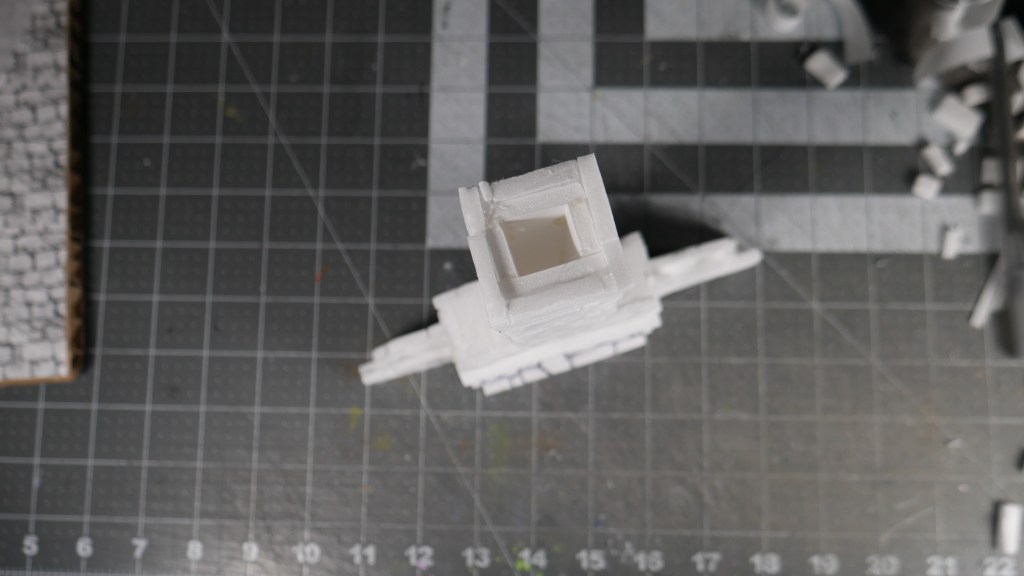
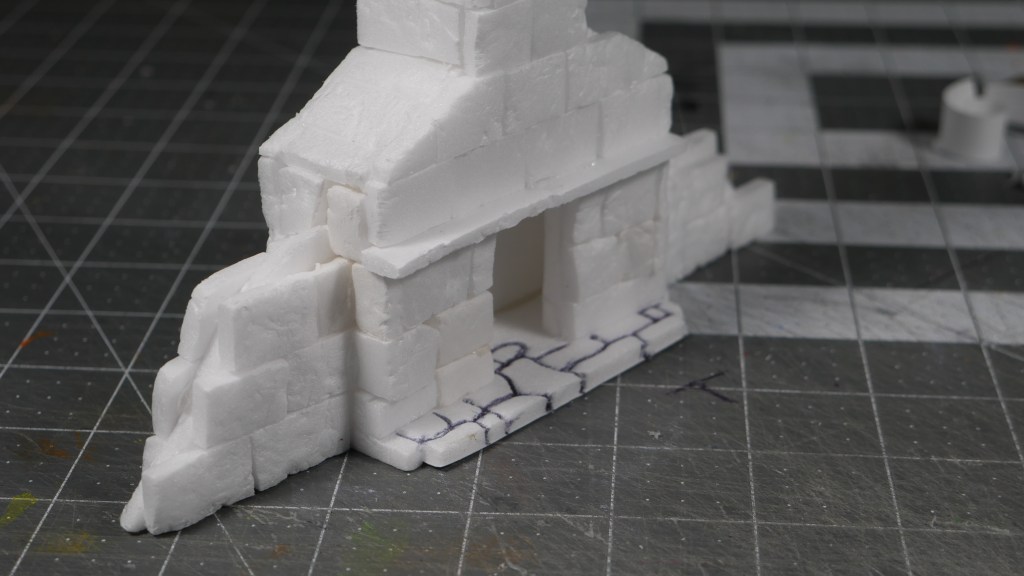
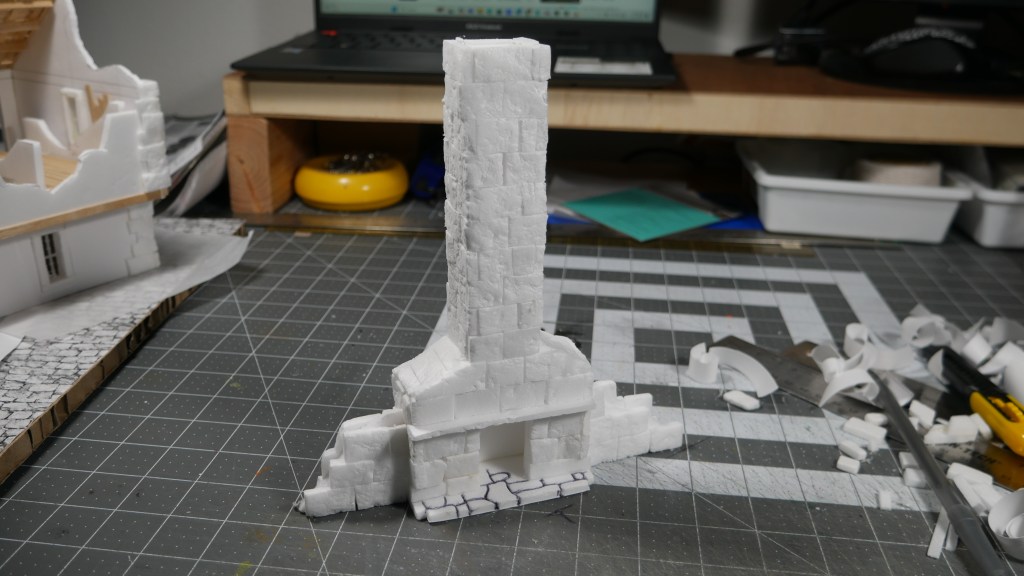
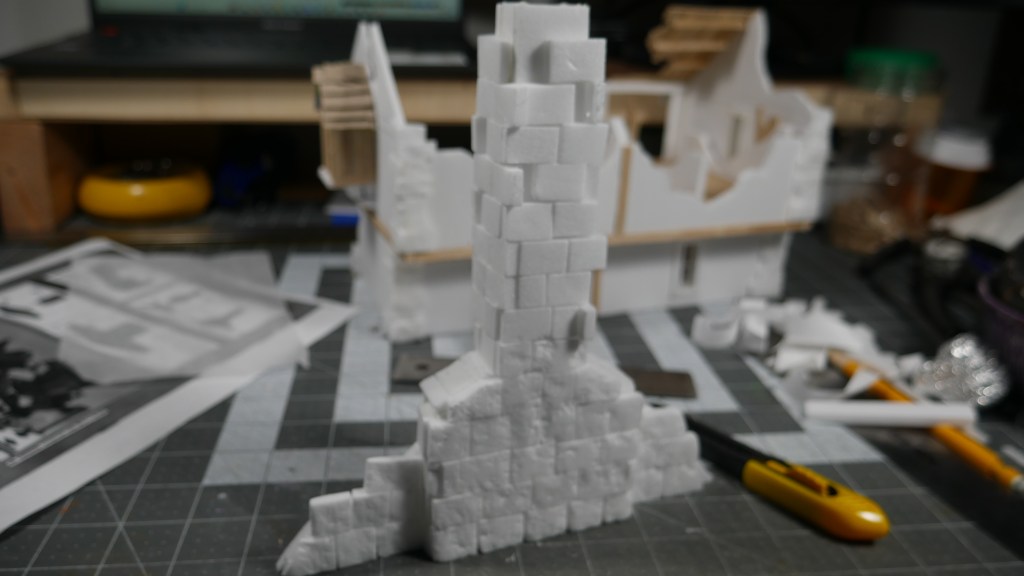
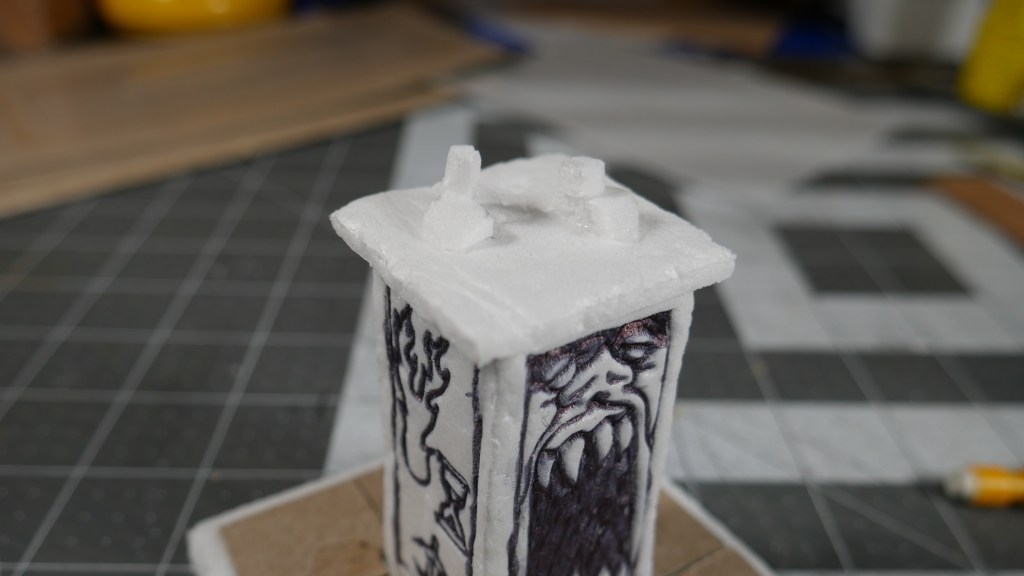
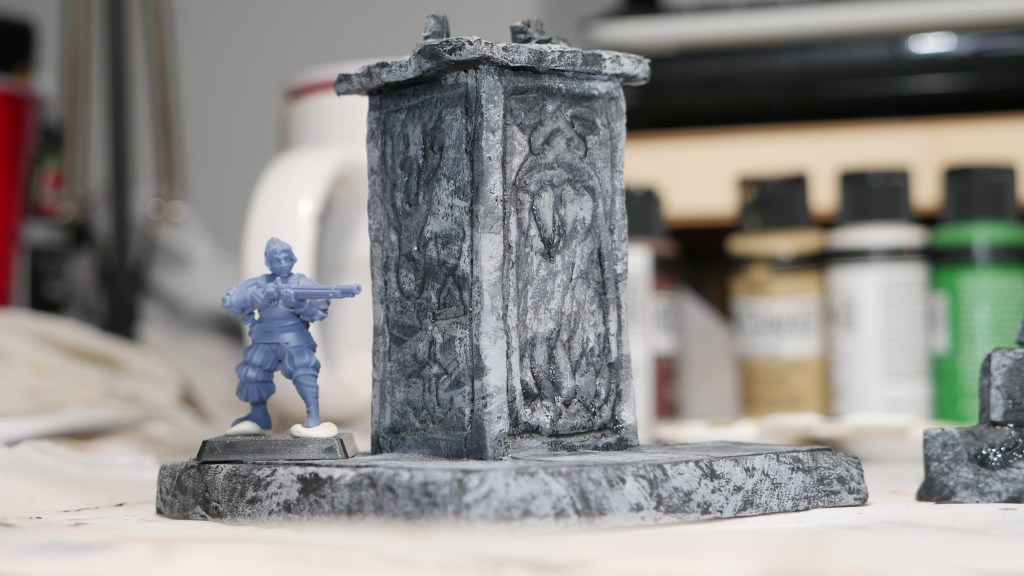
Here are a couple of the scatter terrain pieces – the Chimney and the Monument. I basically just dry-brushed light gray over the black primer.

And finally, I realize these terrain pieces actually take up a lot of space in my cramped hobby room. I have to find a solution. What do you guys do with your terrain and boards? I’ve seen examples of hobbyists hanging their creations on their walls as well as the standard solution of the good ol’ book shelf.

Anyways. Until next post. Happy crafting!

Color on Parade Continues…

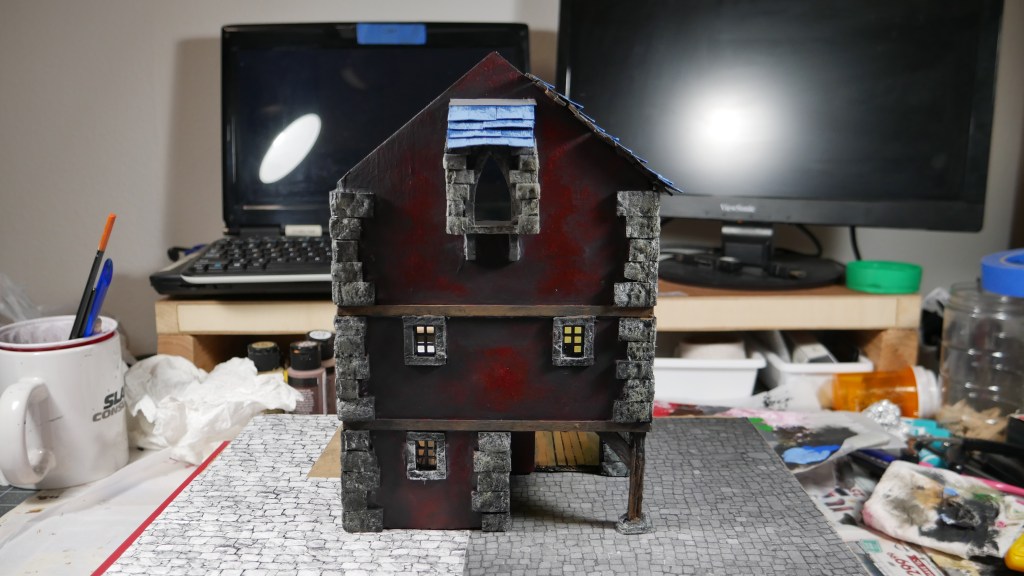
Hi. The color parade continues. I present the Long House and the Tavern. Now with some color.

I continued to work on the Mordheim Starter Box terrain project (my take on the original). I added some color to the Long House of which I added a “stonework” floor/base. Although the terrain pieces are not “completed”, I think the added color definitely shows some progress.

The Tavern is (was) open for business as I applied a coat of simple maroon/muted red to the exterior walls. I coated the flooring as normal with simple wood tones. I coated the inner walls with a cream color later to be detailed with cracks, graffiti, and maybe some blood splatters.

Be sure to check out this and my other socials for updates on this project as well as other happenings in my hobby space.

BTW – can anyone suggest a recipe for how to paint wood better? I am currently using this sequence – prime black, dark brown, mid brow, (sometimes) orange or yellow, (sometimes) drybrush white, (usually end with) black wash. No sealant at any point of the layering.

Until next time. Happy Crafting!

Color me Mordheim Starter Terrain

Hi. It’s past midnight on Jan 21, 2025. The US Inauguration is in the history books. I have been putting this project off for some time now. I want…no…I need to finish this for Me. I am tired of looking at the black primed Mordheim Starter Box Terrain (my take on this) sitting in my home office. Time to add some color.

Although this is my take on the starter terrain, I wanted to pay homage to the original cardboard terrain colors by trying to paint with similar tones. I am starting with the Corner House 1 and 2 pieces. Specifically, I added some wood tones to the “wooden” portions of the structures like the flooring and side wall beams.

Next, I added some color to the stonework and walls. Remember, I am just using basic craft paint and cheap brushes (similar to those found at Walmart) – If you want to try some craft paints and basic brushes for your Mordheim terrain (or any other craft painting project), check out my affiliate links on the TOOLS and MATERIALS page.

There it is, no washes yet. Just some progress. I wanted to get back into the swing of things.

What’s on your hobby workbench? I’d love to hear about it in the comments.

Until next time…Happy Crafting!

Welcome 2025

Hi. Happy New Year. Welcome to 2025. Welcome back to returning hobby enthusiasts and thrill seekers. Welcome to any new folks just joining us. Hope we all have some goals to look forward to and accomplish this year.

As far as the hobby side of my life, it’s time to get things done from last year and embark on new adventures. The “My Take on the Mordheim Starter Set Terrain” project is ready for more paint. The minis I use for my scale reference in my pics are waiting to be properly based and add some paint. I plan to start with a 2ft x 2ft playing board as a playing surface for the terrain I have been building. One of the larger comic convention in my area is coming up – not sure if I still want to cosplay or simply just enjoy the event in my civies.

For my non-hobby life, there are plenty of things on the “Honey, Do” list to actually do. I also need to start (and thrive) some new side gigs – my past affiliate activities are not really panning out. Just keep swimming, right?!

Just need a couple of small wins to help fill my sails. Come back soon to check out the progress. Feel free to share your accomplishments, hopes and dreams as well. That’s all for now.

Happy crafting!

Chim Chimney, Chim Chim Cher-ee and The Monument Too

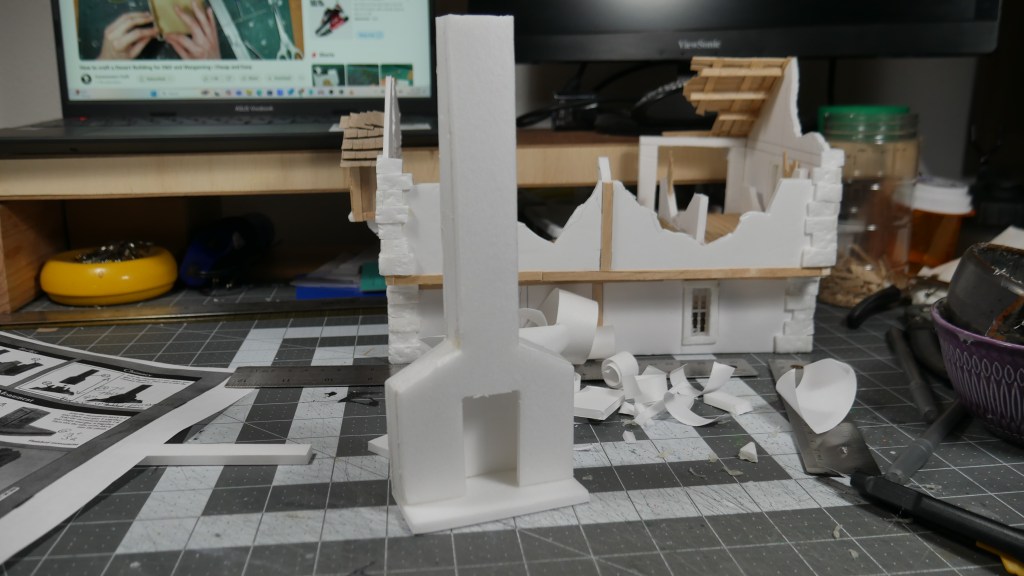
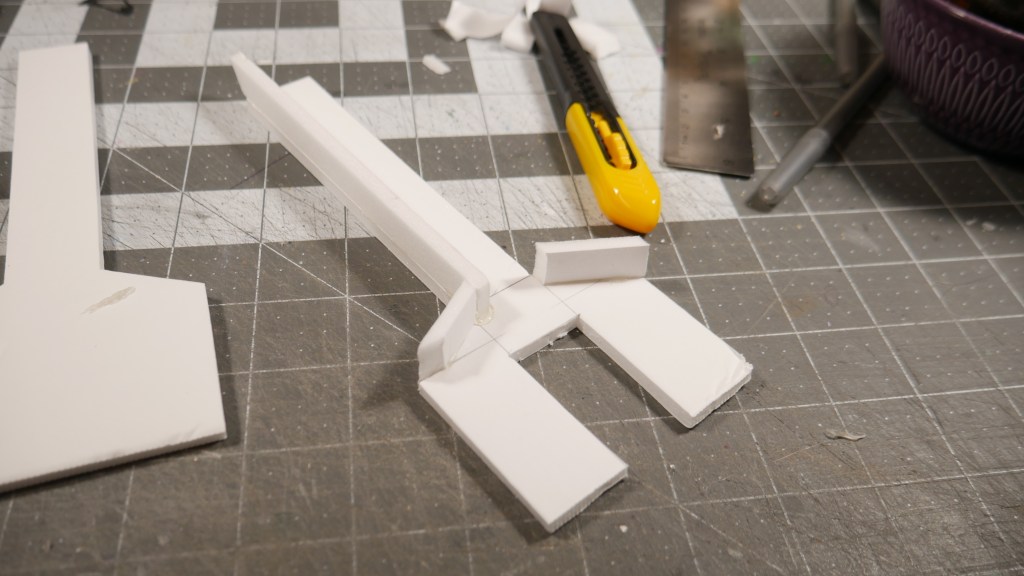
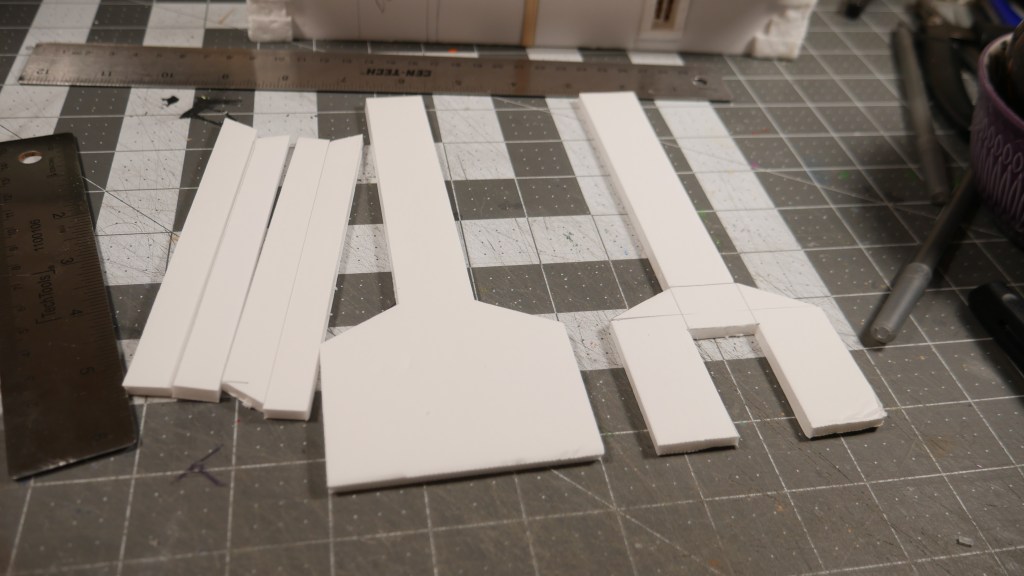
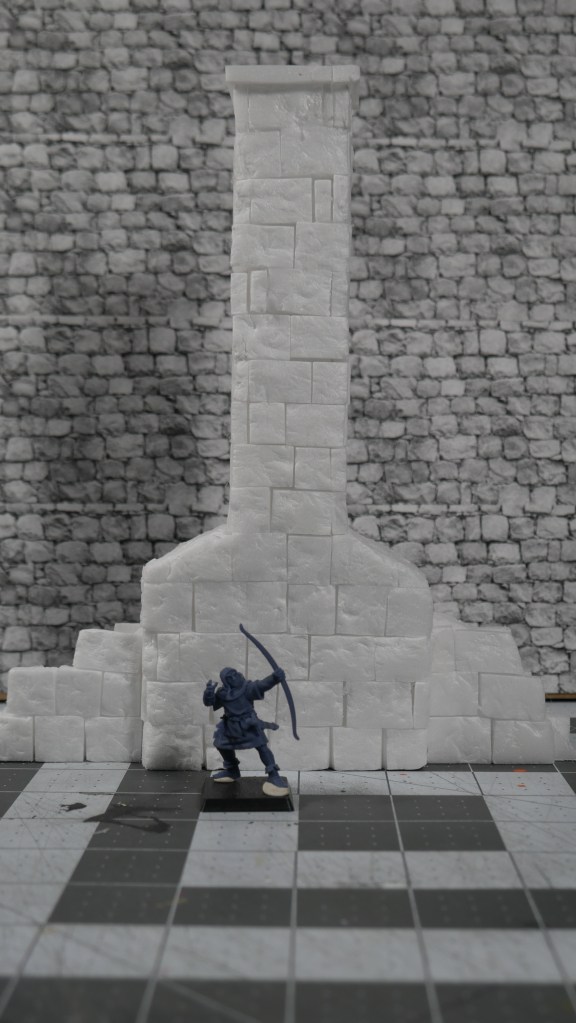
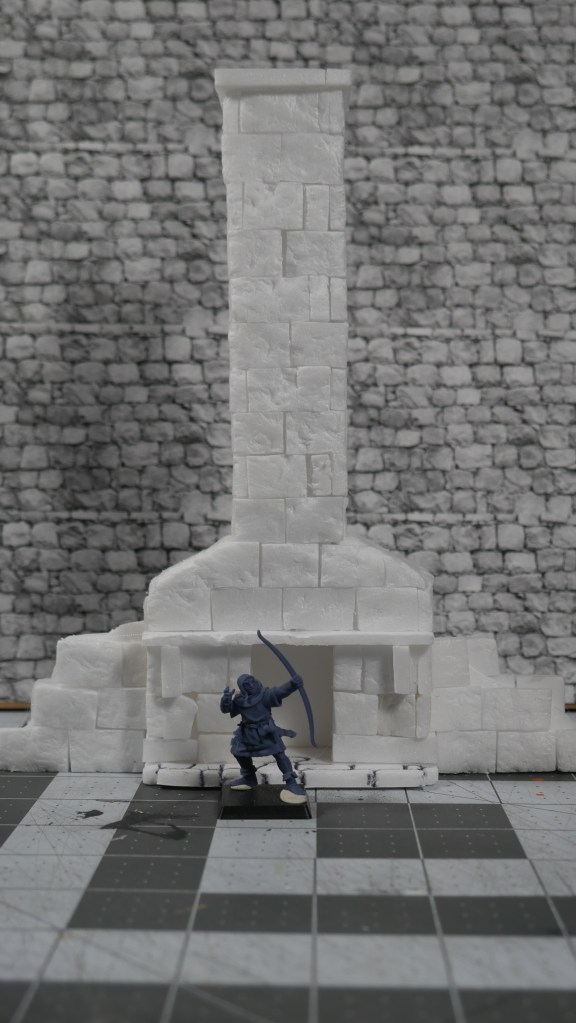
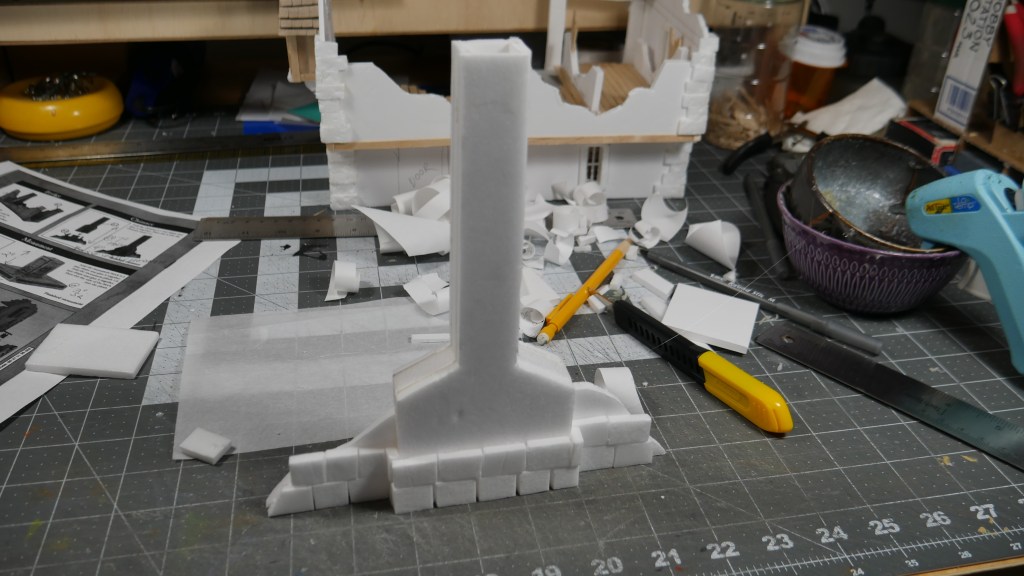
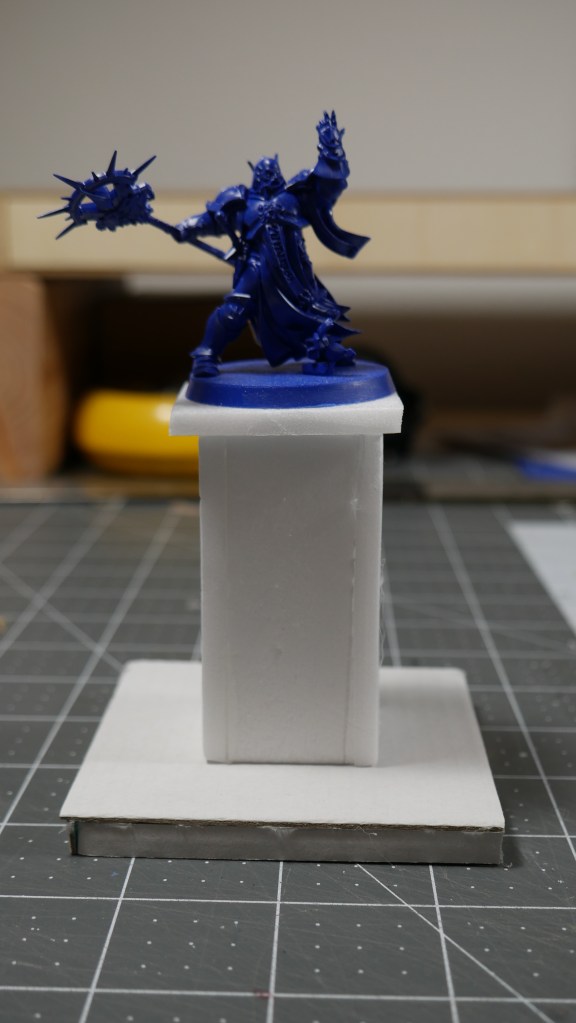
Hi. Oh boy. A number of days have transpired for sure. In the little time slice I gave to this hobby of mine, I was able to get ready some scatter terrain for my version of the Mordheim Starter Box Terrain. Namely, the Chimney and the Monument.

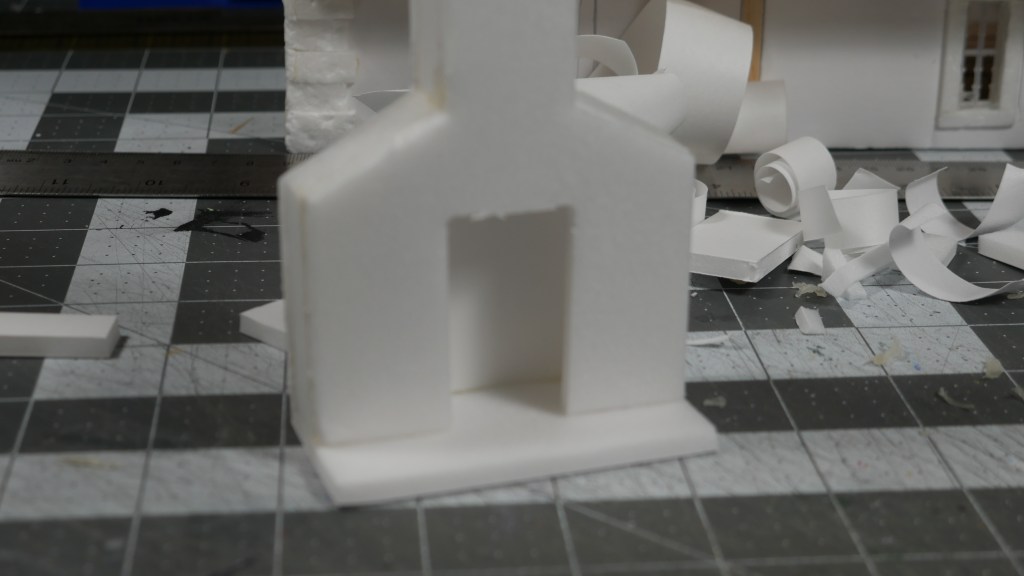
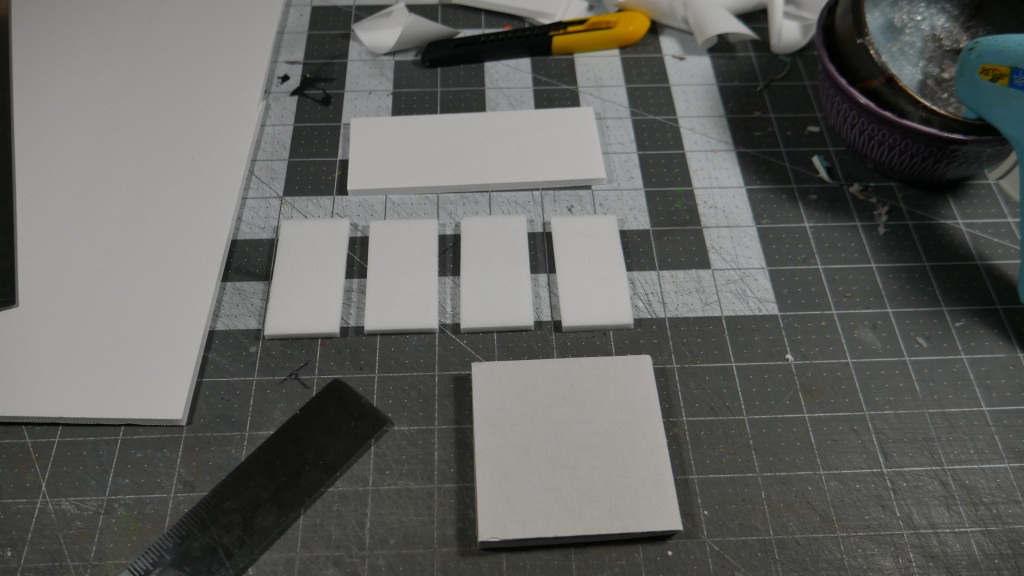
I said to myself as I was looking over the Build Instructions from the original box starter set those famous last words, “How hard can it be?” Well. Not too hard. I started with the Chimney. I did the usually perusing the interwebs for inspiration and referencing the build instructions and scans of the official card version. I thought maybe I could just cut out the front and back and use the scrap cutoffs for the sides/crumbled wall. I would then use some foamcore/foamboard for the base or even some cardboard as I have been doing with the previous structures in this series.

I would then simply use a ball-point pen to engrave the stonework into the soft foam. Nah. I decided to clad the structure in even more foamcore stones/bricks. That did take a while to complete, but I feel gave the structure more “beefy-ness” it needed to survive the twin-tailed comet’s path of destruction. Towards the end of this session, I did end up drawing stones for the hearth.

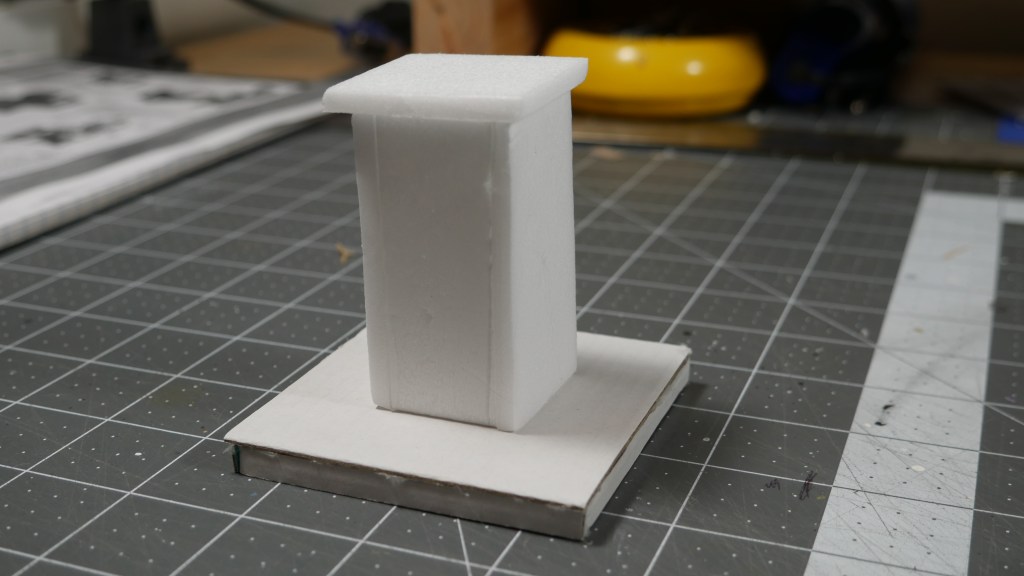
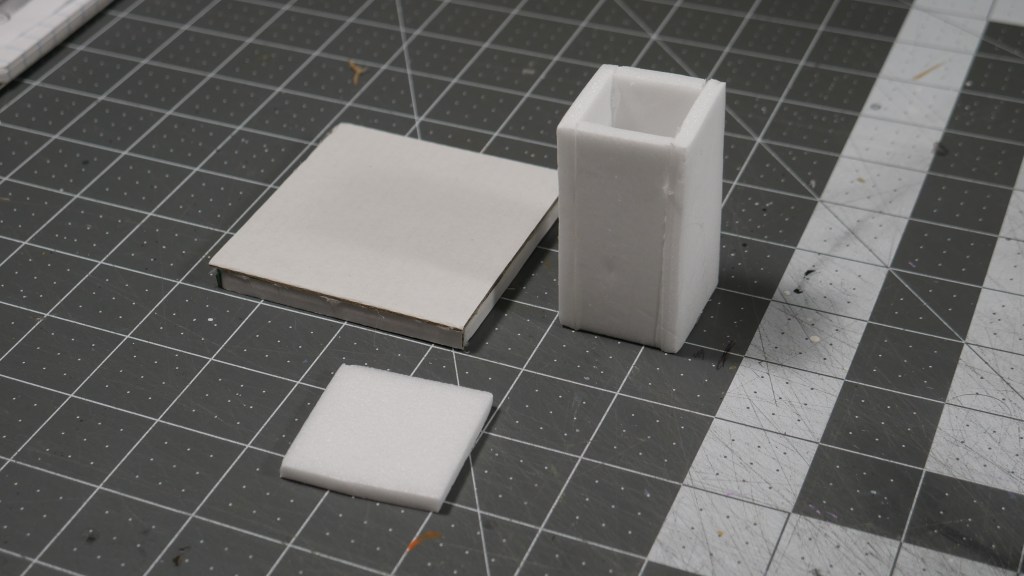
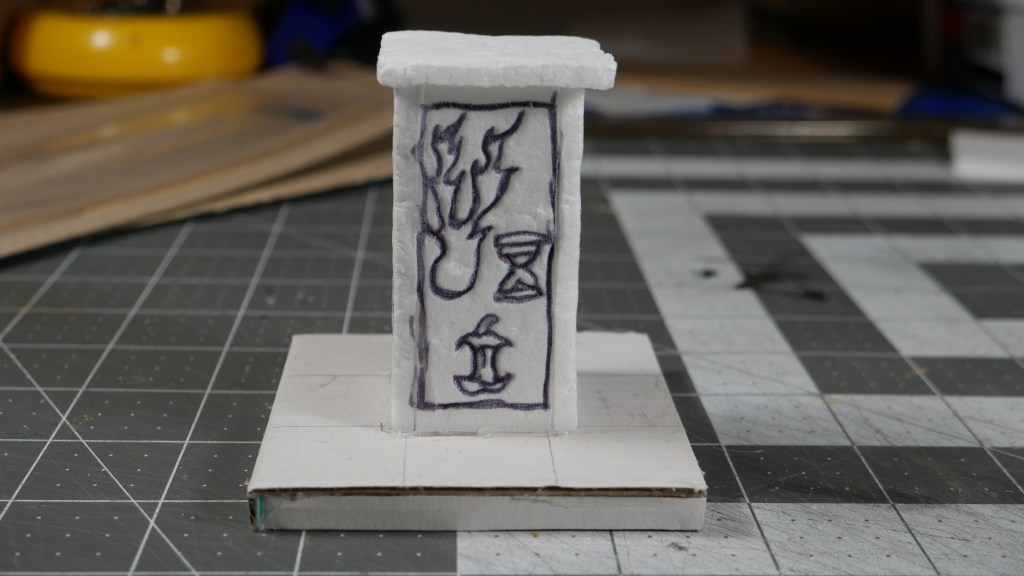
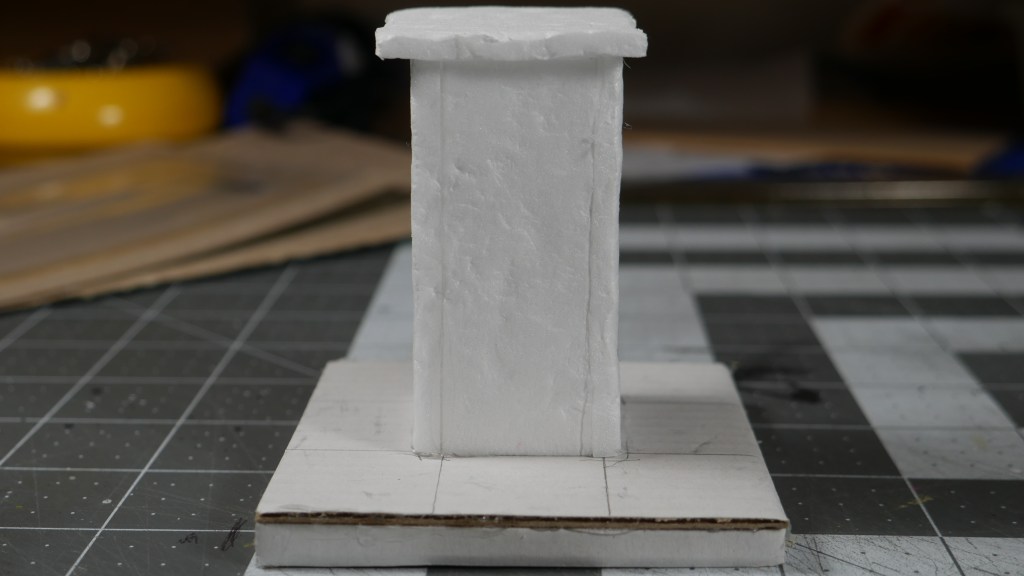
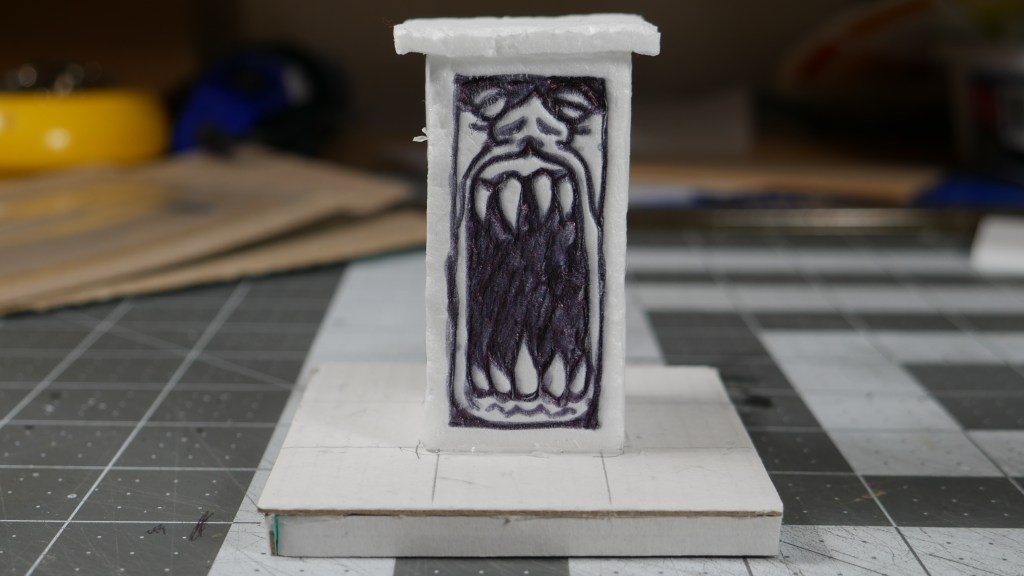
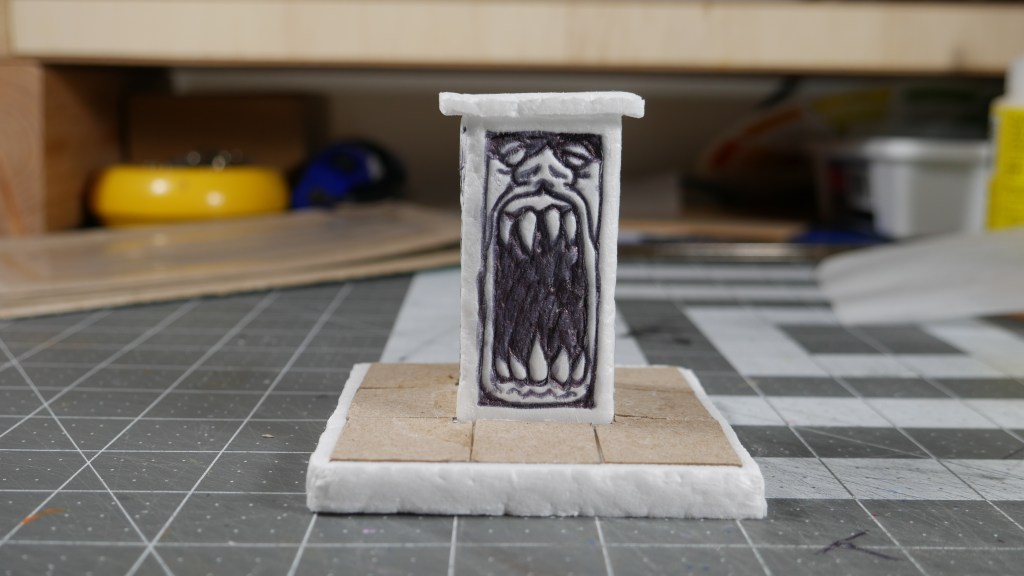
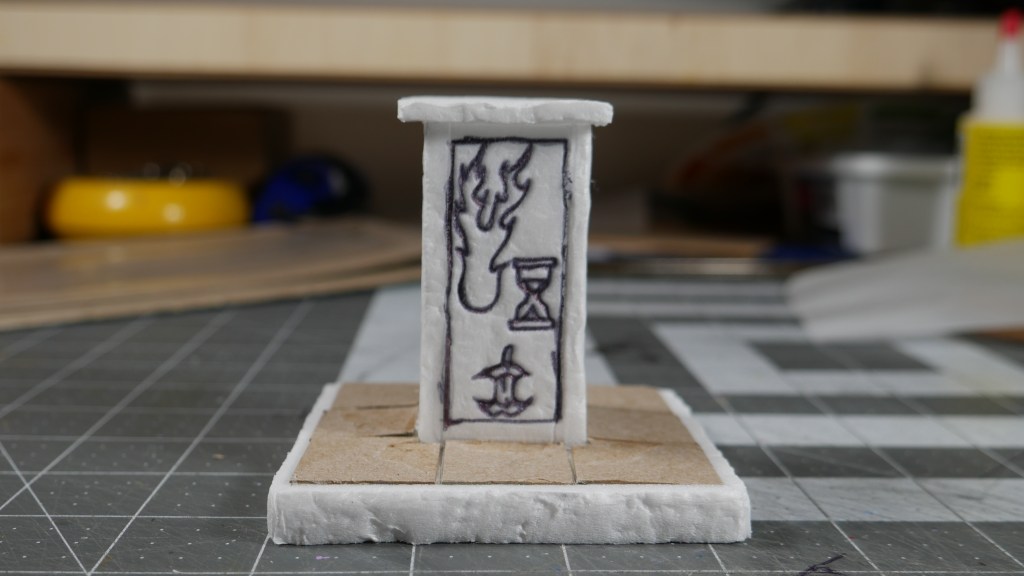
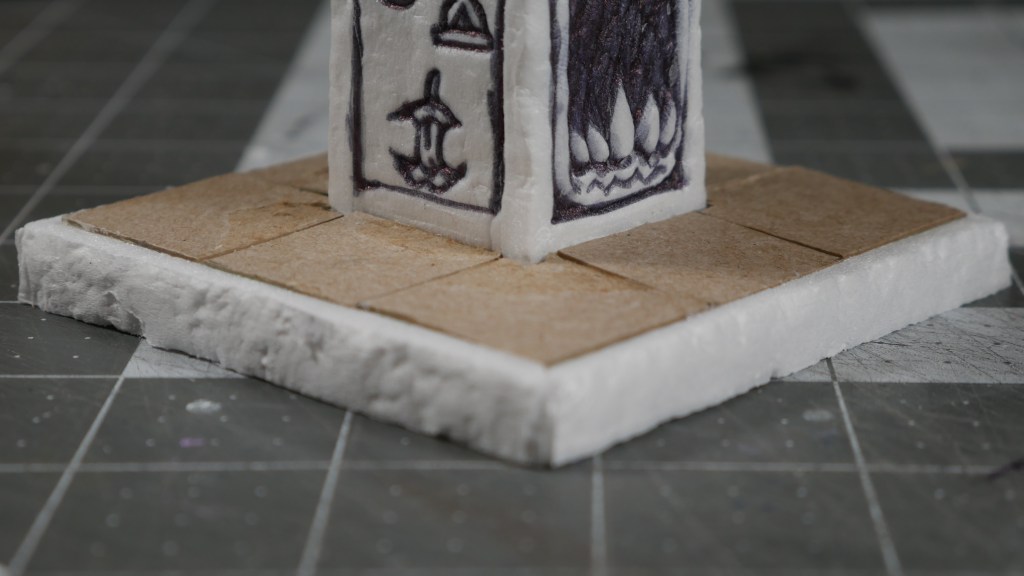
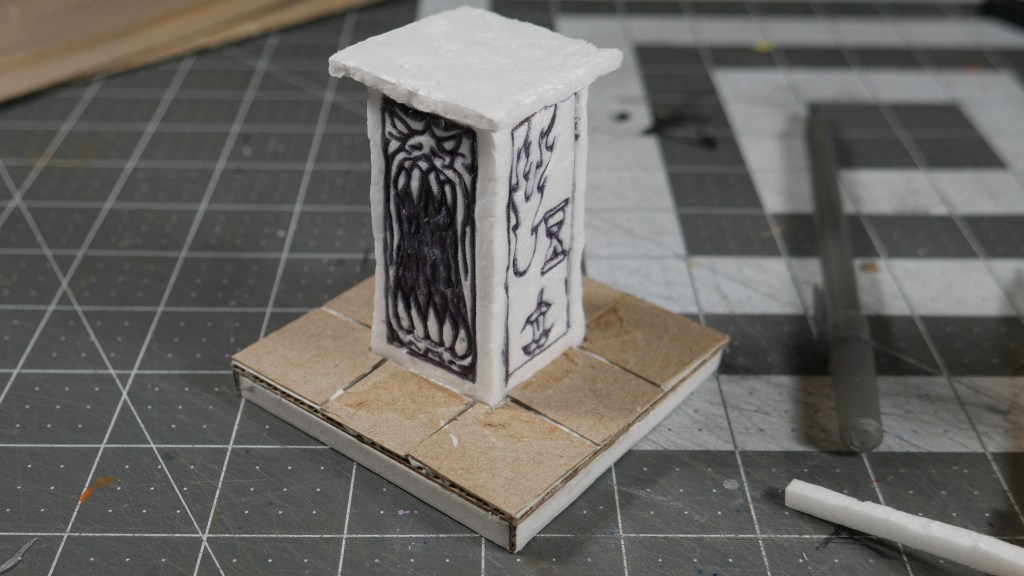
The Monument was also another structure I thought was going to be a simple build. I decided to use cardboard for the base and foamcore for the rest of the structure.

In looking at the build instructions and scans of the original cardboard cutouts, I saw there were etchings on the sides of the monument. Since the foamcore took drawn lines well, I decided to freehand the images of what I am calling the “demon face” and “time of the comet” with a ballpoint pen. I think it turned out OK. What do you think?

I then added some cardstock “tiles” to dress up the base. I added some foamcore also to trim out the base edges. I finally added some remnant statue feet. Don’t ask where the rest of the statue went. I don’t know.

I think both builds turned out OK. The last item from the Build Instructions is a “Bridge” which I thought was kind of weird since there was already a bridge as part of the Bridge House structure. I may or may not get to that one.

Now, it’s long overdue time to add some pigment to these structures. Sounds like fun times ahead. What hobby projects are you working on? Care to share in the comments?

Until next post, Happy Crafting!

The Bridge House Ready(ish) for Paint

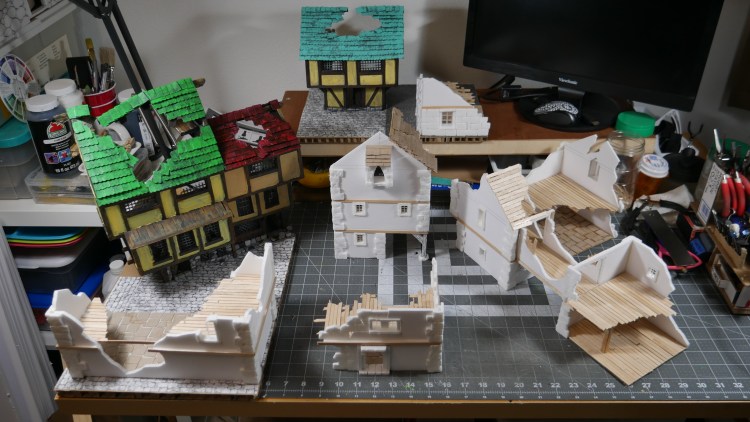
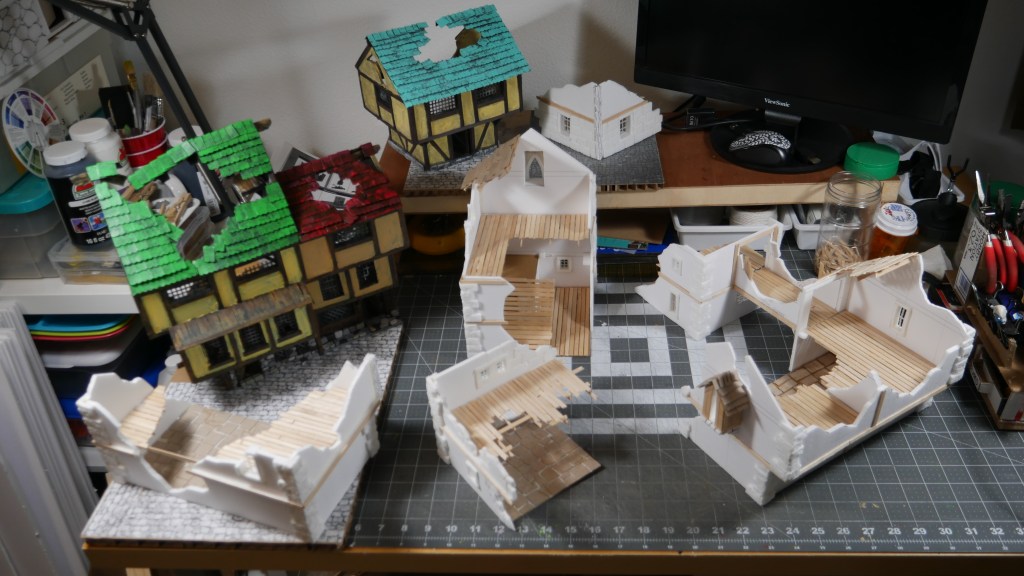
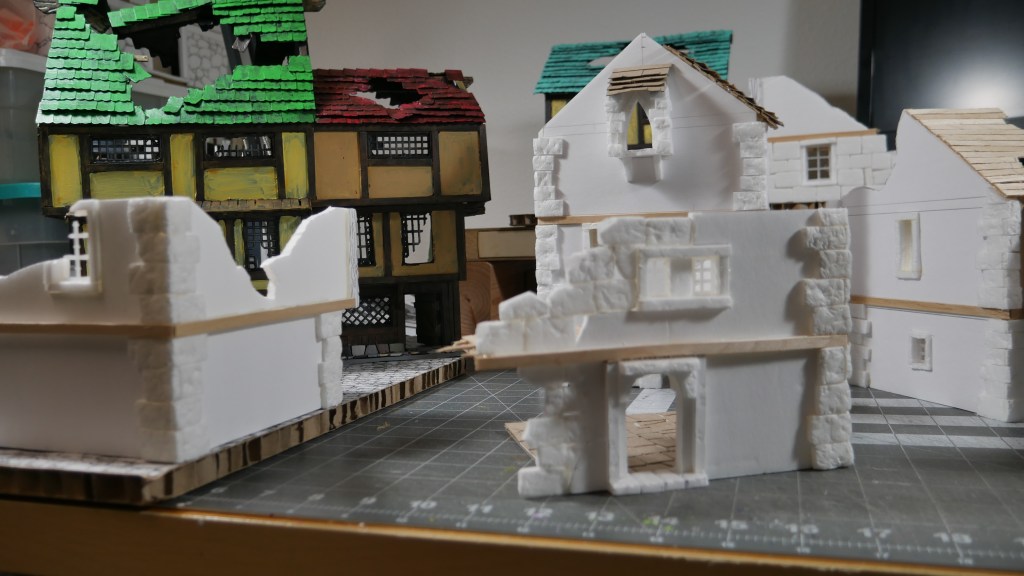
Hi. It’s been a busy past couple of days. A lot of last minute prep for an event. My progeny reaching a a couple of milestones. Some lingering illness (not me), but the weekend is nearing a satisfying conclusion. I have gotten to a point where I can begin to lay some paint on my version of the Mordheim Starter Box Terrain. Corner House 1 & Corner House 2. The Long House. The Tavern. And, this evening, the Bridge House.

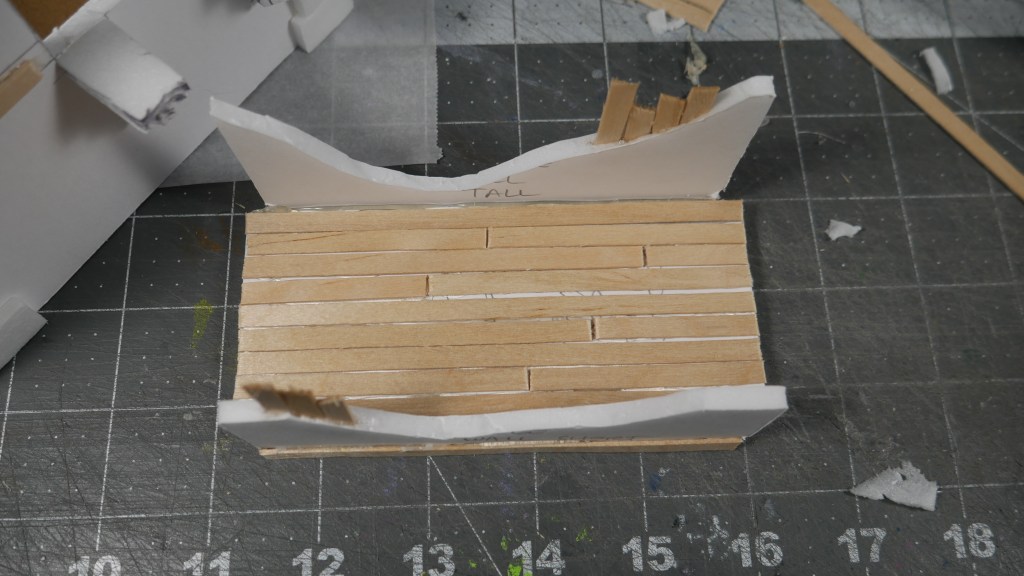
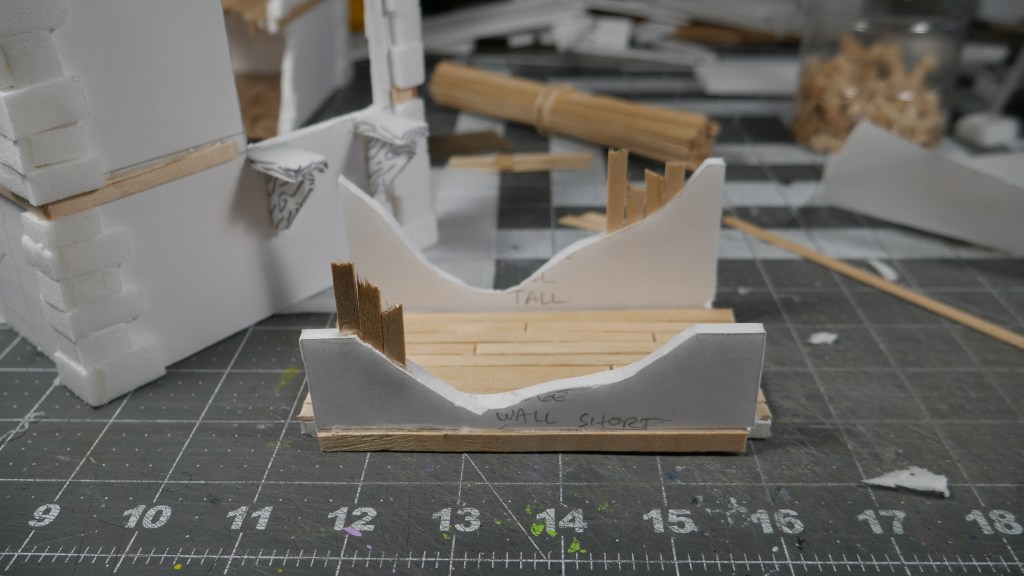
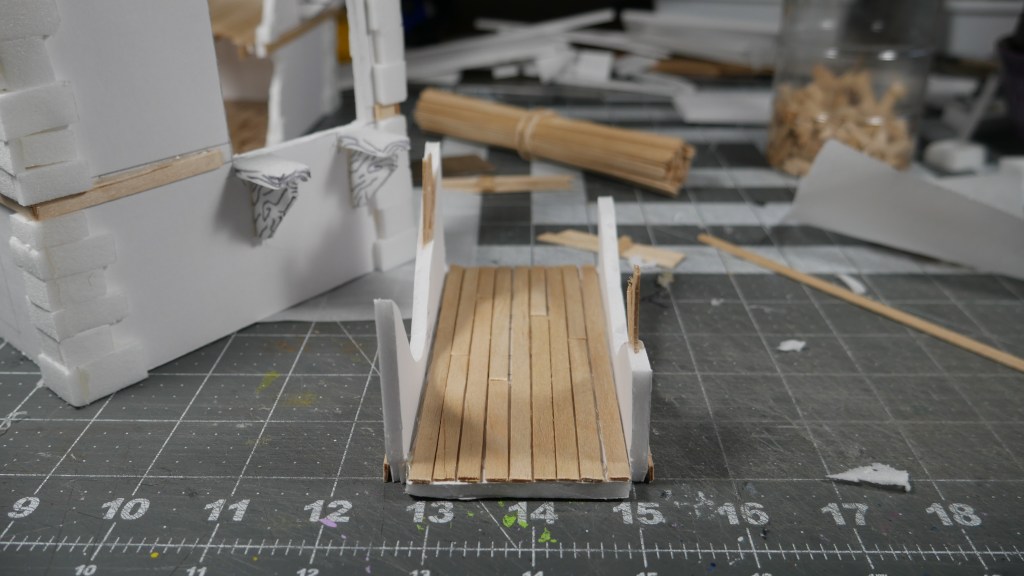
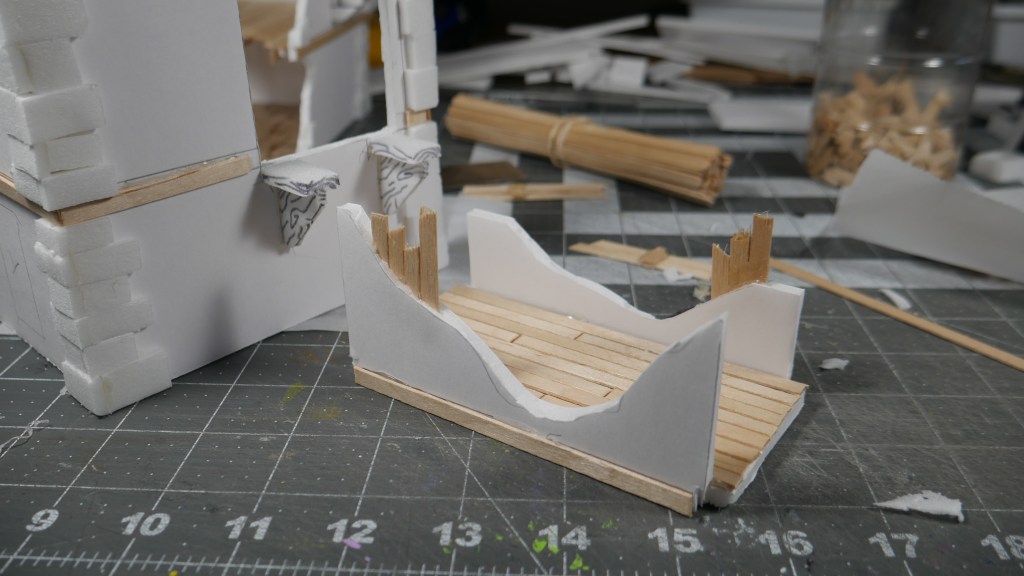
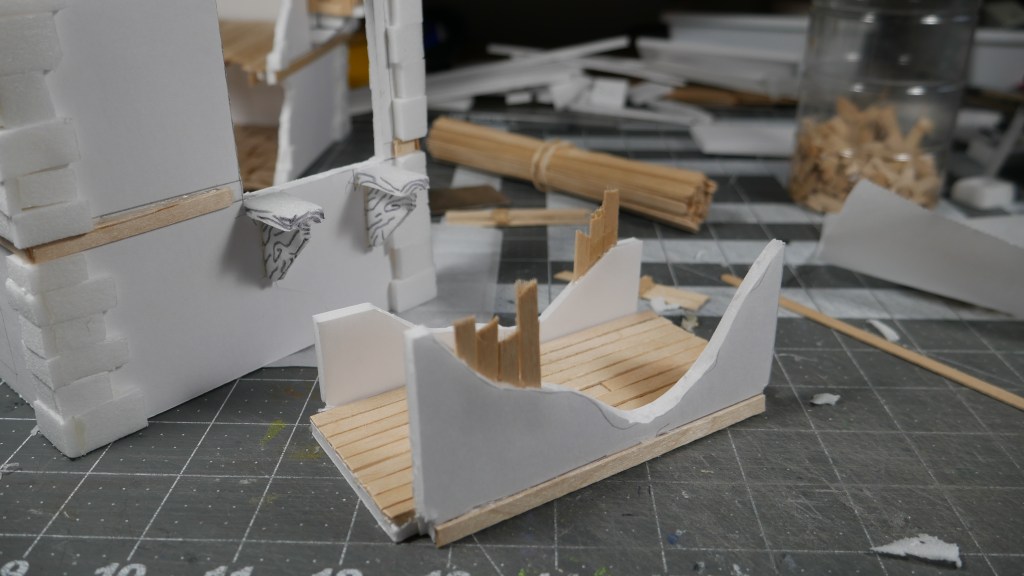
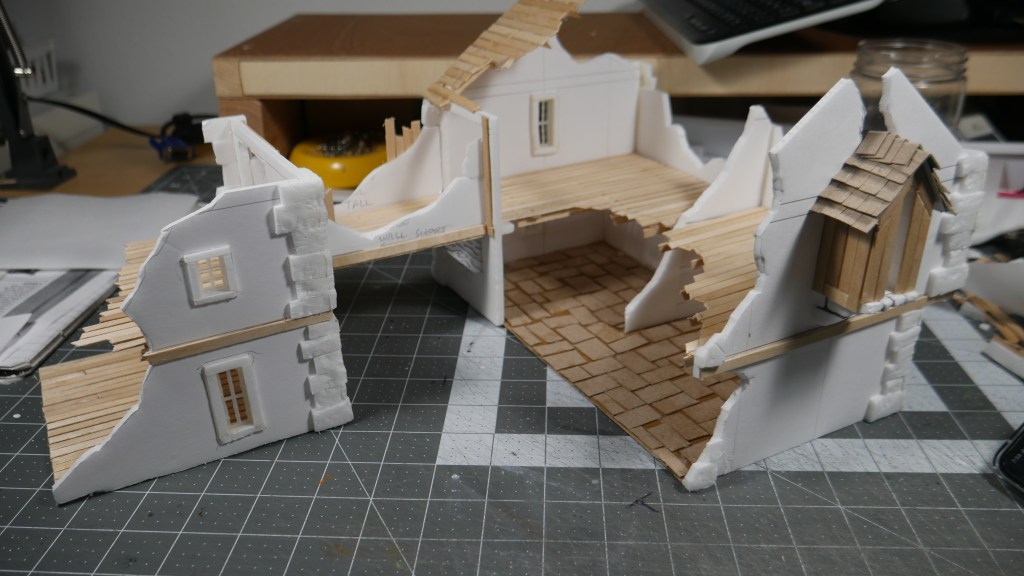
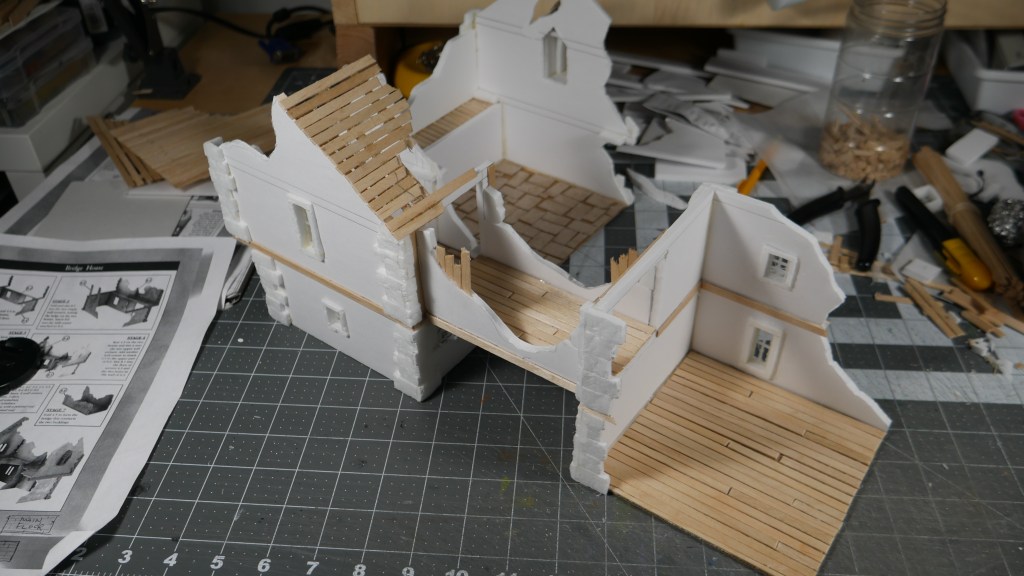
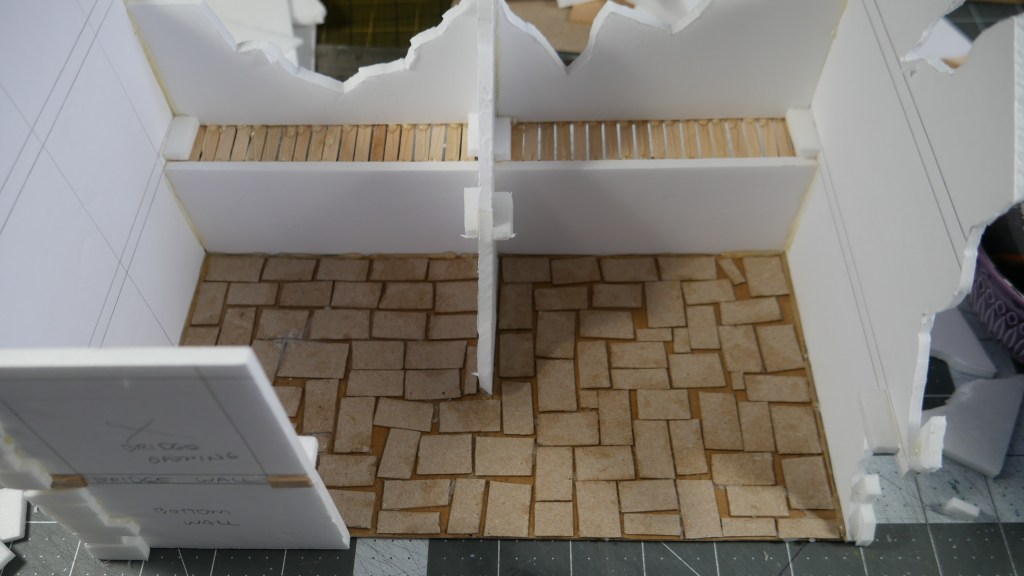
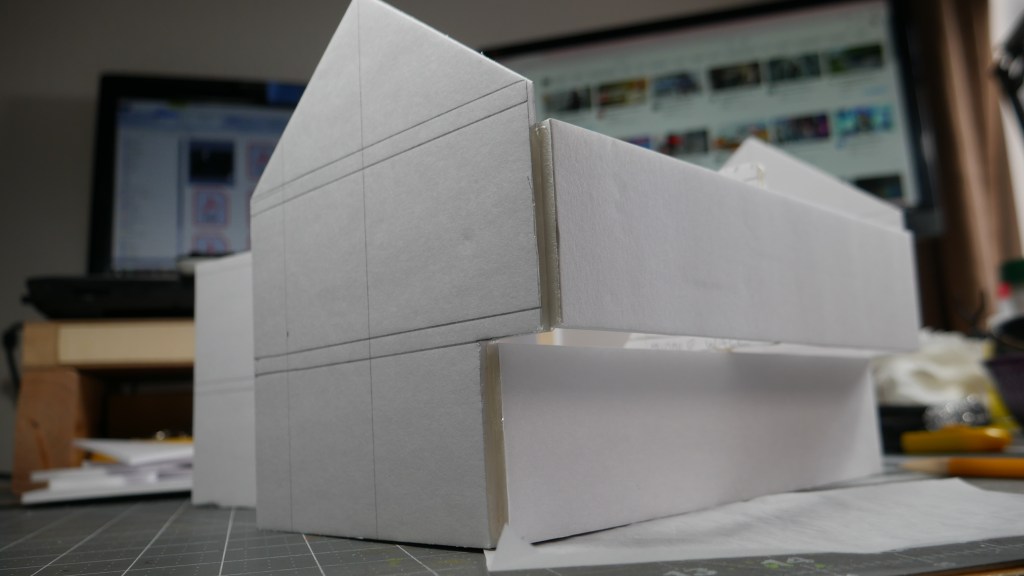
The Bridge House did pose a slight challenge for me. Mainly in figuring out how the “bridge” portion would connect the two adjacent structures. I also wanted to make it slightly modular for multiple gameplay configurations as well as more compact storage. TBH – the multi-level structures have removeable flooring that I can nest the structures where there is room. At some point I will be making a gameboard, but that is a challenge for future me.

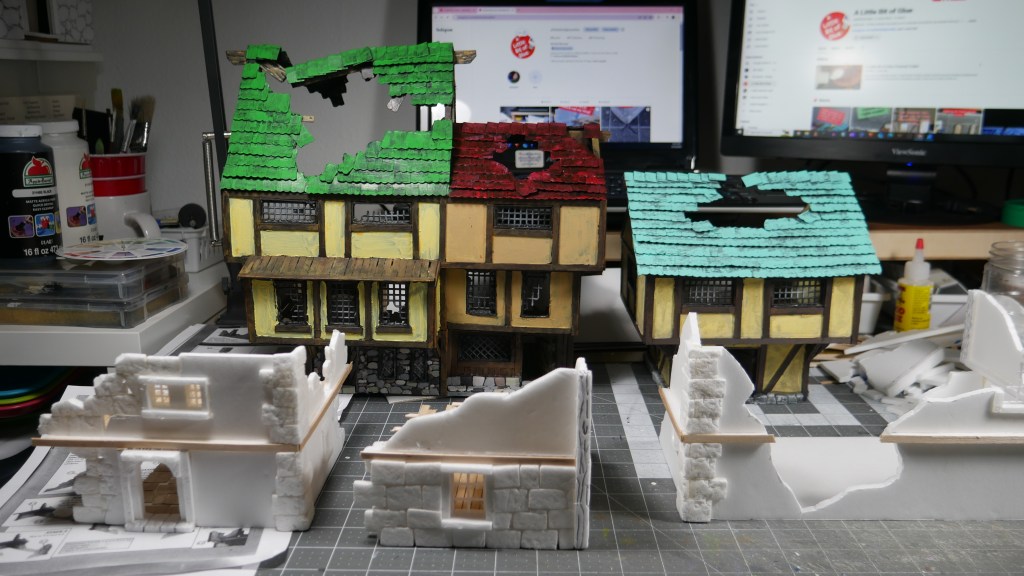
I had fun making this Bridge House, although it took me longer than I would have liked. Such is the ebb and flow of life. I even laid out the structures with my 2 previous Mordheim inspired builds. 4ft x 4ft is a decent sized gaming area considering the 28/32mm scale of it all.

Oh. And if you are wondering. I did find the Build Instructions posted online (broheim.net) that I used to help me construct the structures as well as numerous inspirations from others that have taken on the seemingly simple challenge.

For now enjoy the pre-paint pics of the Bridge House. BTW – what are you working on that is Mordheim related?

Happy crafting!

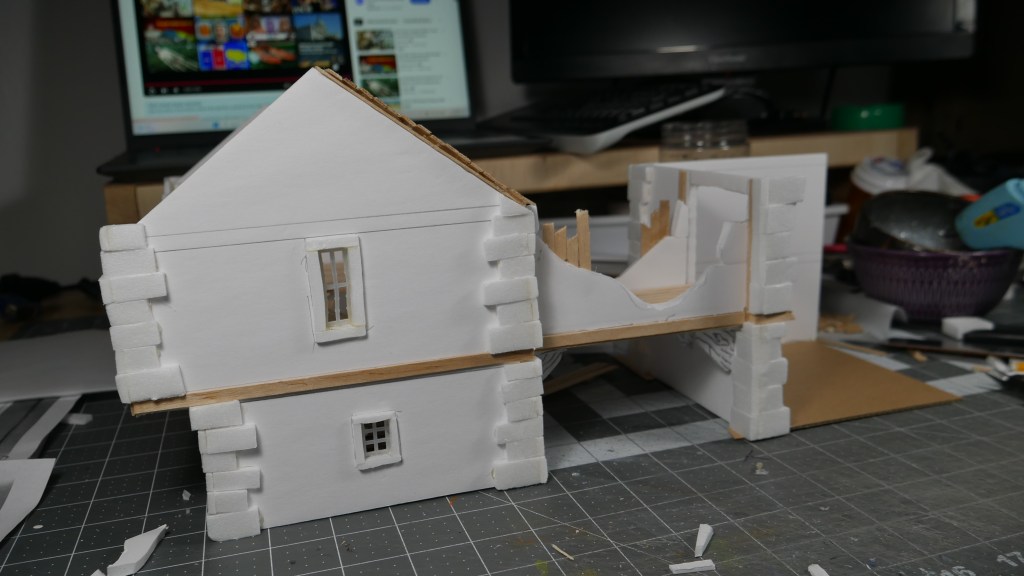
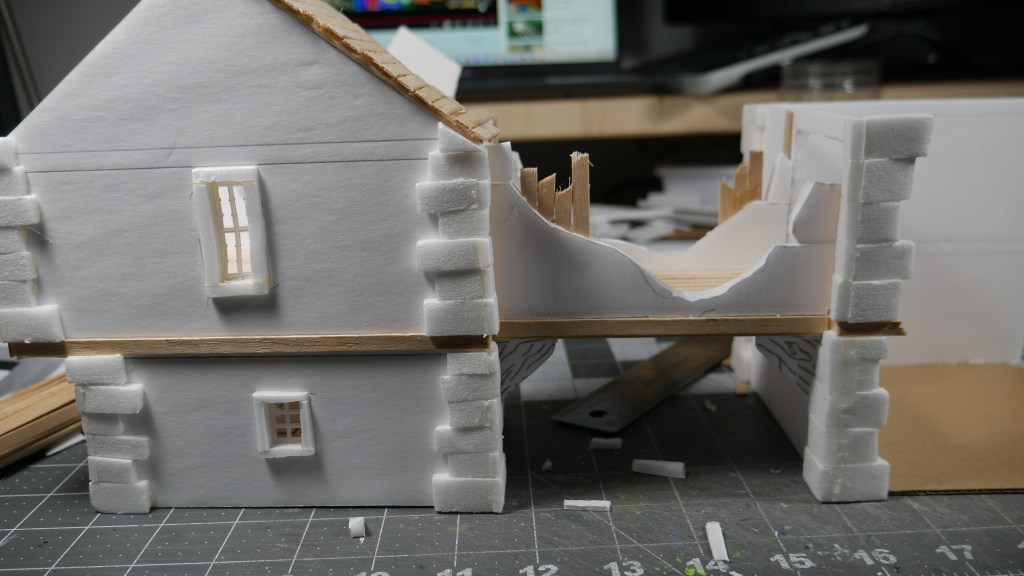
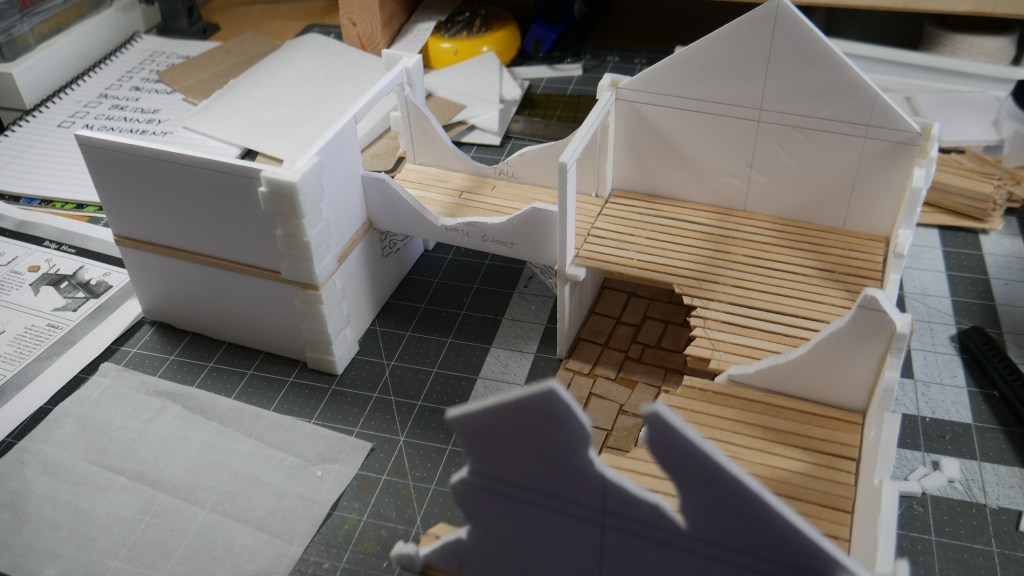
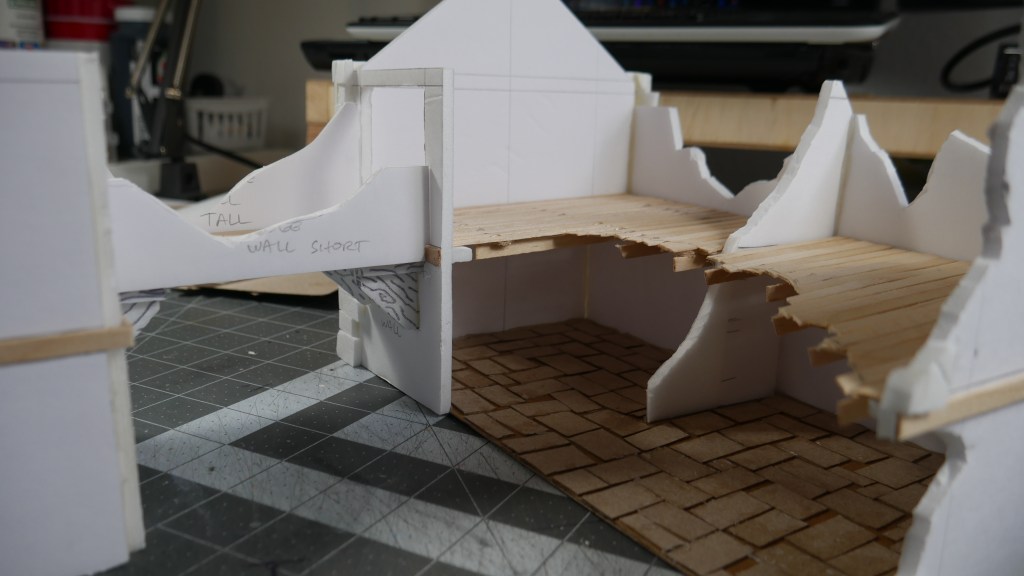
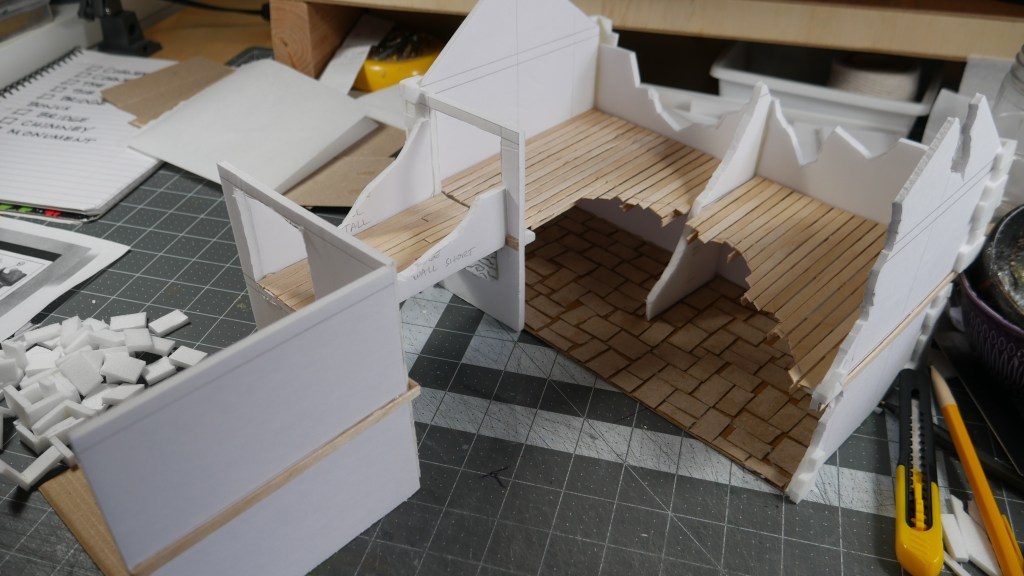
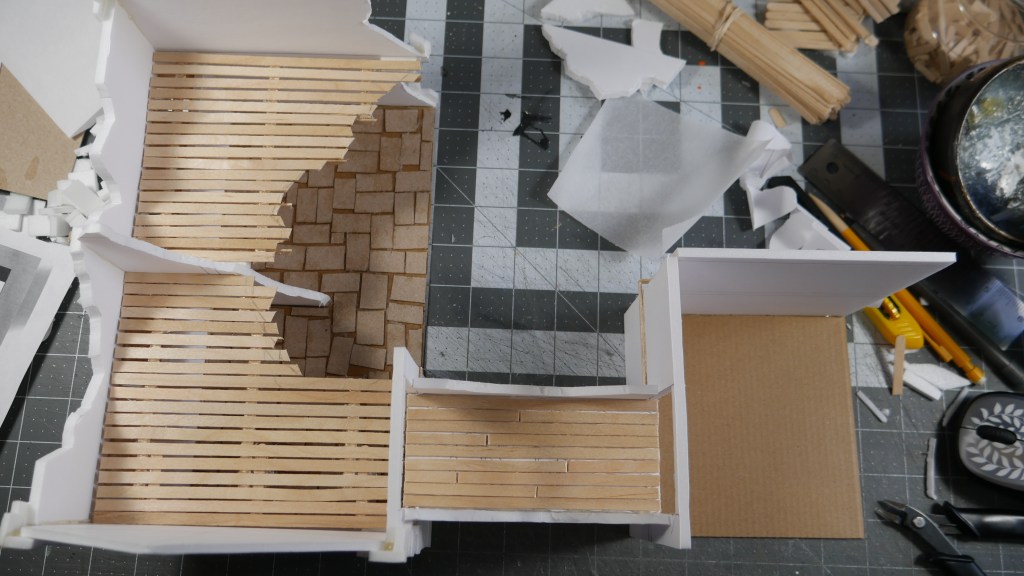
The Bridge House W.I.P.

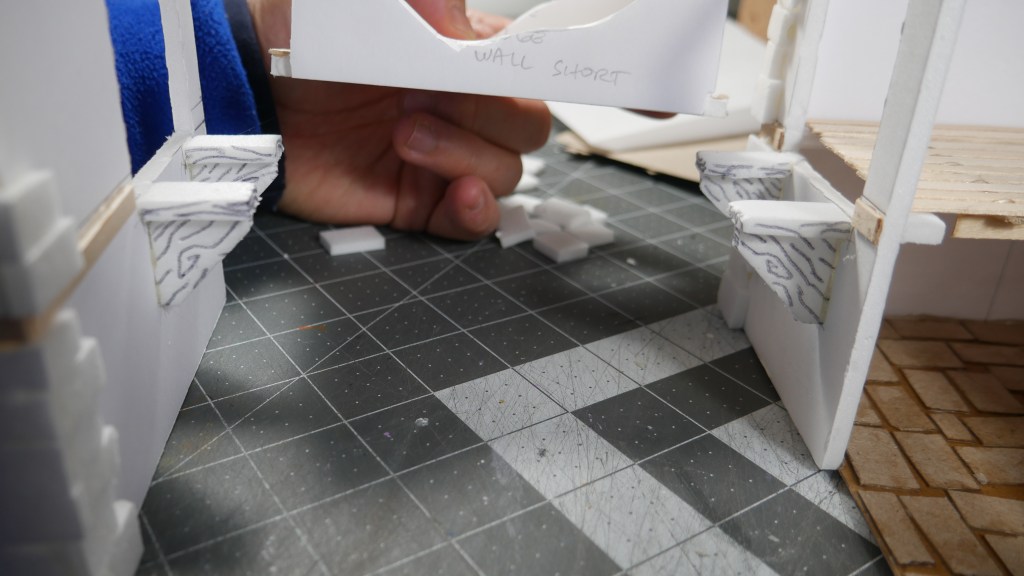
Hi. You know how sometimes you start something. You’re very excited at first at the prospect of even the starting this thing in the first place. Your loved ones even encourage this endeavor, albeit, sometimes I feel like that person secretly doesn’t want me to continue. You go “all out” – at least all out in a sense that you make time for it amongst your other responsibilities like managing the household, chauffeuring family members, maintaining the environment and grounds, etc. Then, the hobby that you love get’s placed on the back-burner and you are too tired or less motivated at midnight to make the effort. You lie awake at night not able to sleep because you are thinking about what progress you could have made if your didn’t sleep the rest of the remaining hours in the 24 hour cycle. You wake up the next morning dead set on continuing the project and showing off your work on social for the likes, views, engagement, hoping one day you are worthy to monetize so that you can justify all the time wasted on this lovely hobby of ours was not all in vain and that you have some worth. What does all this have to do with my take on the Mordheim Starter Set Terrain and the current “Bridge House” WIP? Nothing and everything. I just wanted to vent on paper (er…in writing)

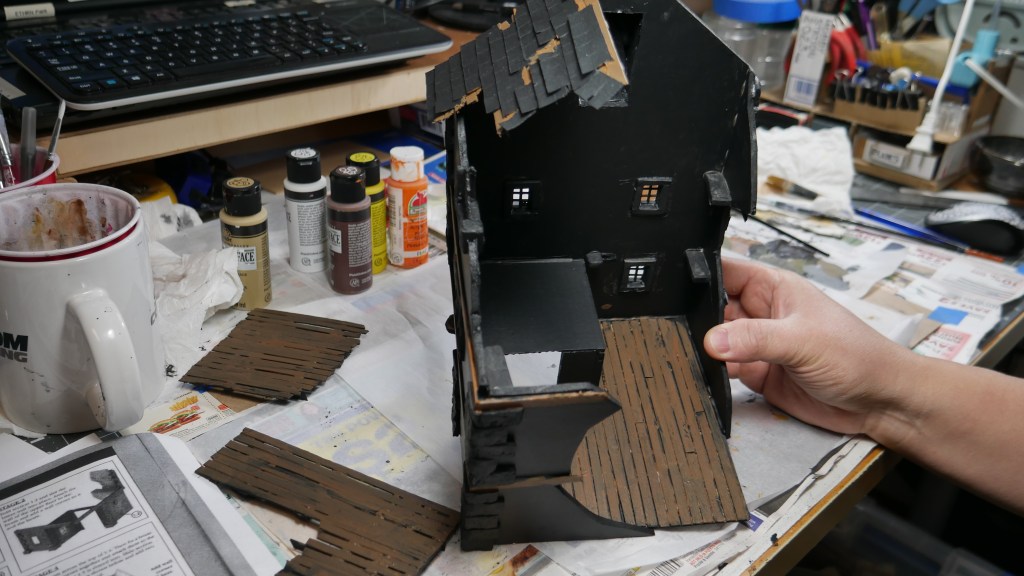
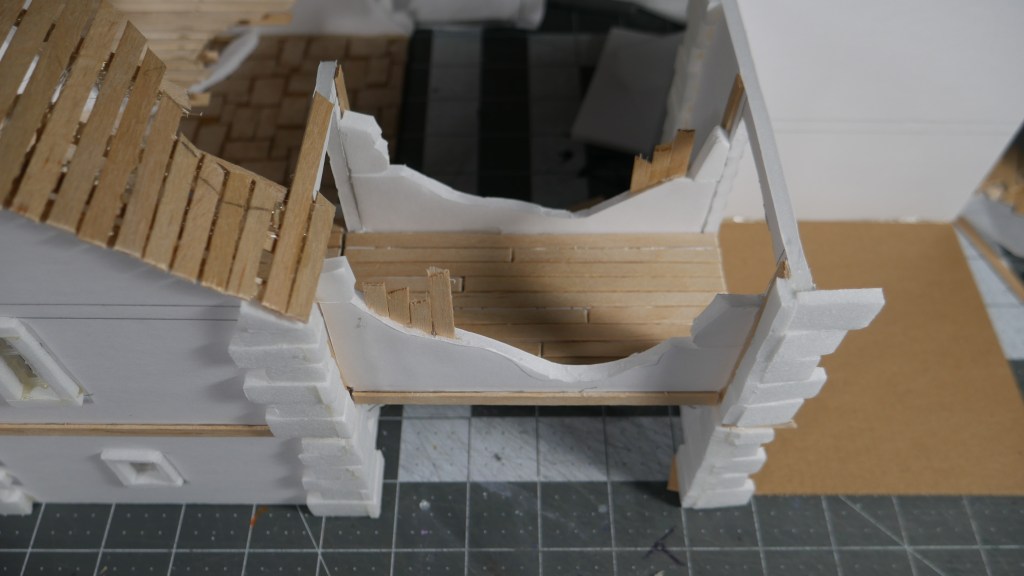
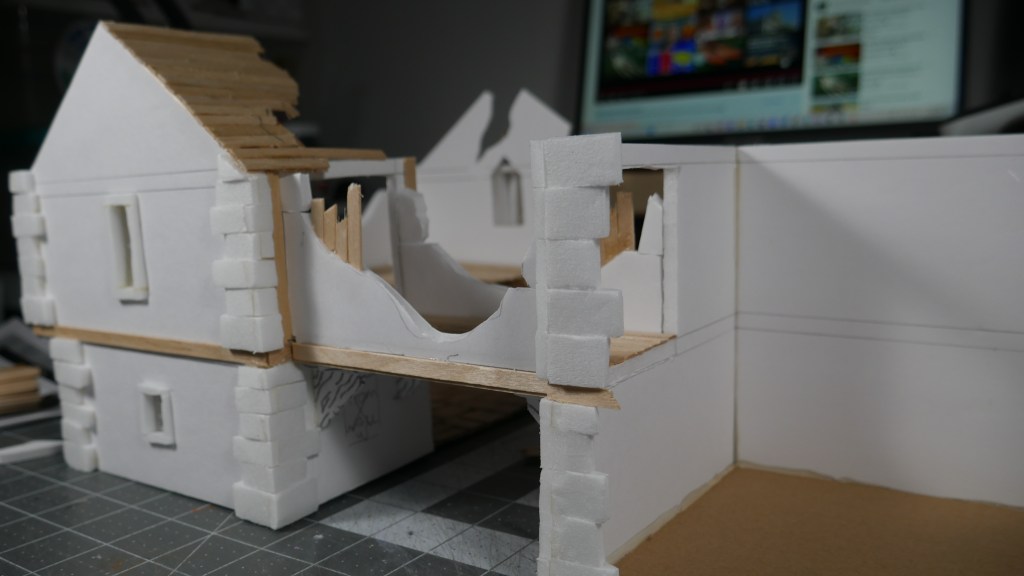
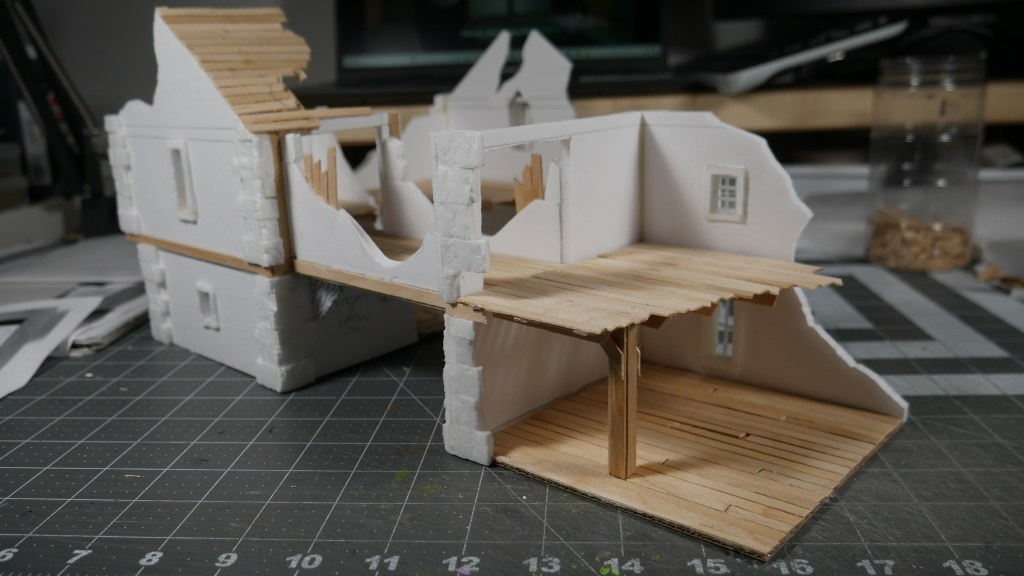
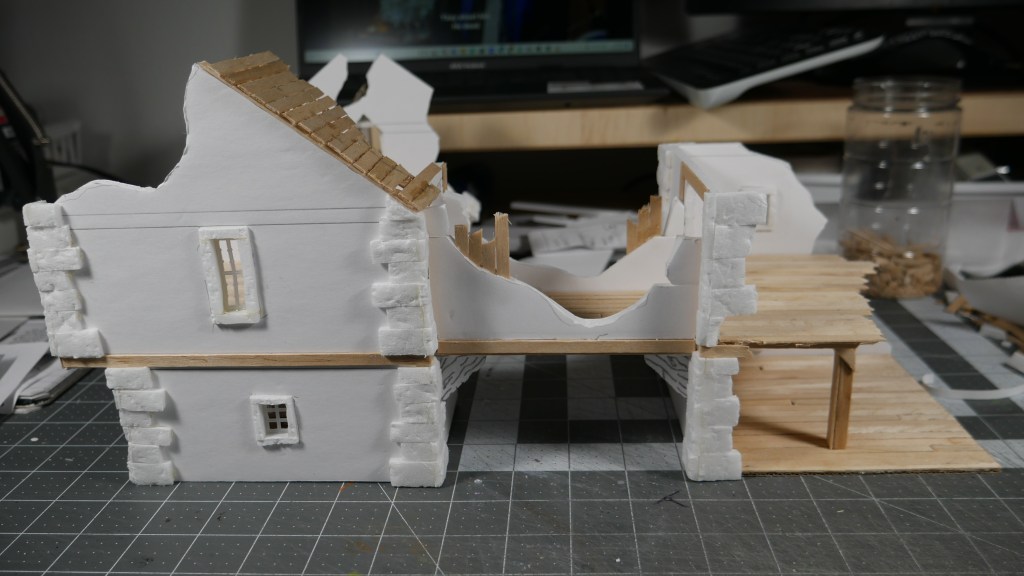
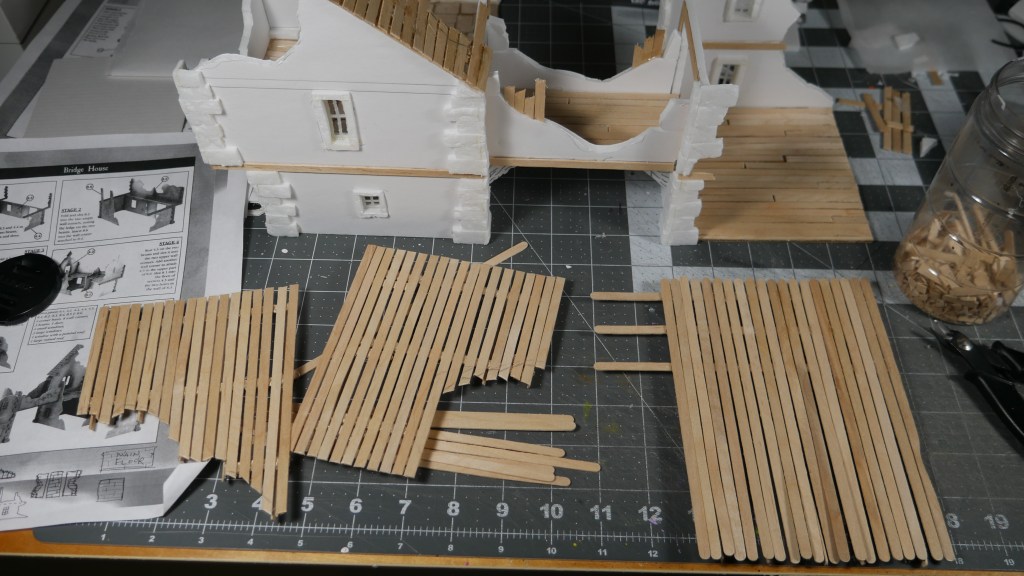
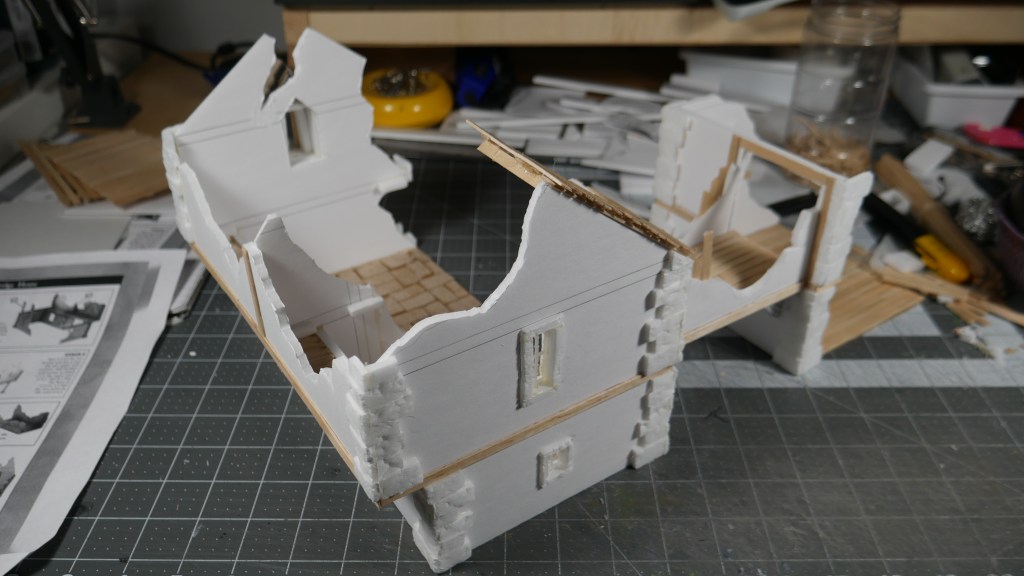
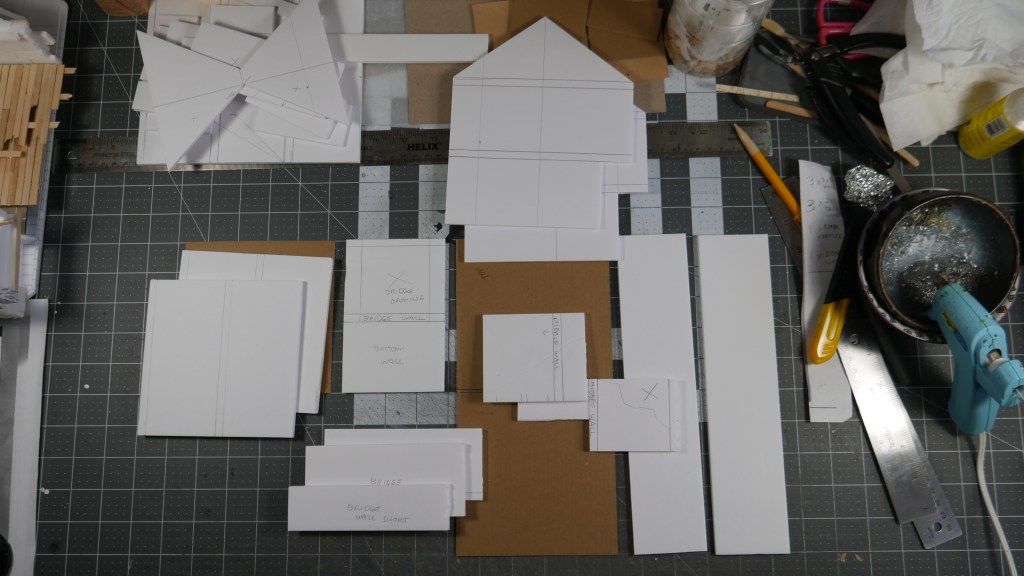
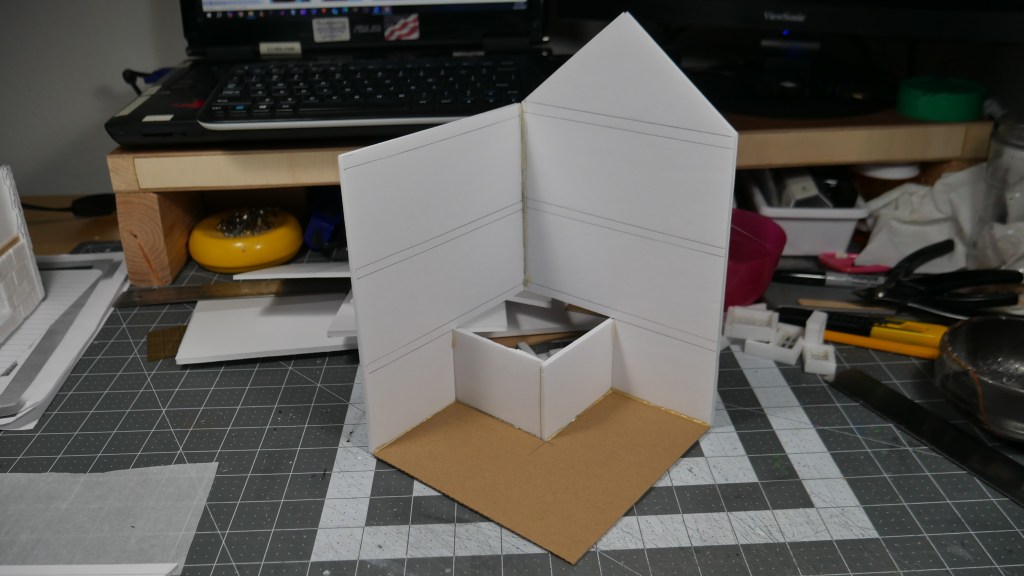
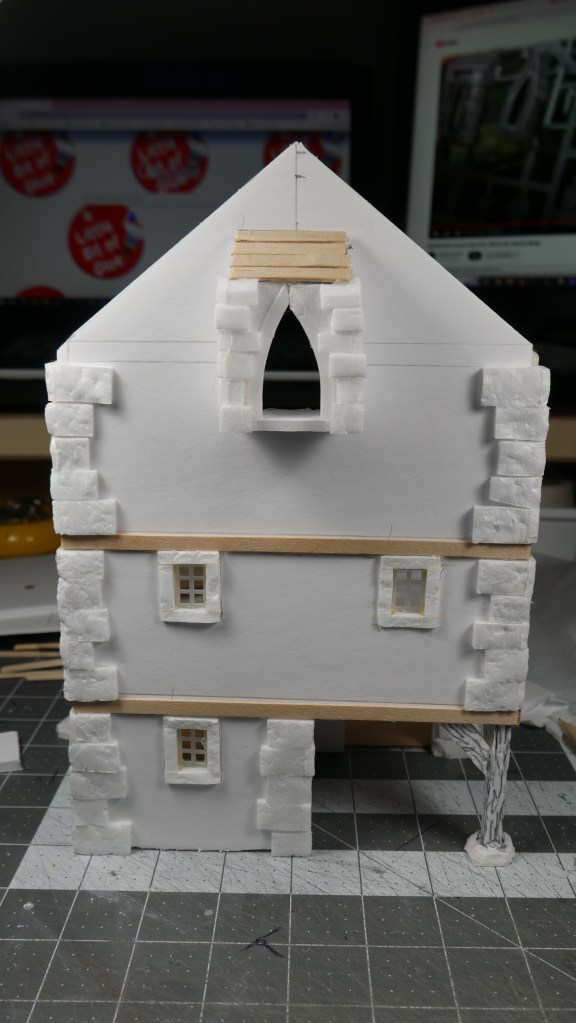
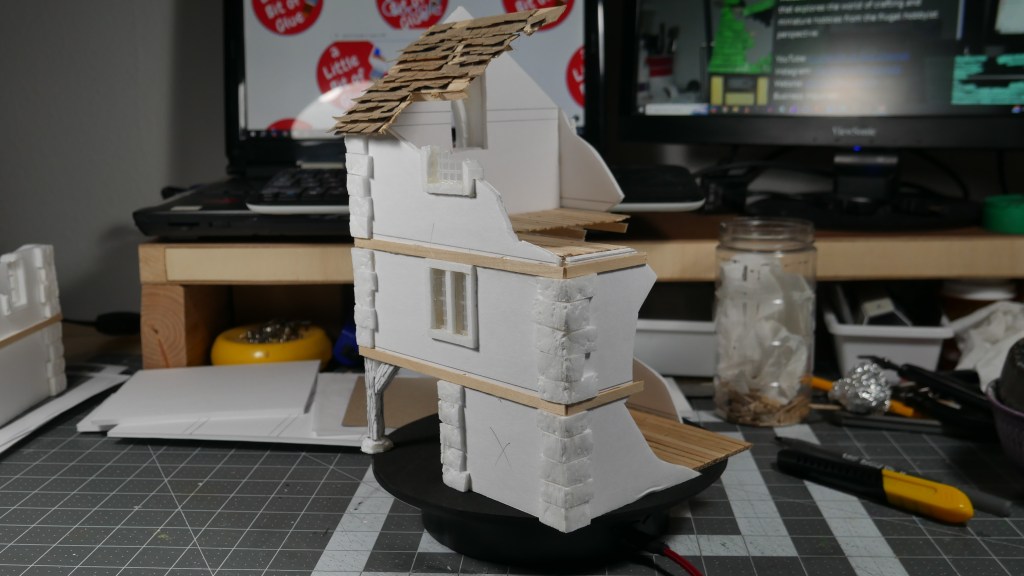
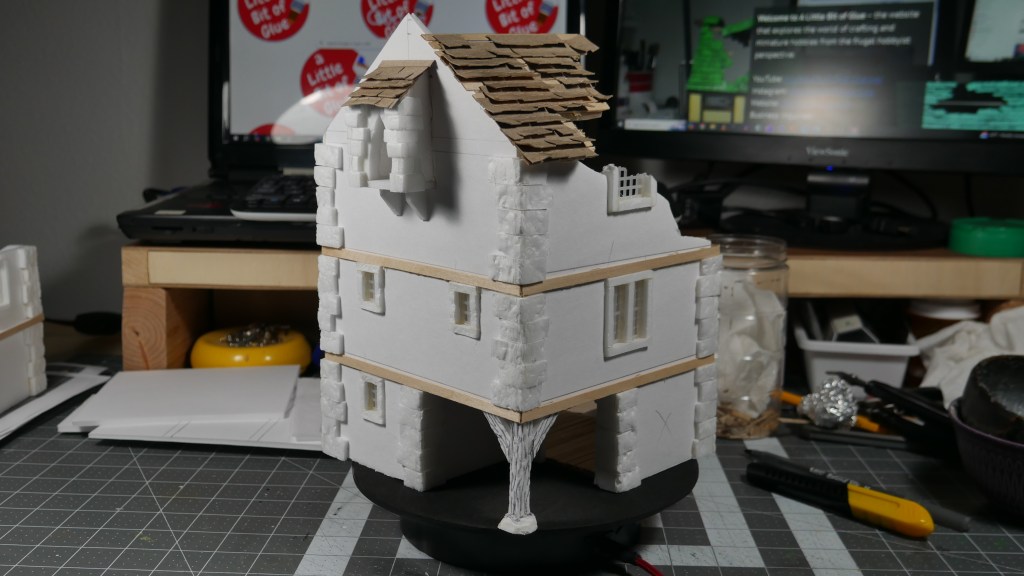
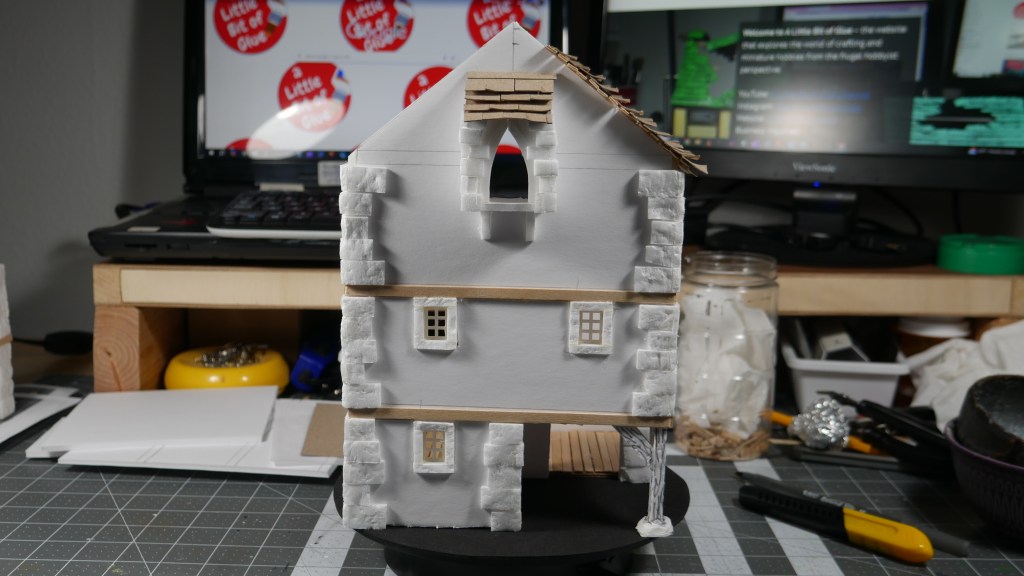
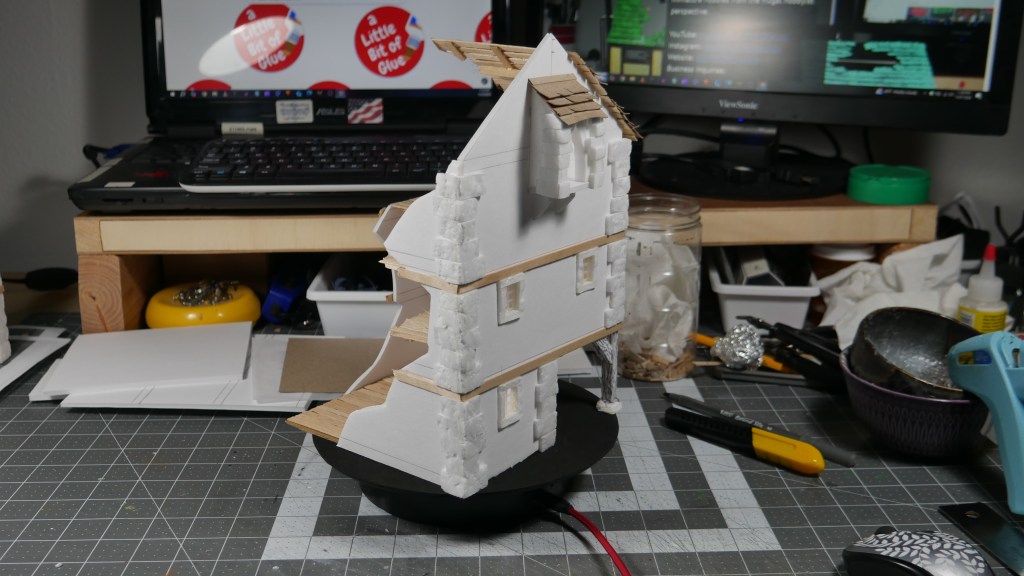
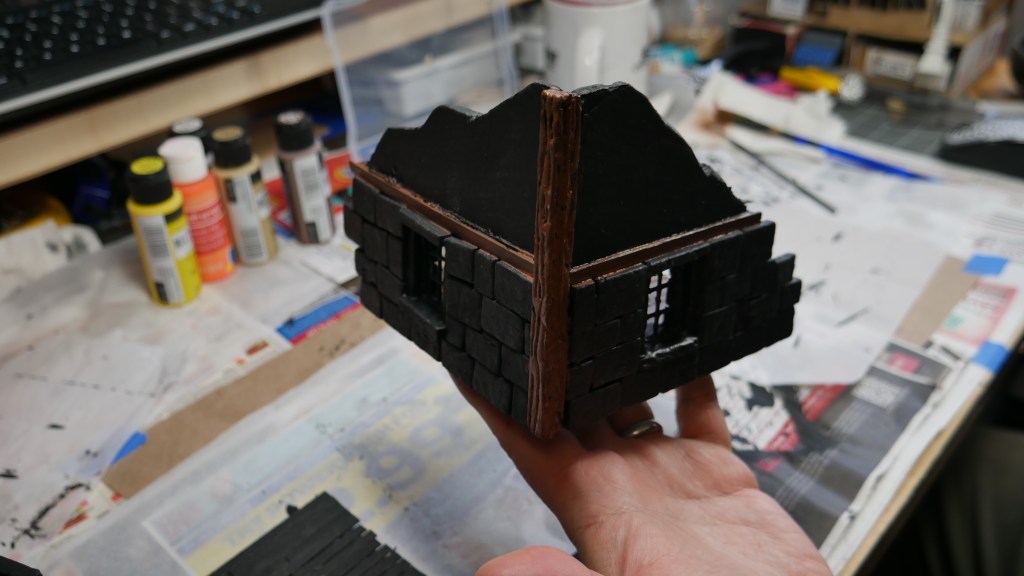
The Bridge House is the last of the starter set terrain and is one of the more involved builds. Considering I did my own Mordheim inspired builds and couple of weeks ago and they sit tabletop ready, but not fully kitted, the Starter Set self challenge should have been a breeze. It’s not. Again, I wanted to stay as close the source material while adding my own little touches.

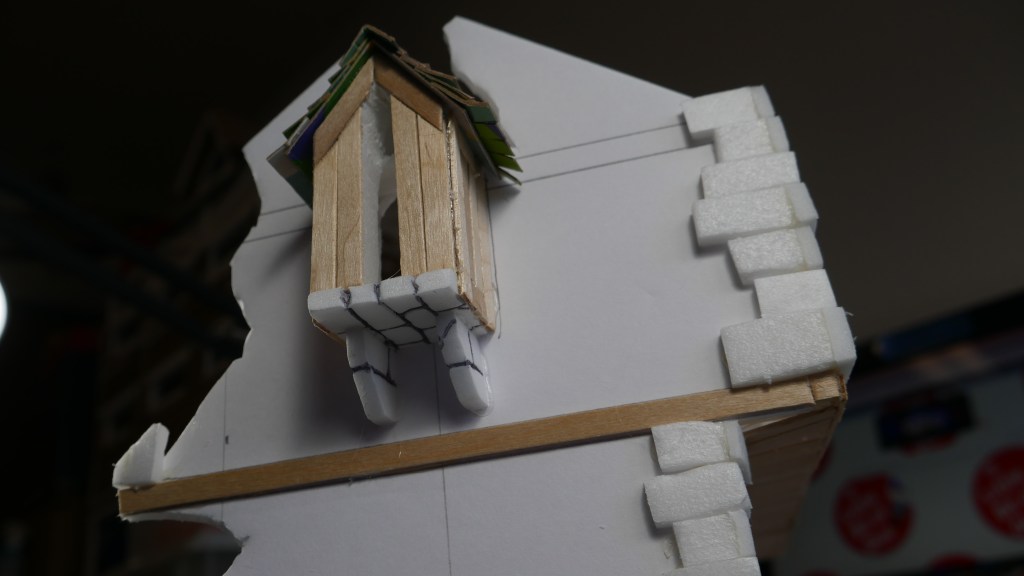
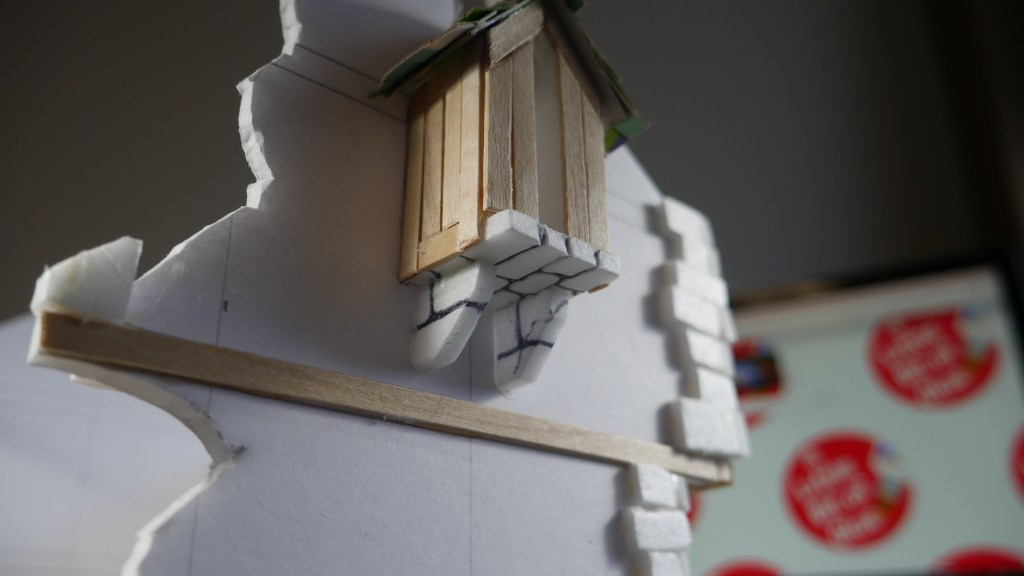
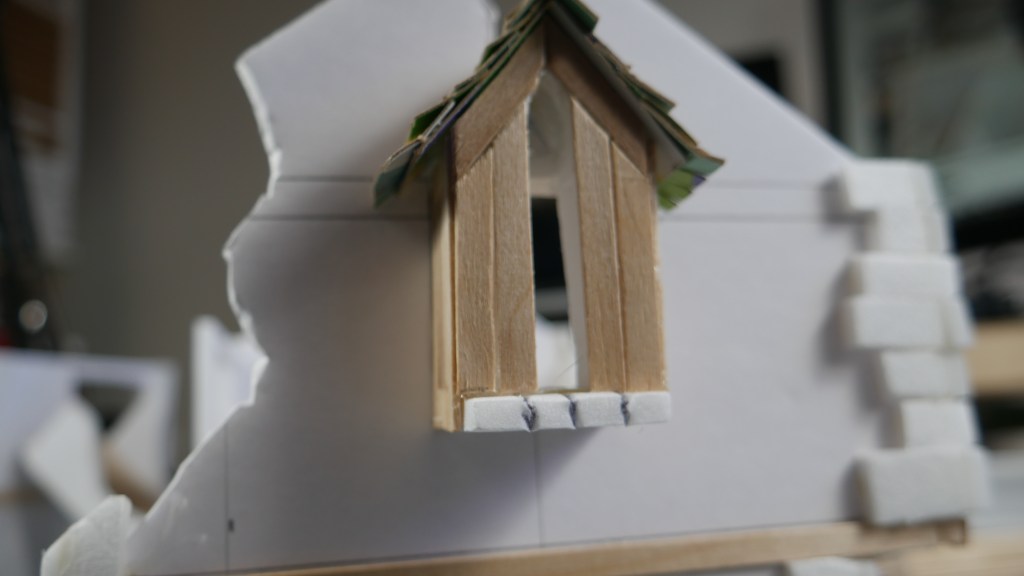
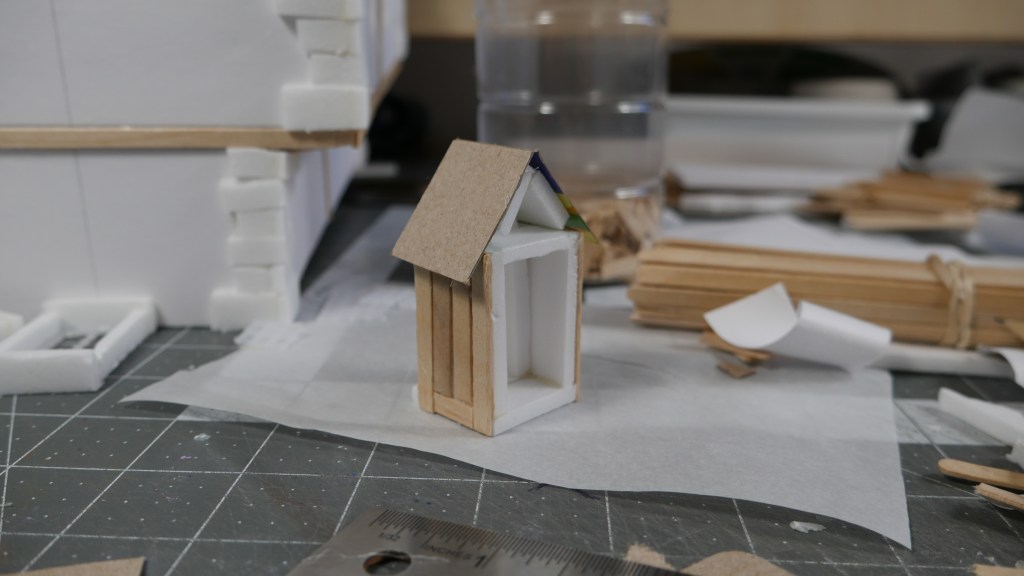
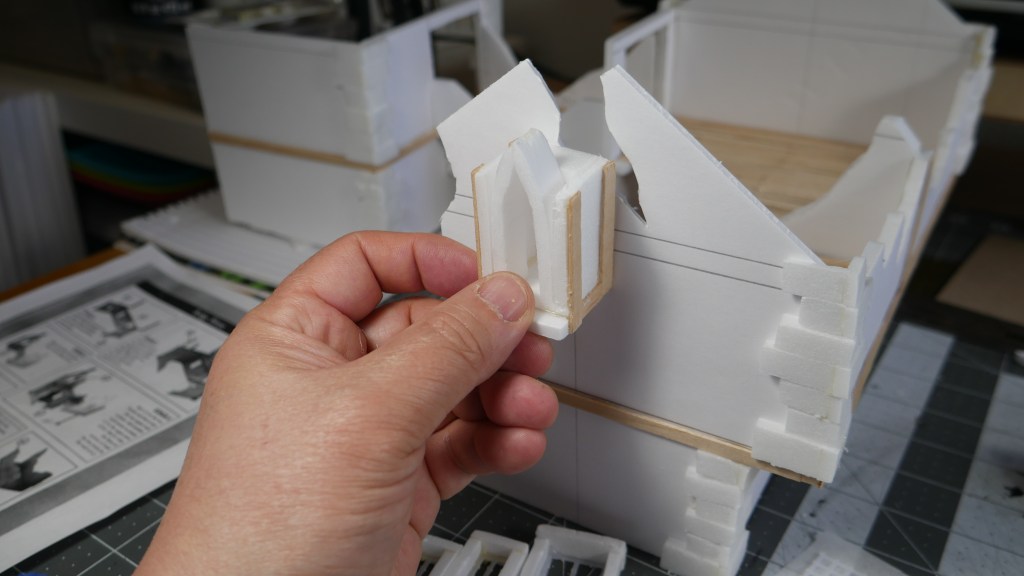
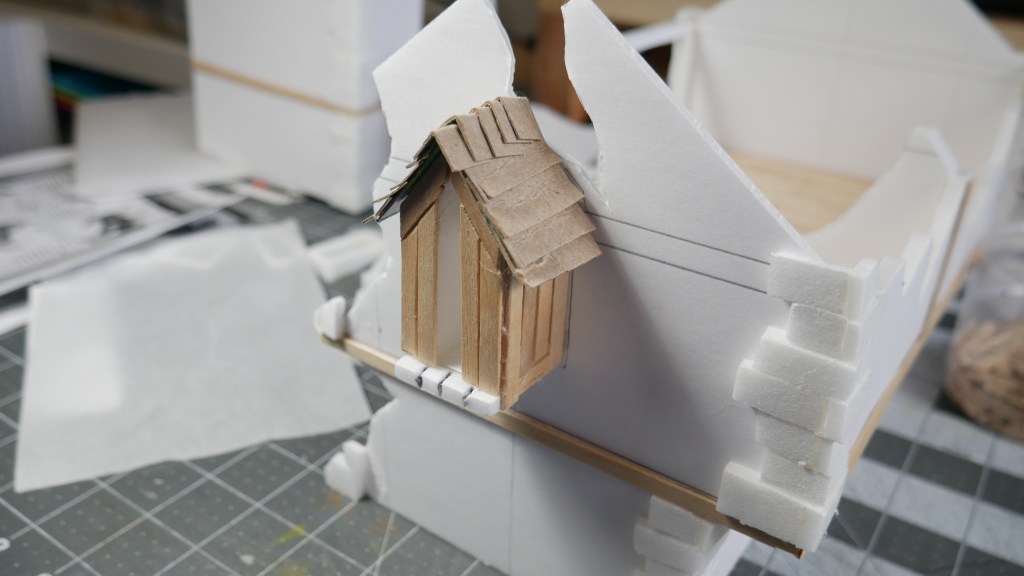
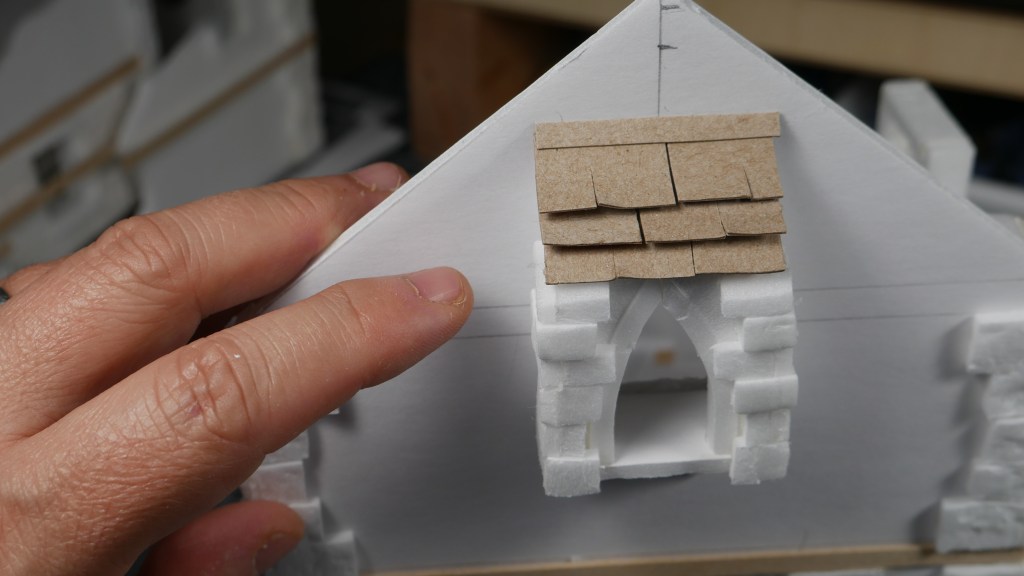
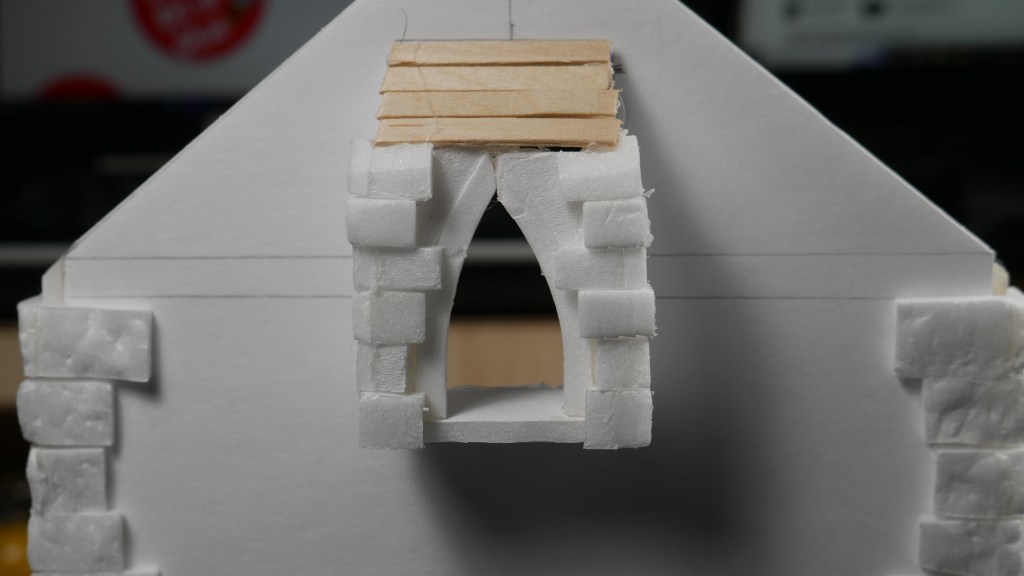
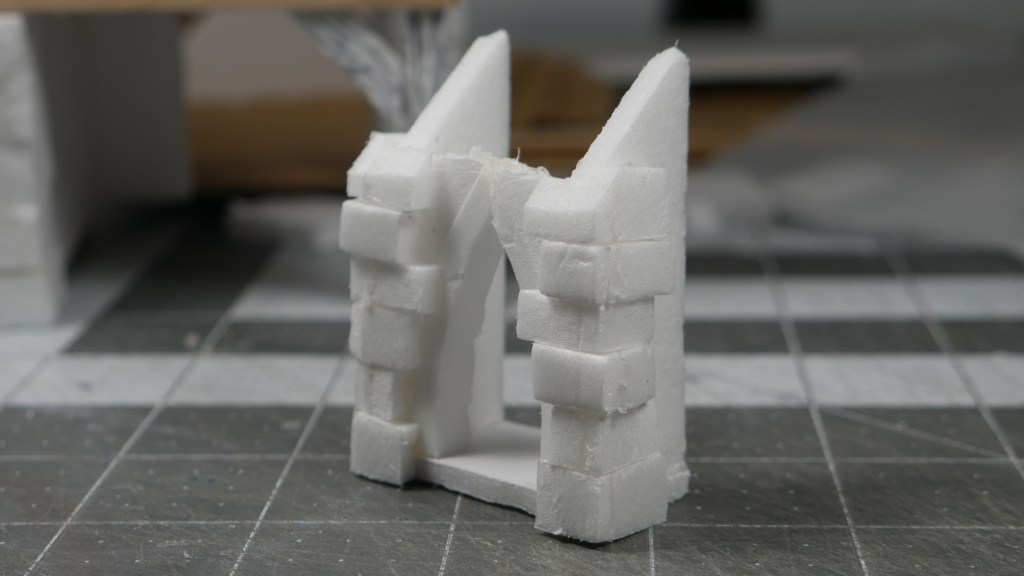
I had to go figure out how to construct and add the little “oriel window” on the side of the wall at one end. BTW – I had to look up the name of the window because I am OCD sometimes – according to Wikipedia SOURCE it is not a dormer, those are on rooftops.

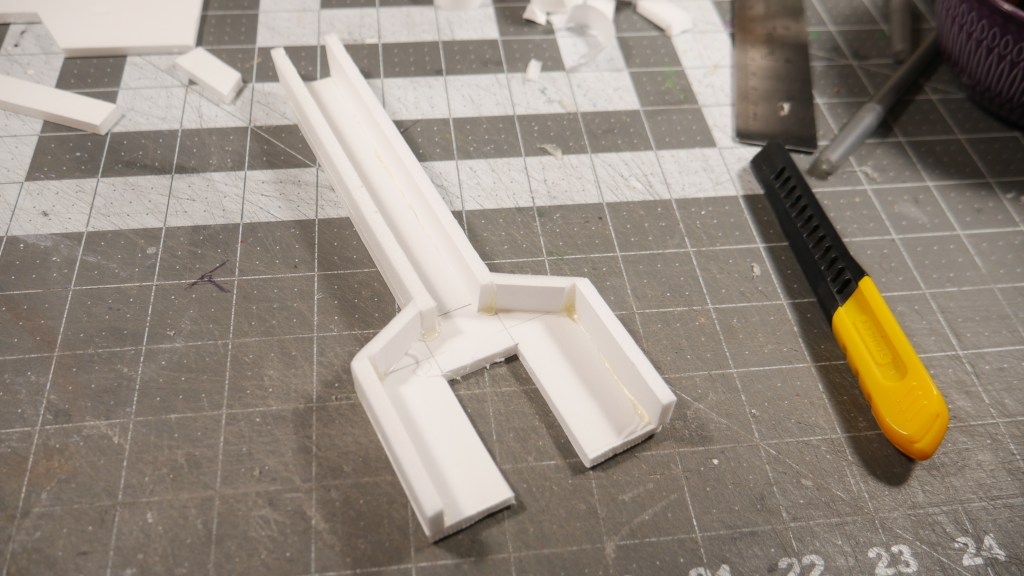
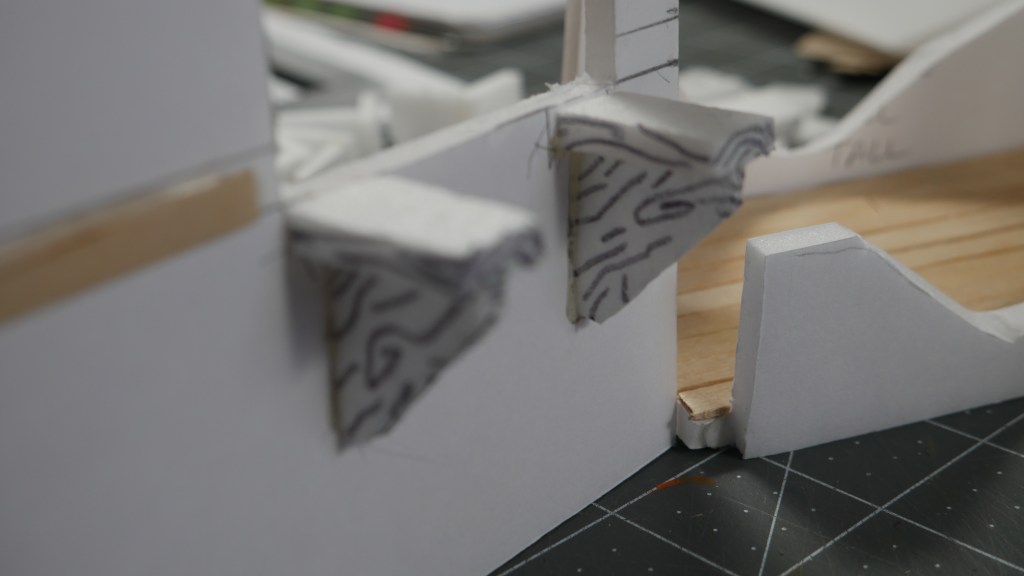
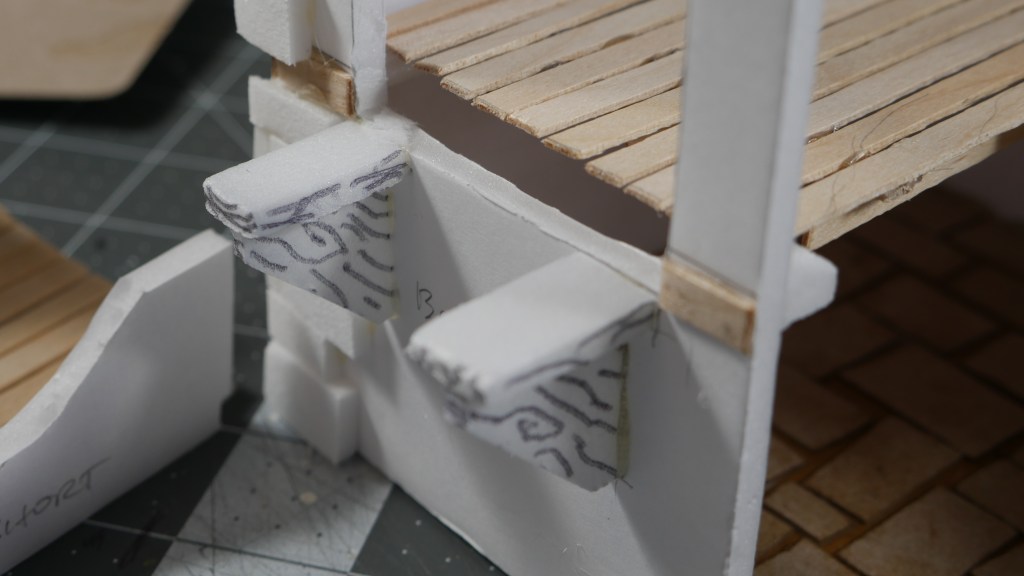
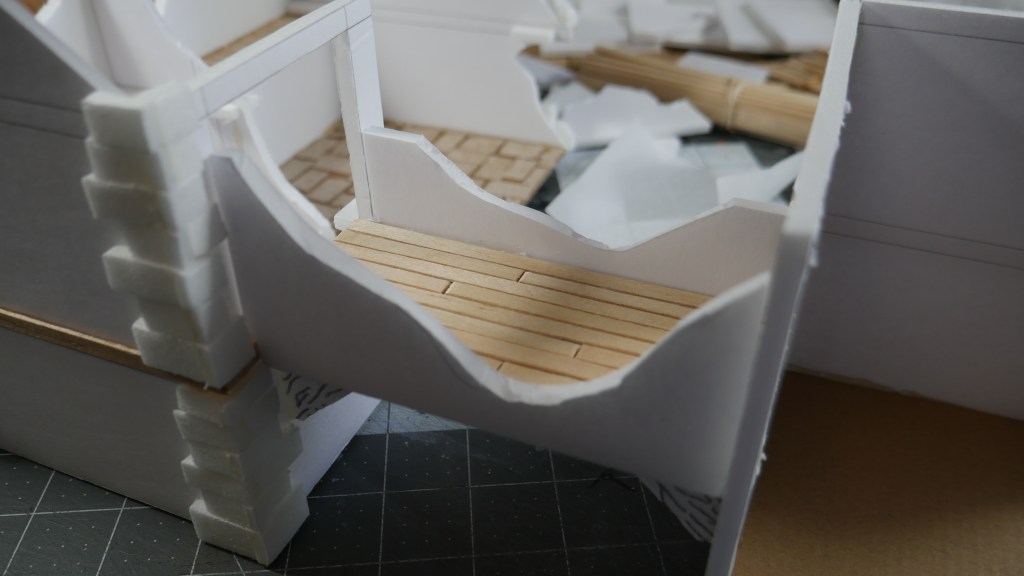
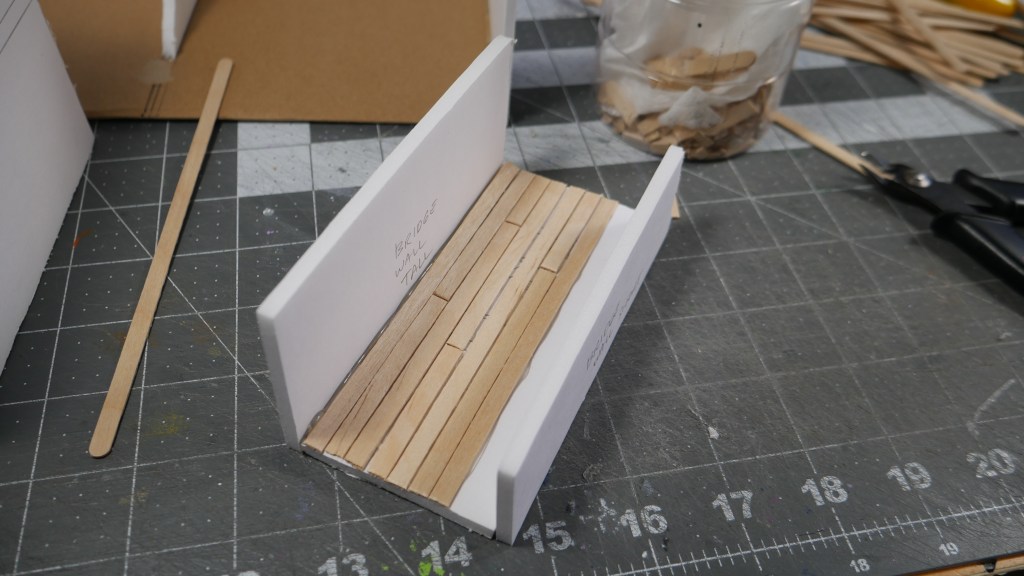
I also felt the little bridge connector between the main and adjacent structure needed some under support. I added my own “bracing” made to look like wooden beams after it is painted. I also wanted to be able to quickly add/remove the bridge for playability and storage purposes so I made it key-in to the openings and removeable.

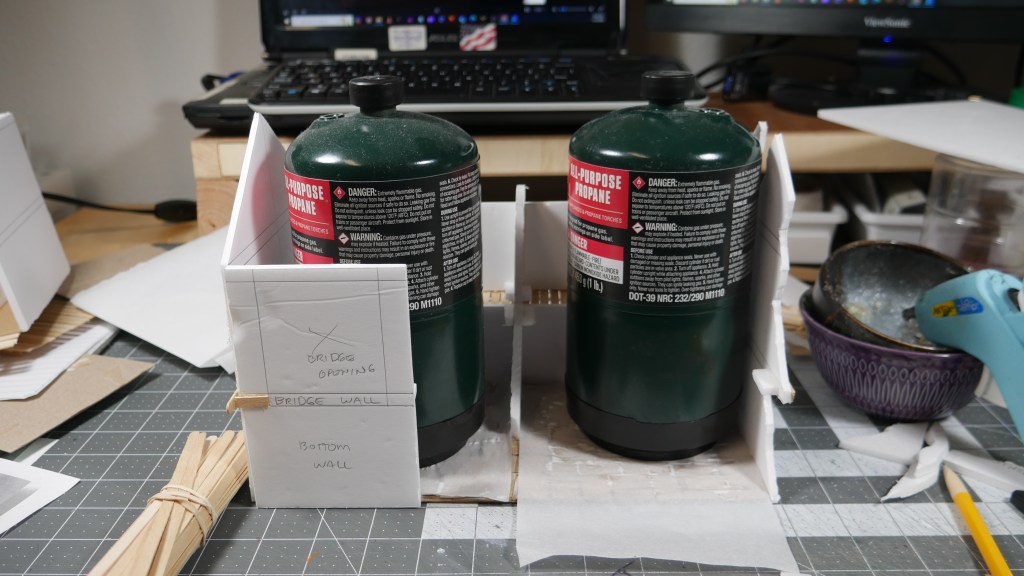
I am still having issues with base warping after adding the floors. Solution – TBD.

Enjoy some more W.I.P. pics. Also check out my Insta because why not.

Happy crafting!
What do think of this project so far? Let me know in the comments or reach out in my other socials. Thanks.

Some # for the SEO.

#mordheim #warhammer #miniatures #miniwargaming #minis #terrainbuilding #crafting #hobby #terrain #oldworld #warhammer #fantasy #dnd #ttrpg #rpg #warband #frostgrave #windy #halloween #fall #autumn #vent #therapy #gamesworkshop

Tavern Time!

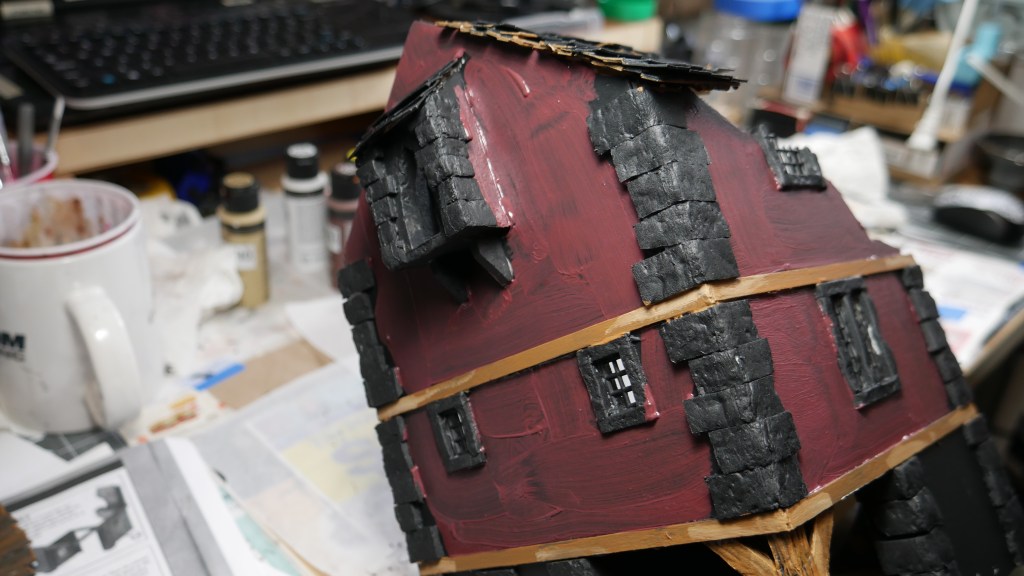
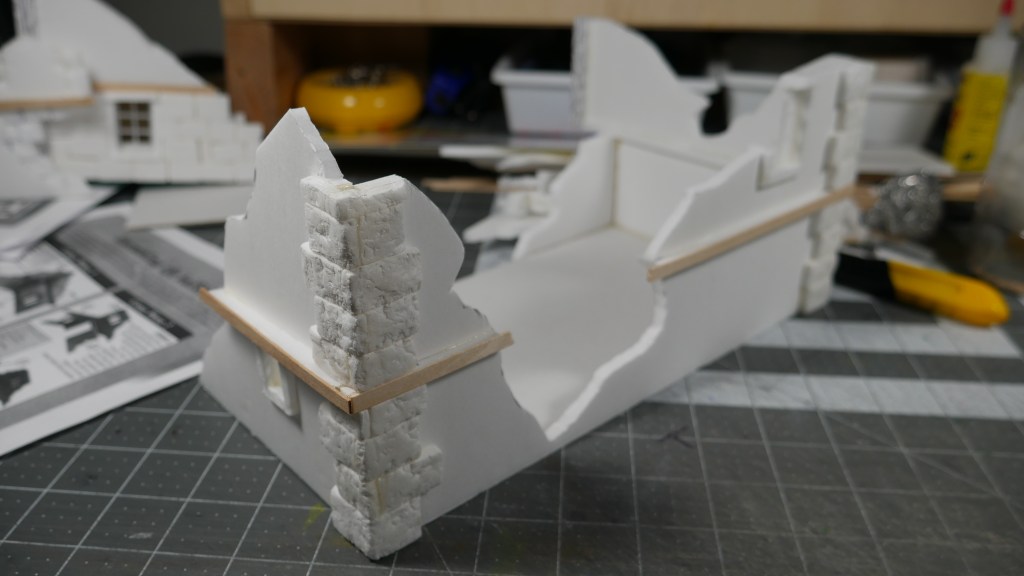
Hi. So I’ve been working on getting the next build in the series “My Take on the Mordheim Starter Box Terrain” – The Tavern. This one was progressively challenging in its simplicity yet surprisingly took a bit of time for me to get to this pre-painting phase.

I think initially, I struggled with scale. I wanted to make the Tavern compliment the size and scope of my previous structures in this series, but I this little thing kept bugging me. You see, it is a tavern. And like most taverns, you want to bring in a lot of customers. But when I saw the footprint was kind of small to fit several tables, let alone a bar, I thought to myself I should at least try to enlarge it even if it’s a little bit.

The build was pretty straight forward after that decision. Determine how many sides we would need. How many levels we require as per the assembly instructions as well as how much detail we want to incorporate.

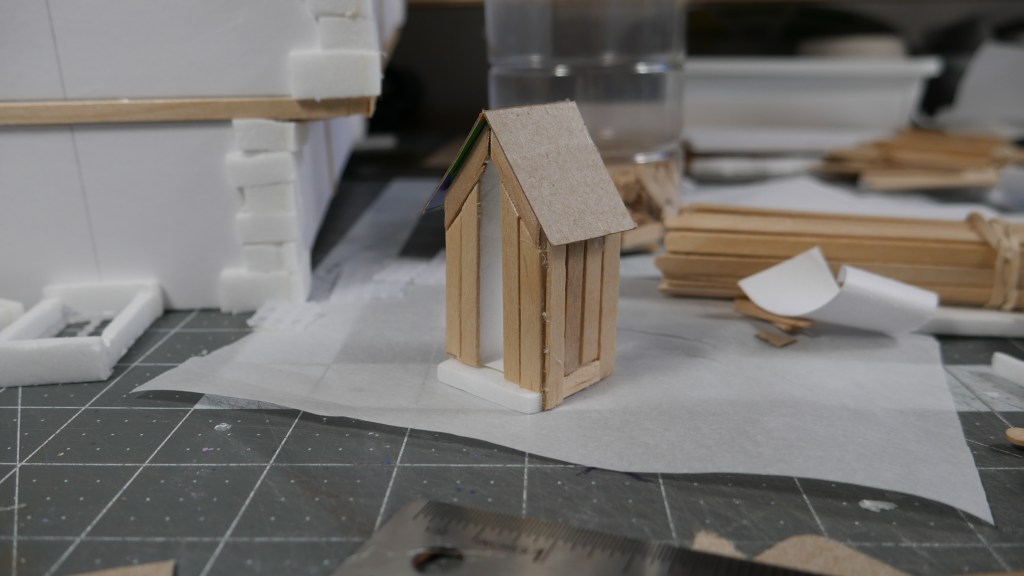
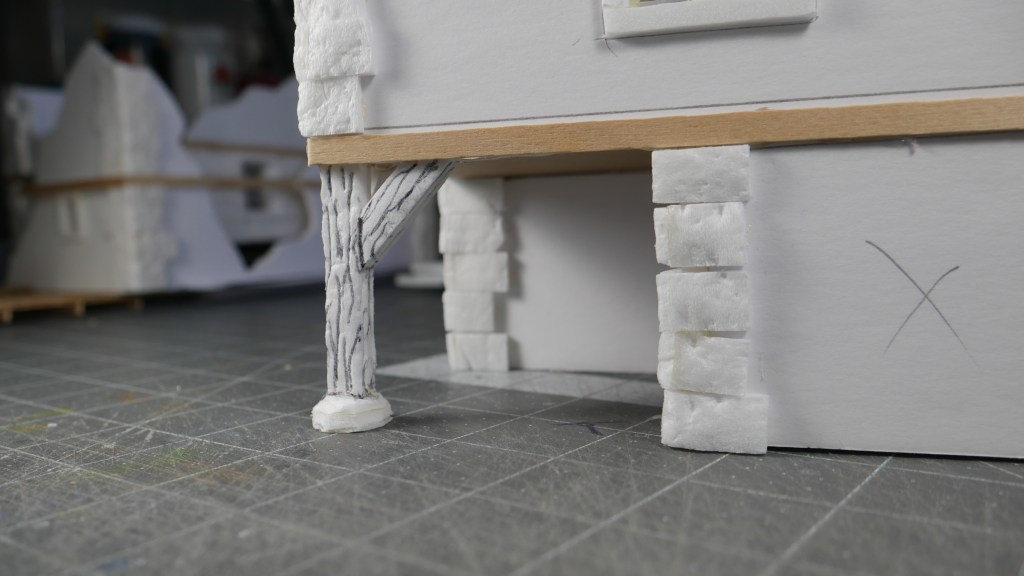
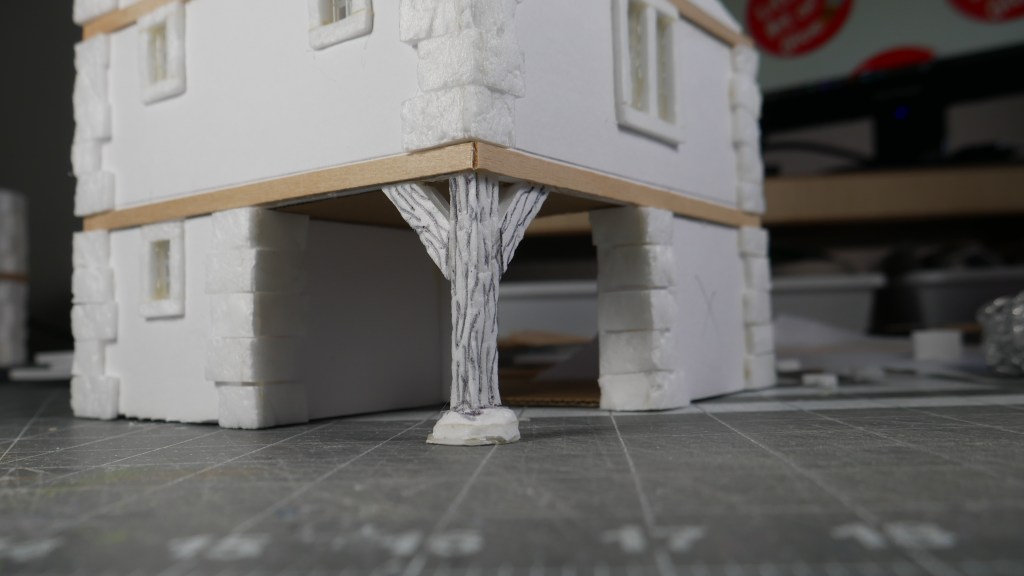
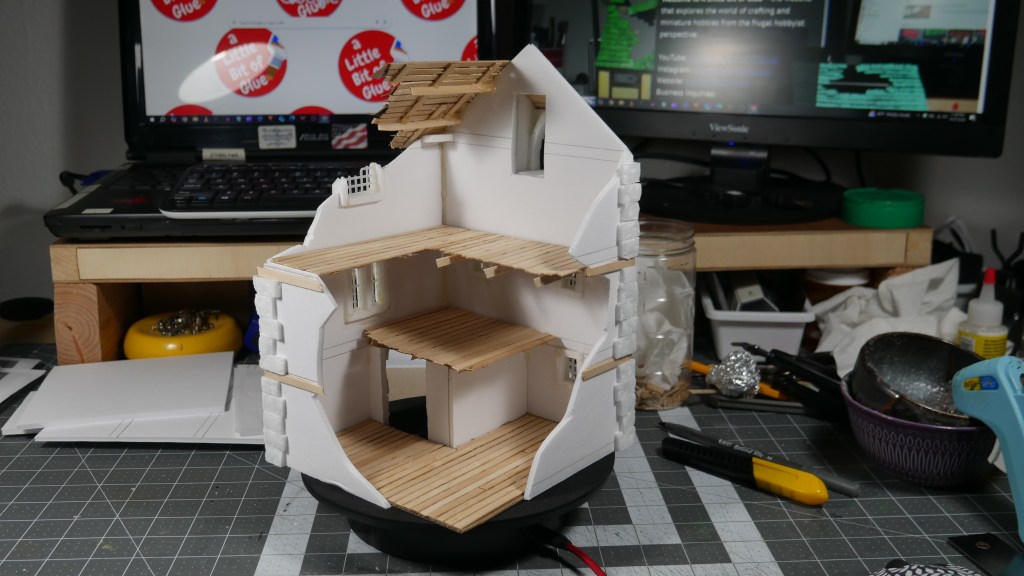
I added a support “post” to this build because I thought in a real world build, the entrance corner would begin to sag and eventually collapse without any supporting structure. My method was simply gluing two pieces of foamcore, ripping into a “square lumber stock” and then adding support bracing. I textured it by drawing in the “wood grain” with a ballpoint pen. Painting it would give it the wooden look and feel.

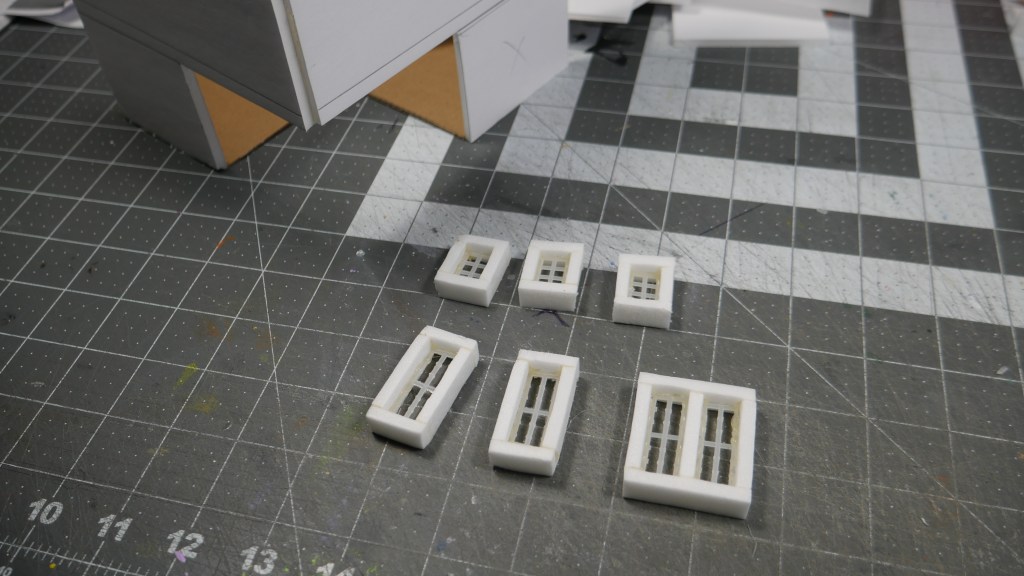
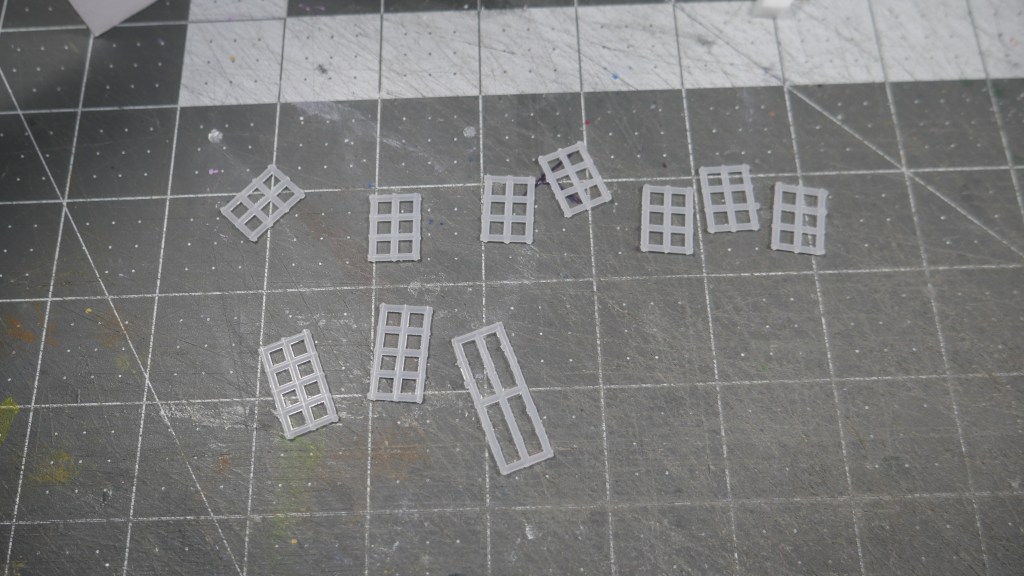
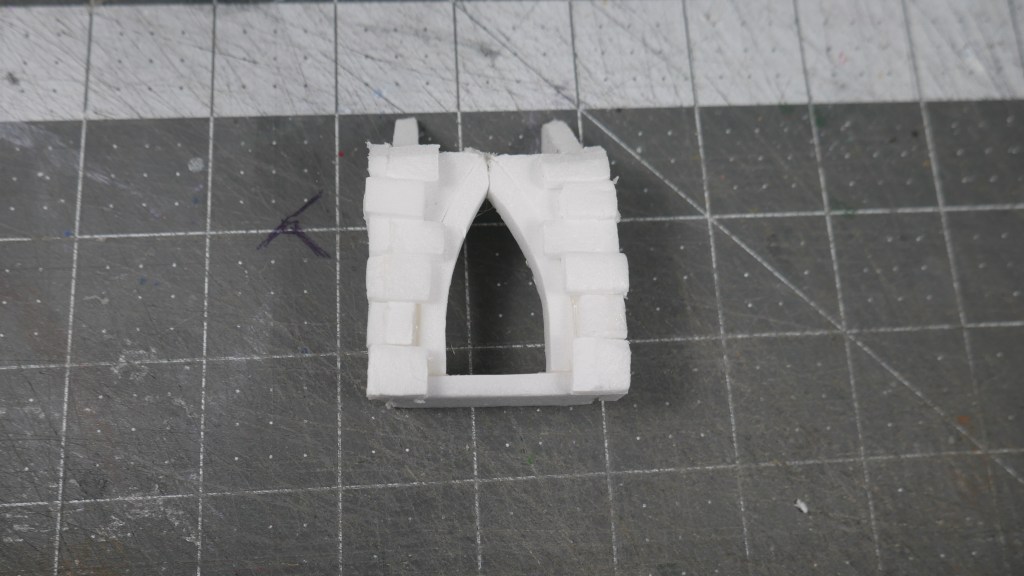
The little window that jutted from one of the wall faced was also challenging. I had to figure out how to add a curved opening meeting at the upper point as well as covering the jut-out with a small sloping roof.

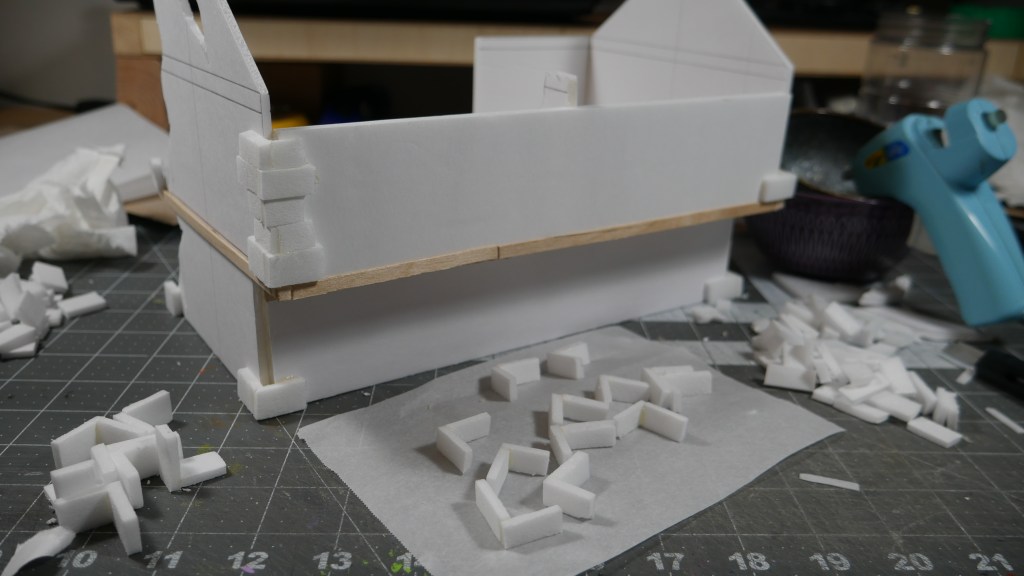
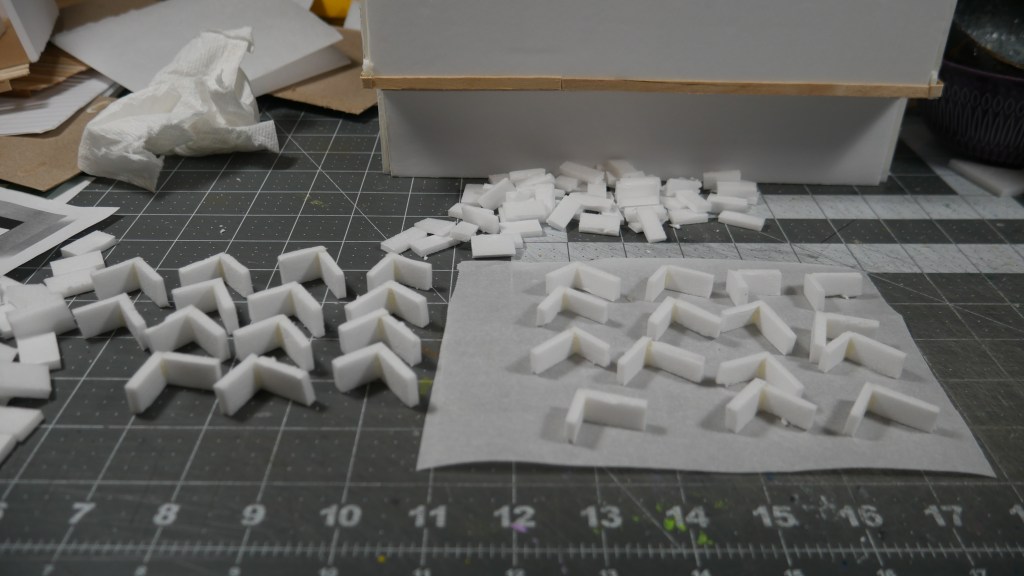
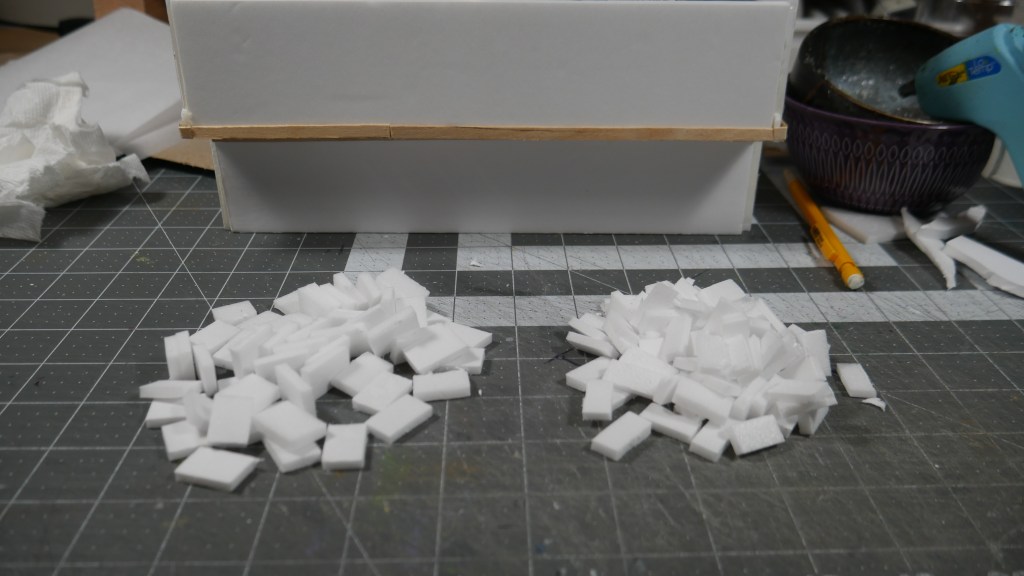
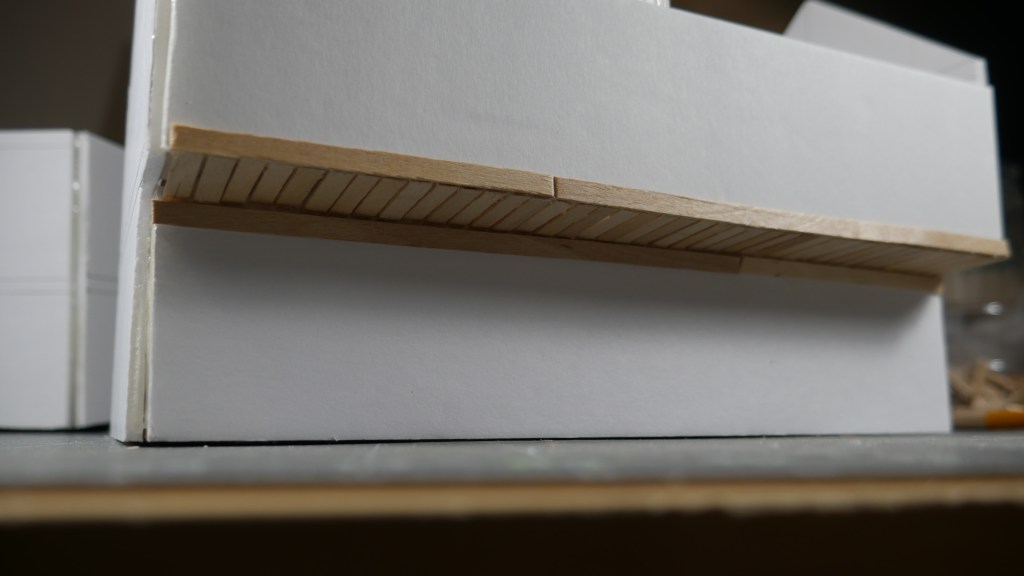
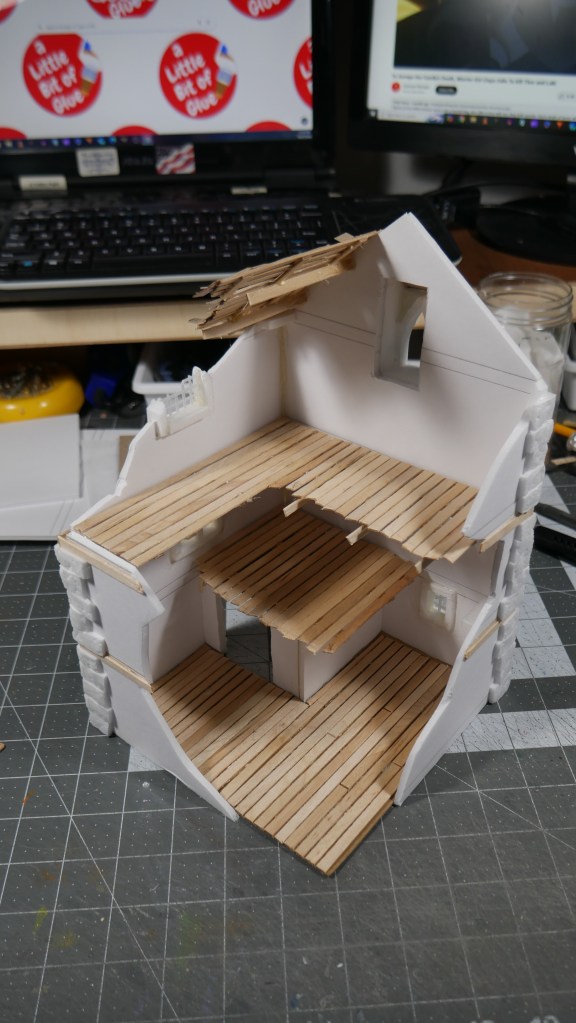
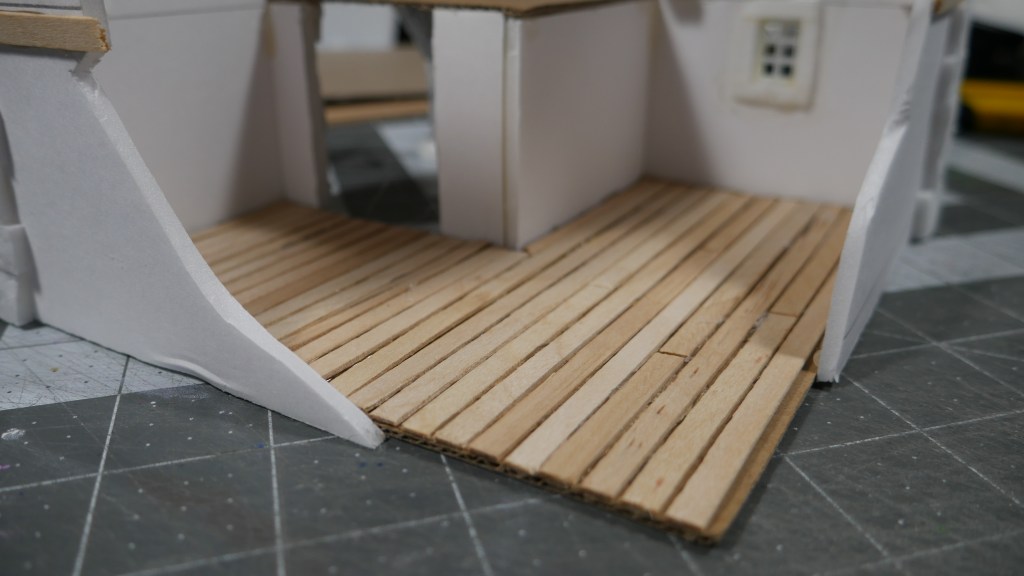
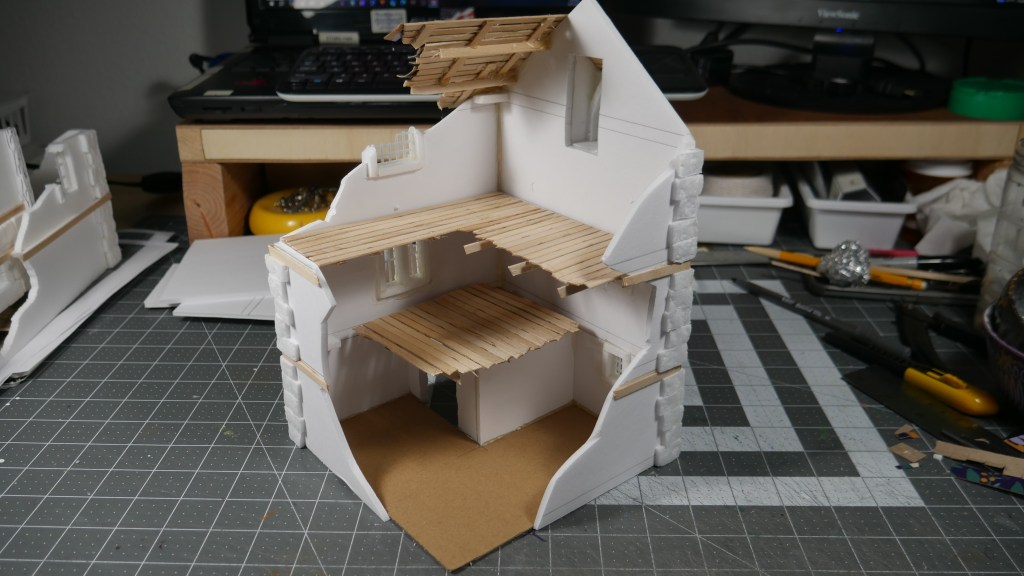
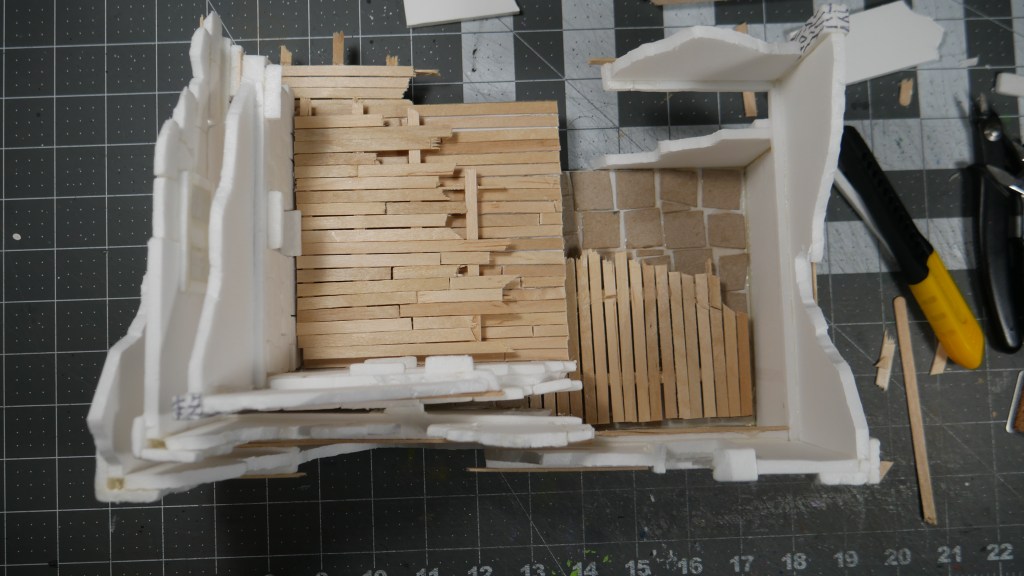
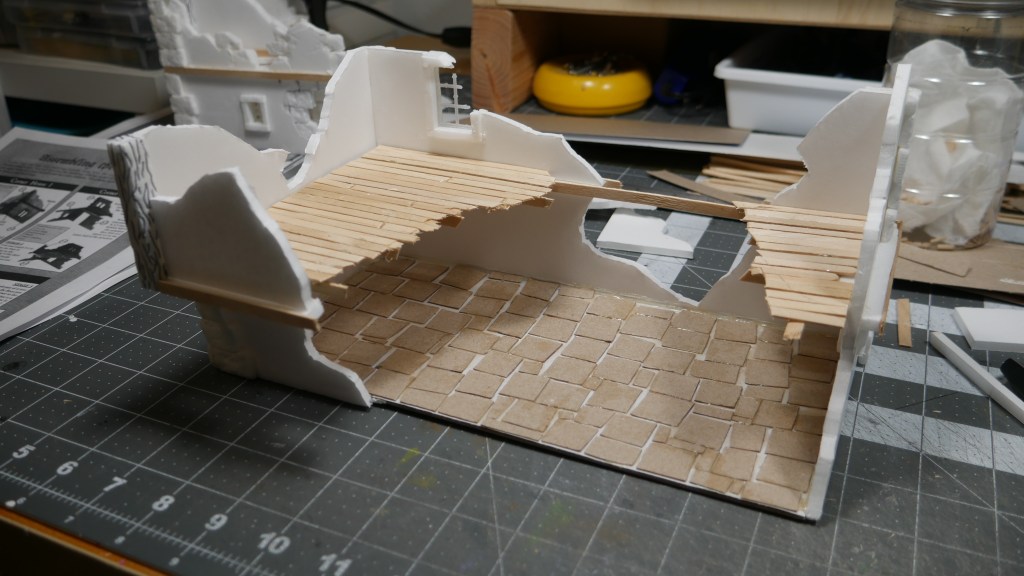
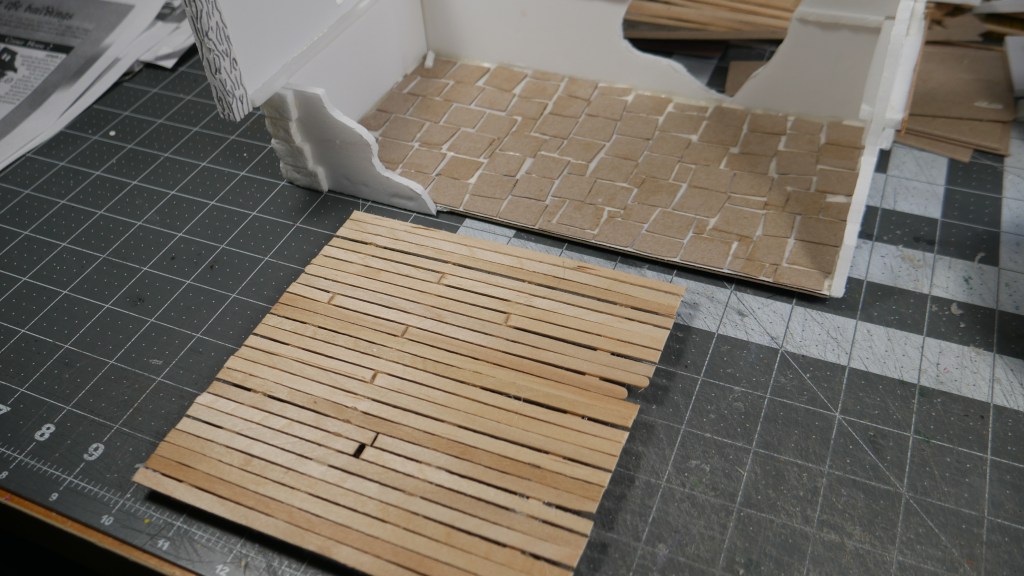
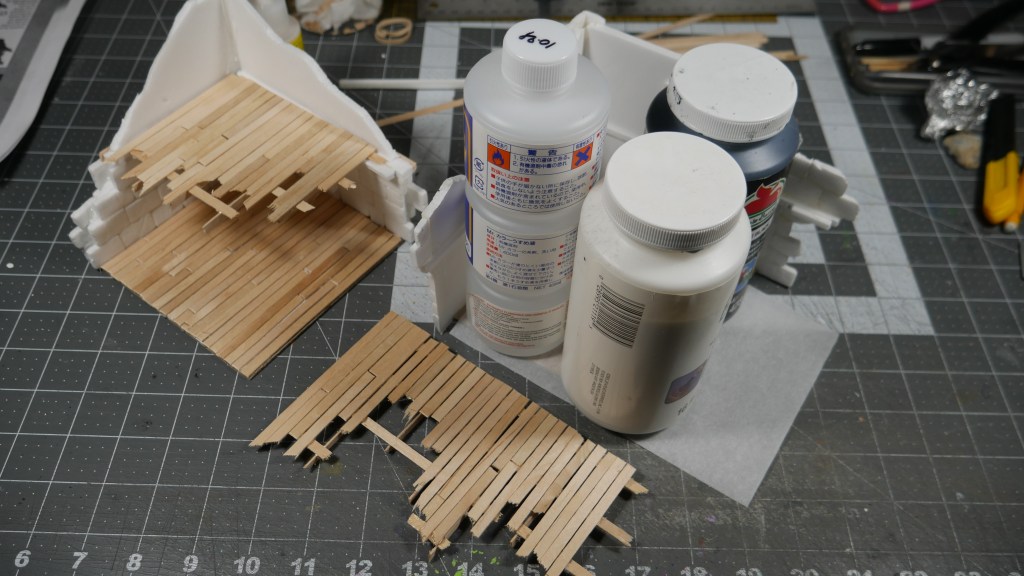
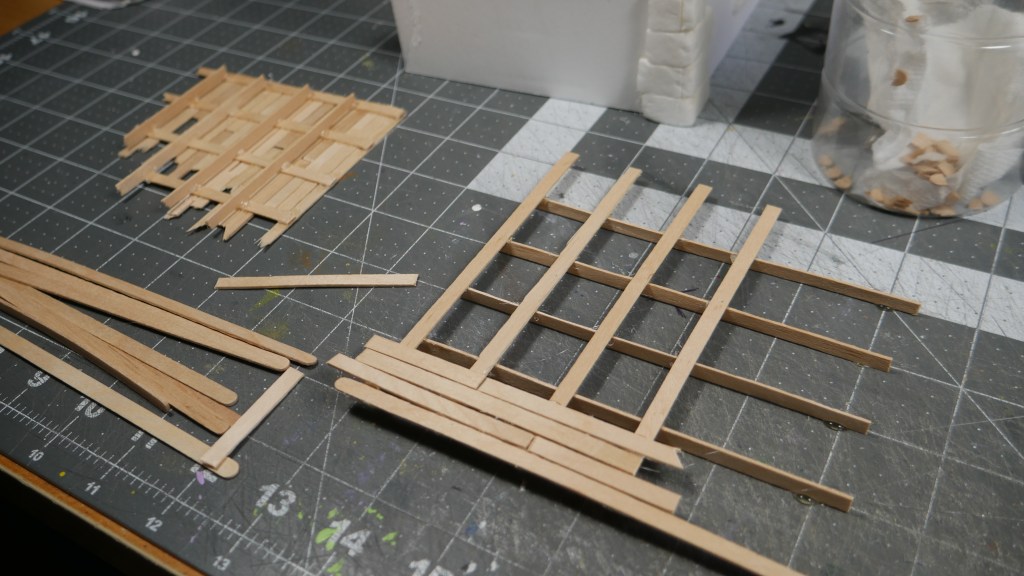
I added a “wooden” floor to the first level as well as fabricated the upper floors using coffee stir sticks and hotglue method. Then I would destroy the flooring where appropriate as well as to mimic the original box set terrain design.

What do you think of the this and the other builds so far?

Next is the Bridge House.

Until next time, happy crafting!

It’s Long House Time

Hi. So. It’s that time of year. I took my annual Flu shot, but this time I had the notion to include not one, but two OTHER vaccinations at the same time. Three total. Apparently, they allow you to take up to four if you want or need it. In the past, I have gotten multiples on one day and was fine the next. However, this time was a doozy. Do people still say that? “Doozy”? That was this past Wednesday. It is Saturday, going on Sunday for me here and I am just feel “back to normal” so to speak. I was able to work on my interpretation of the Mordheim Starter Box Terrain while mainly in a daze from the pain killers (i.e. Acetaminophen).

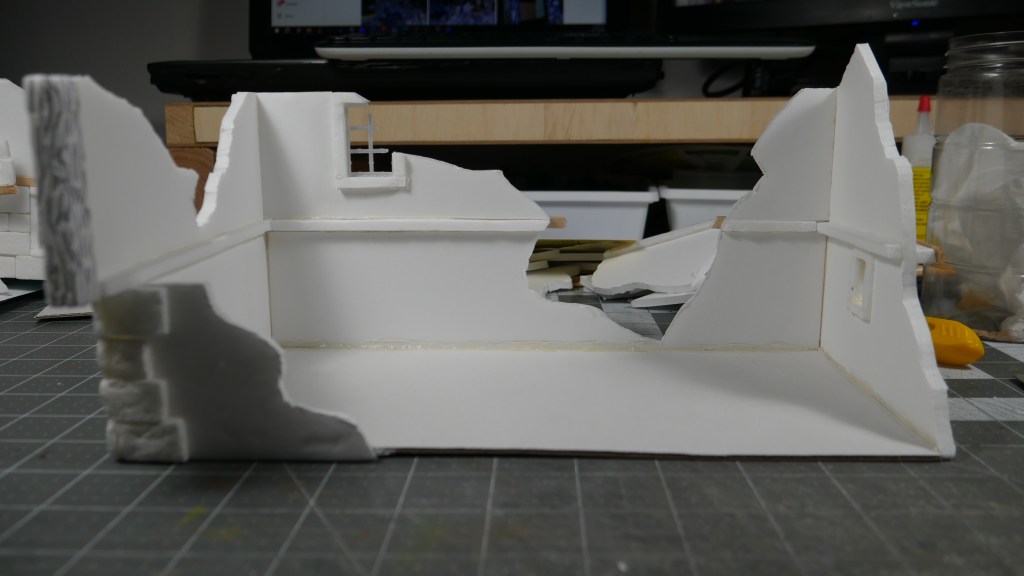
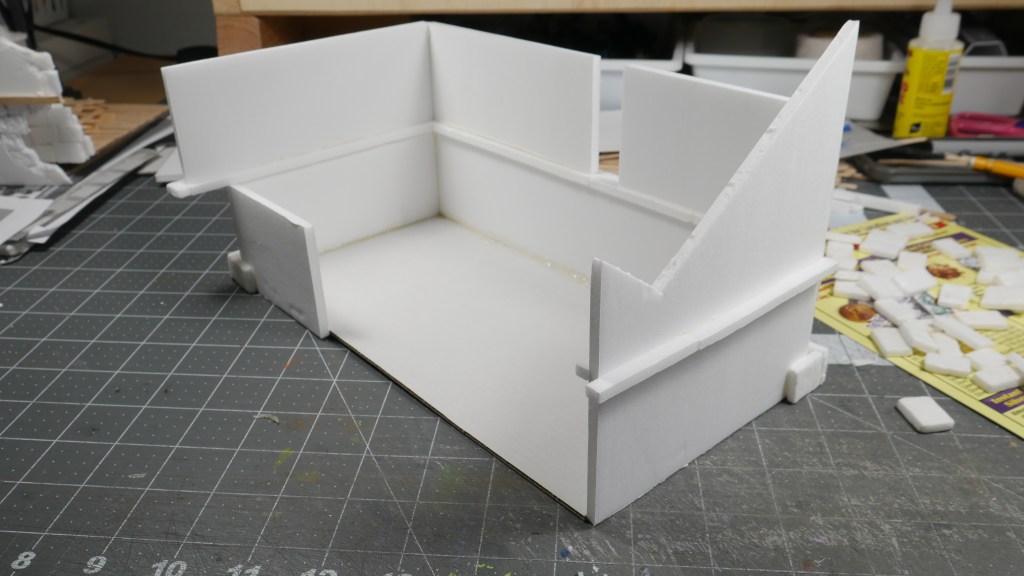
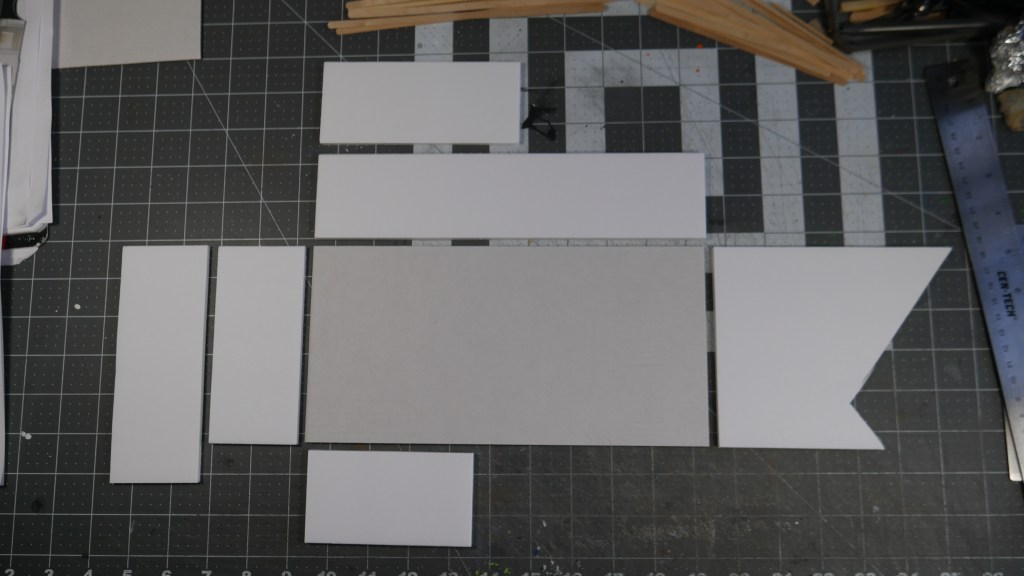
In my build, I decided to double the standard footprint of 5 inch x 5 inch (i.e. the Corner Houses) to 5 inch by 10inch (the Long House). I am getting a little faster with the build process, keeping things as standardized as possible. Including build techniques. Thus my 2.25 inch wall heights. 5″ inch square base flooring. Most of the box terrain does not include a base or bottom flooring. I wanted mine to have it.

Another wrench in my “works” is trying to video record my processes. I wanted to get back into producing long form content that I will post on YouTube. My initial goal is just get to that sweet spot of finishing one video and posting it on my channel instead just reposted Instagram reels/posts. I know this adds to my workflow, but I want to see where it takes me. Can’t knock someone for trying the hustle, right?!

So yeah, the Long House is basically ready for priming/painting. I want to complete the remaining building before I start that phase. I think once paint is laid down, it gives that extra motivation to complete the builds to see them all completed in the end.

What do you think so far? The Tavern and Bridge House are up next. Each with their own complexities. Have you tried this challenge yourself? What project hurdles did you hop? Tell me in the comments below. Don’t forget to check out my other socials if you have a chance. Looking for materials/tools, also check out my affiliate links. By clicking those links and purchasing items, you are help me support the upkeep of this website and allows me to continue to provide content for you. It is no extra cost to use those links, but as an affiliate, I get a small commission that helps keeps the website hamster fed.

Thanks for reading this far. Enough writing. Here are the pics.

Happy crafting!

More W.I.P. on Corner House 1 & 2

Hi. I worked on more of the Corner Houses 1 & 2 today from the Mordheim Starter Box Set Terrain. Well, mainly, Corner House 2. Again theses are my takes on the starter terrain, but I wanted to stay close to the source material as I can.

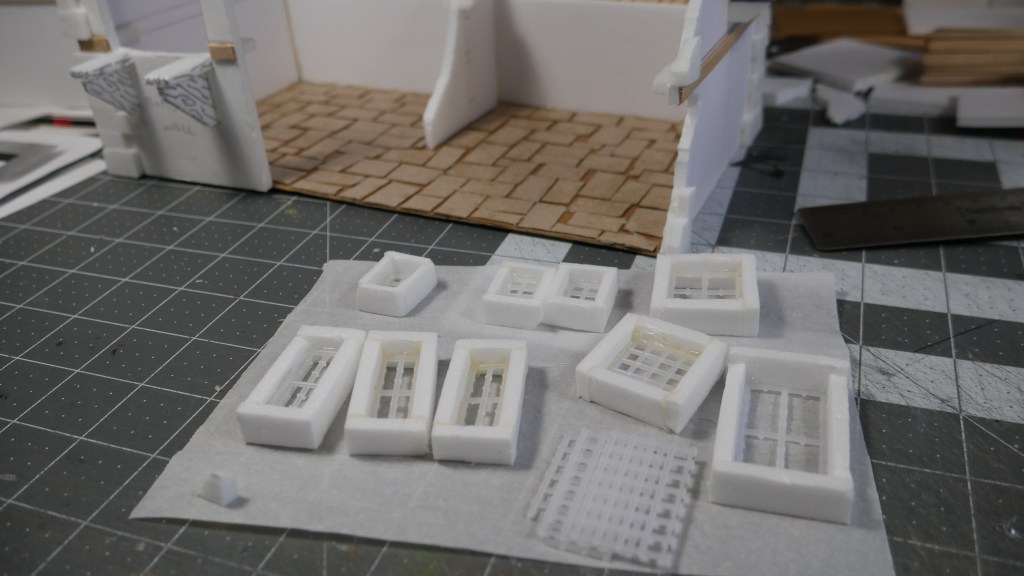
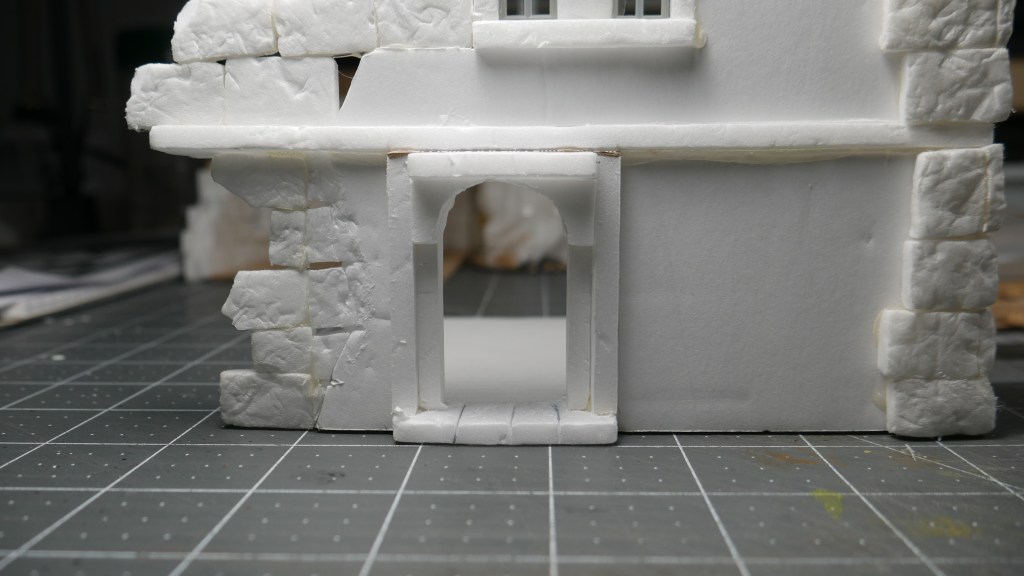
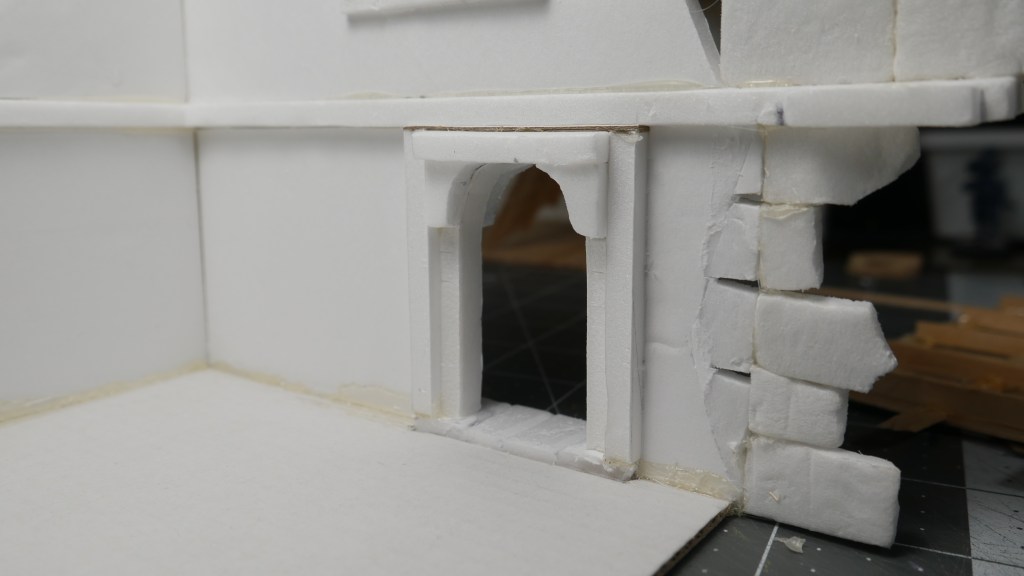
The challenge today was the recreating the arched doorway using basically the formboard and hot glue. I was able to use a lot of my off-cuts of foamboard. I created the arch by using a carpentry technique – you cut multiple slips where you want to the material to bend. Then slow bend the material allowing your cuts to separate from one side only. As long as you don’t cut through only one side the foamboard, the paper on the other side should be intact and able to make the arch. Or, I could have just cut a whole mess of smaller “bricks/stones” and created the arch one stone at a time. Meh. Maybe next time. And, no, I don’t own a 3D printer. The cost (machine, consumables, operating expense, knowledge curve) to me is not justifiable for my budget of “free.99”. Also, I am debating whether to add a door to the archway similar to my partially open doors on the first build series. What do you think?

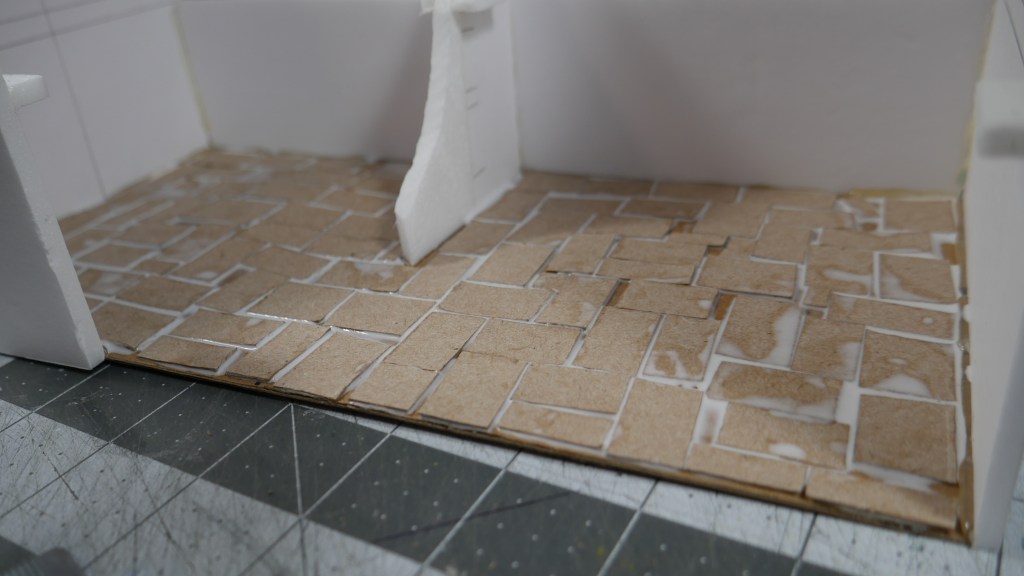
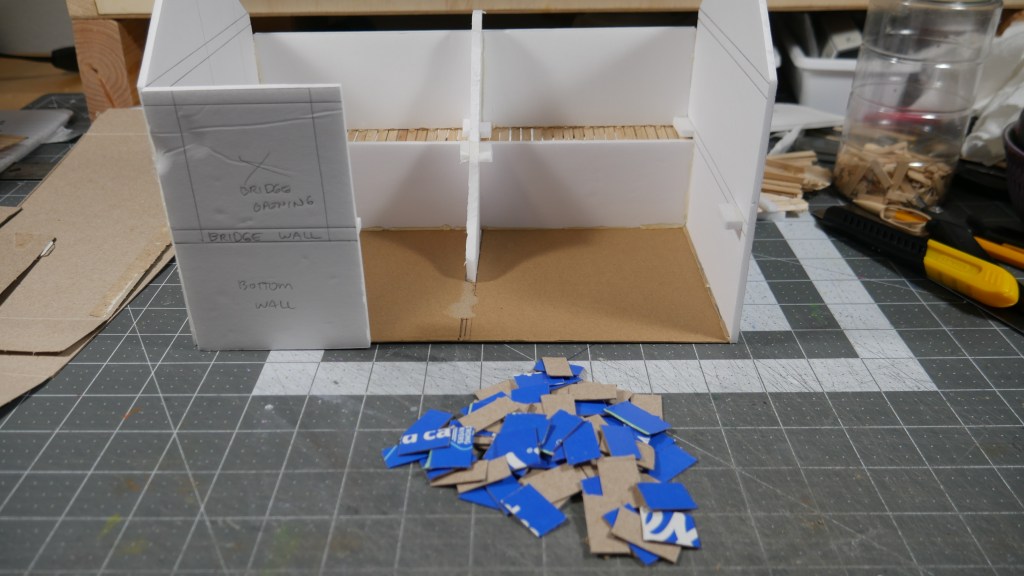
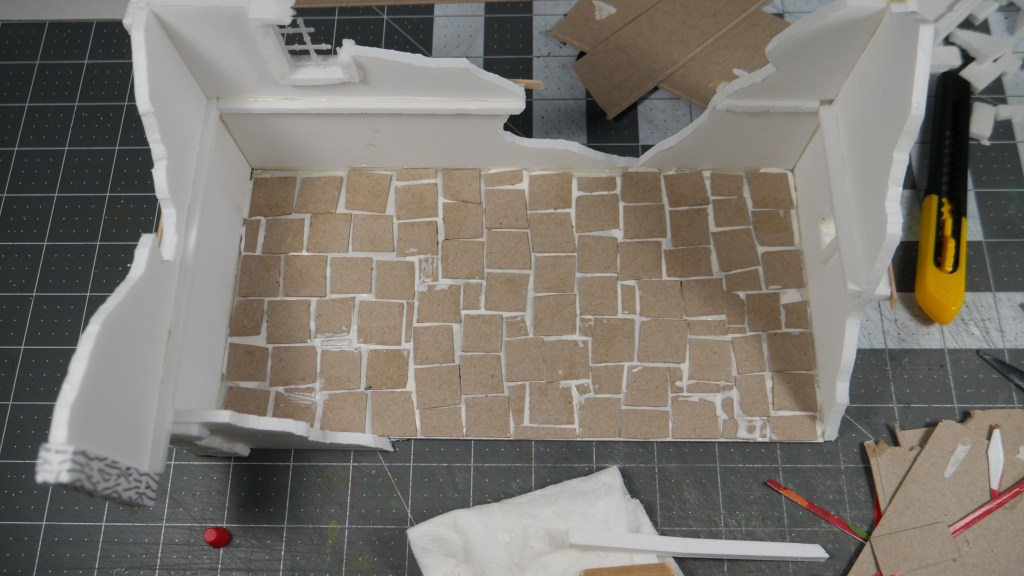
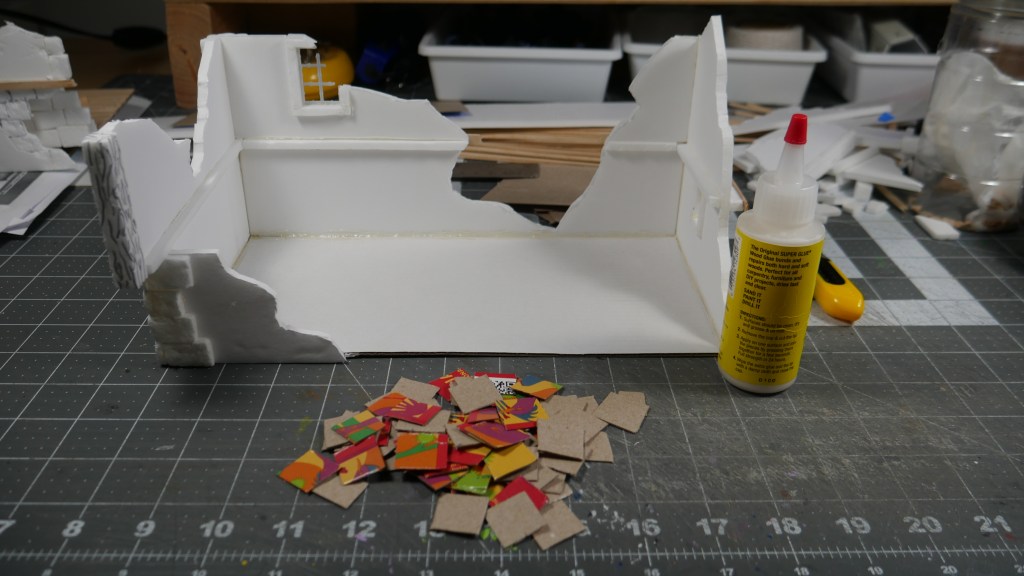
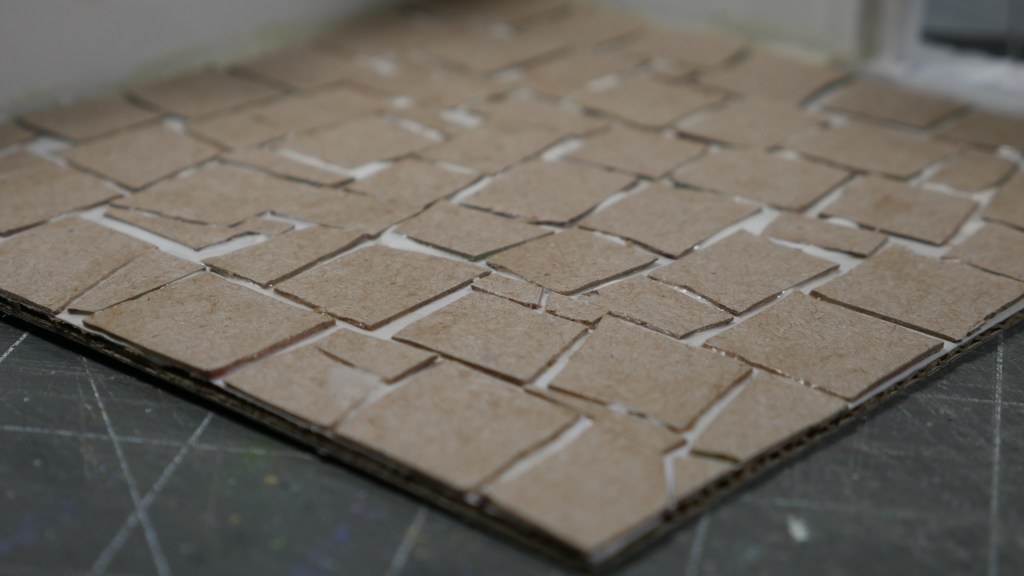
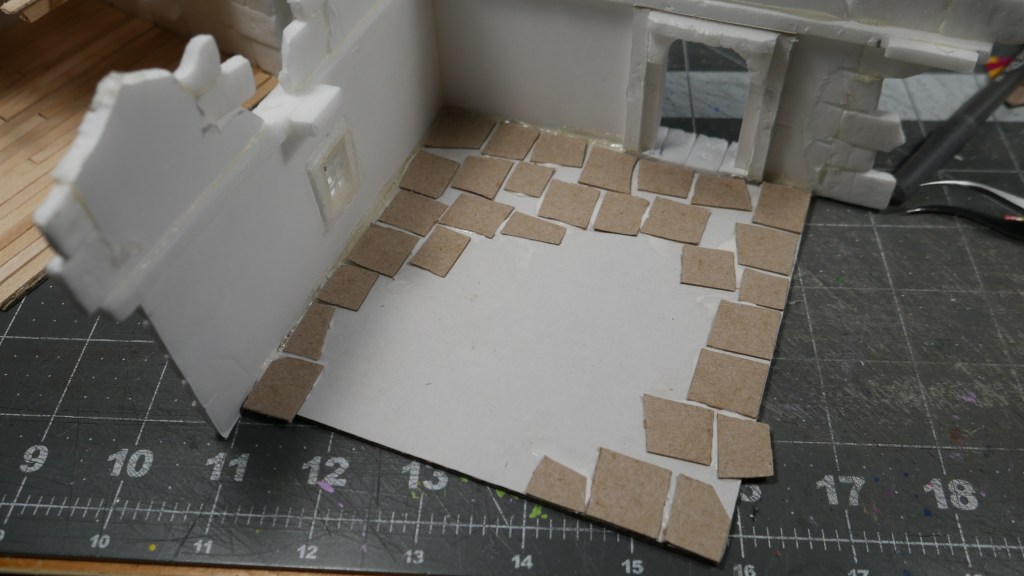
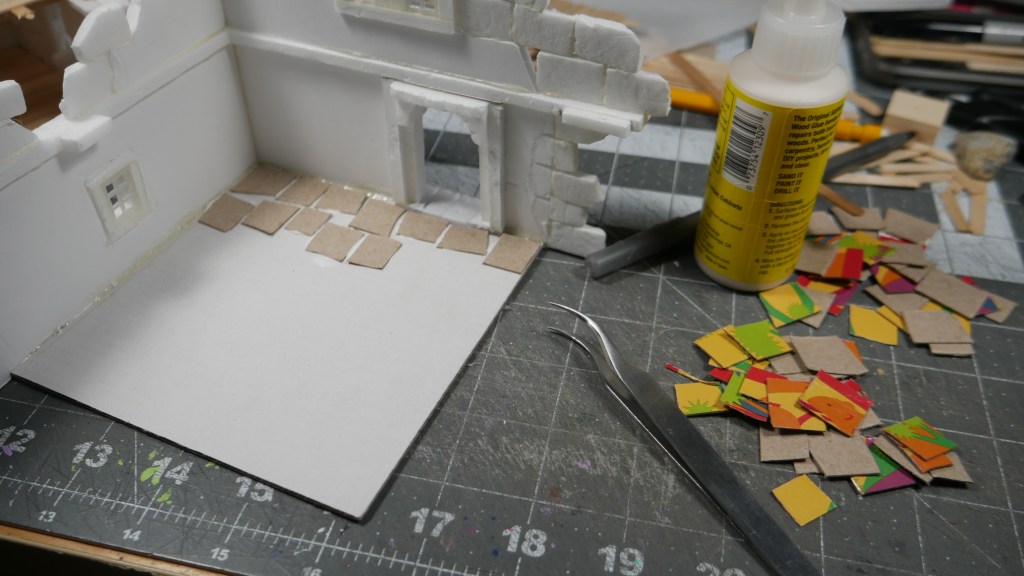
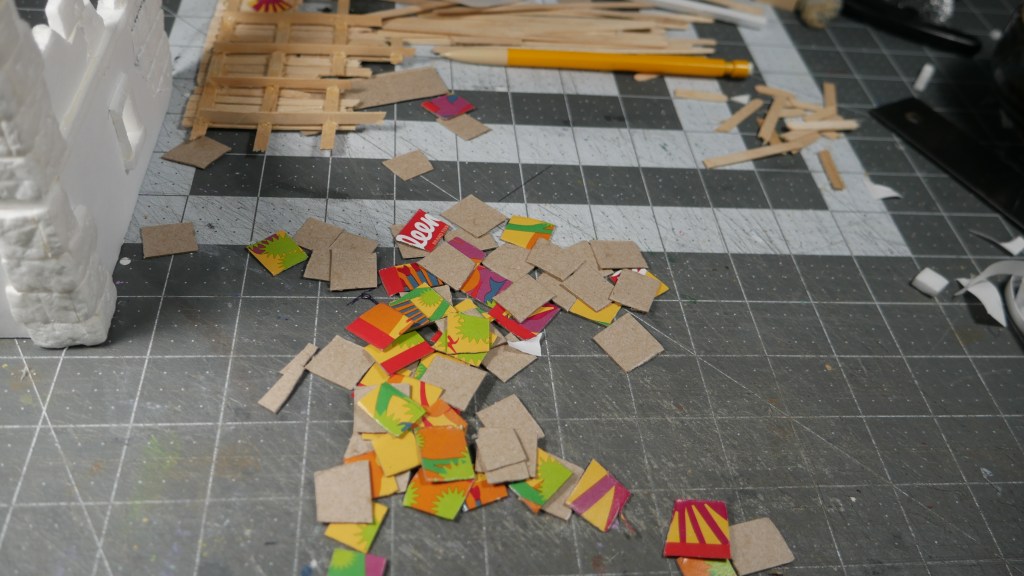
I also installed some “slate” flooring. I cut up some “cereal box” cardboard – well, in my case, some tissue box cardboard into appropriate sized stone shapes. I used wood glue – because my white PVA glue was across the room – to glue down the stonework flooring stone by stone. It was tedious, but once you get into a flow, it wasn’t too bad. I got the floor done in no time. When the flooring was done, the base material (corrugated cardboard from a keyboard box) started to warp. I placed a piece of parchment paper on top and placed some heavy bottles in an effort to flatten the base down. I will let it dry overnight and see if that helps remove the warping. I will probably have to do this again when I base/seal the structures.

Yes, there are pics. Here ya go. Maybe I’ll start on the Long House tomorrow.

Happy crafting!