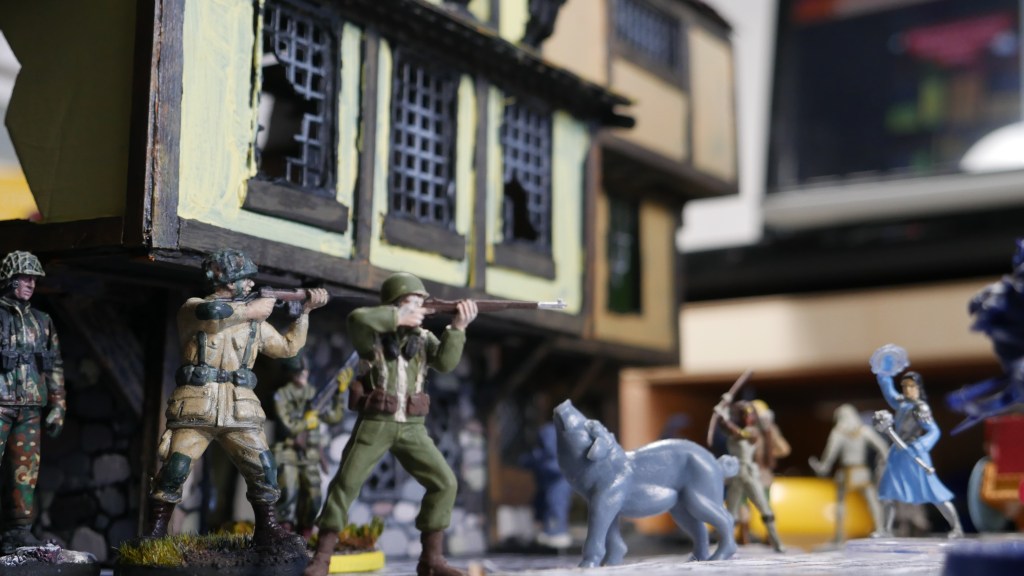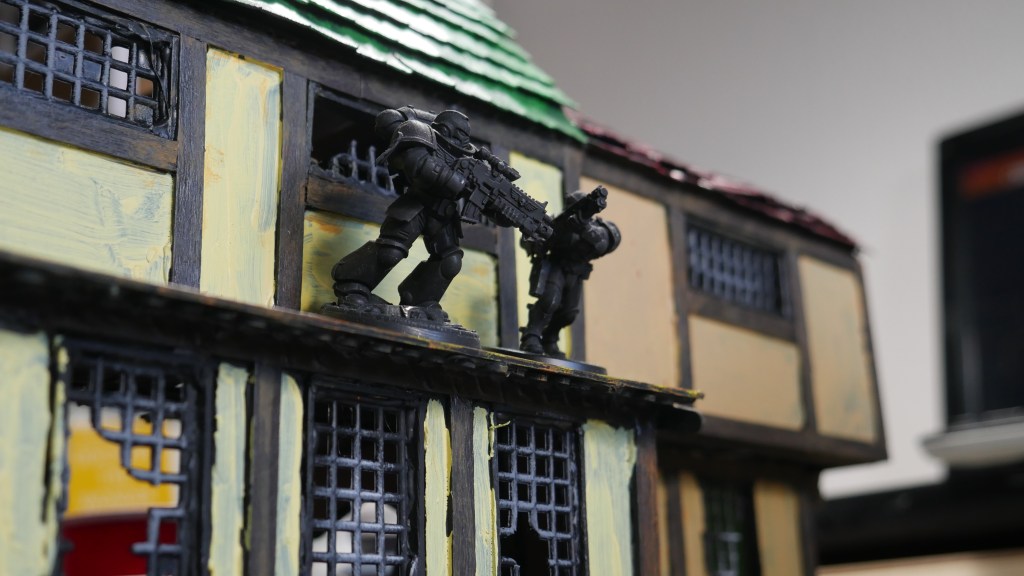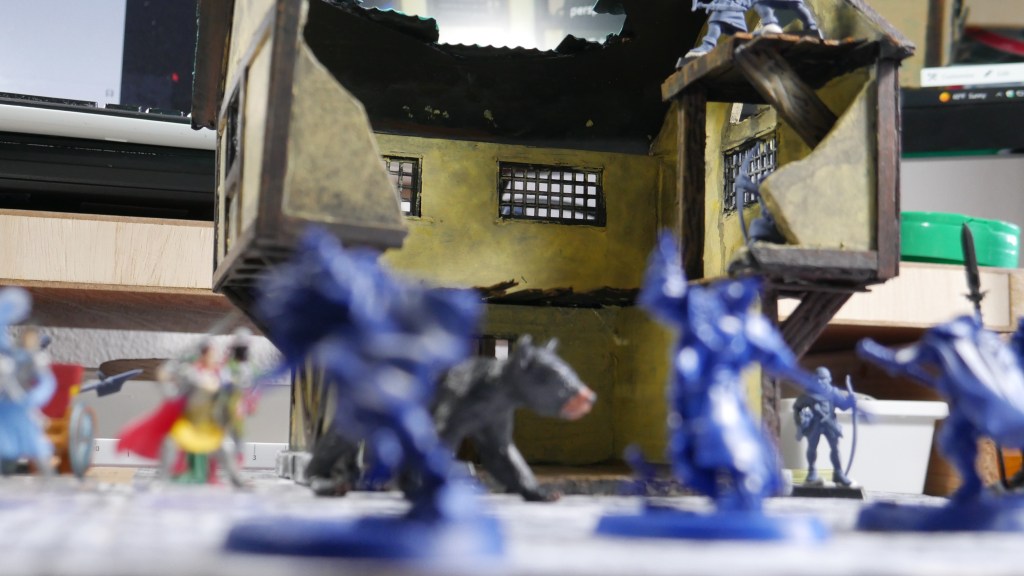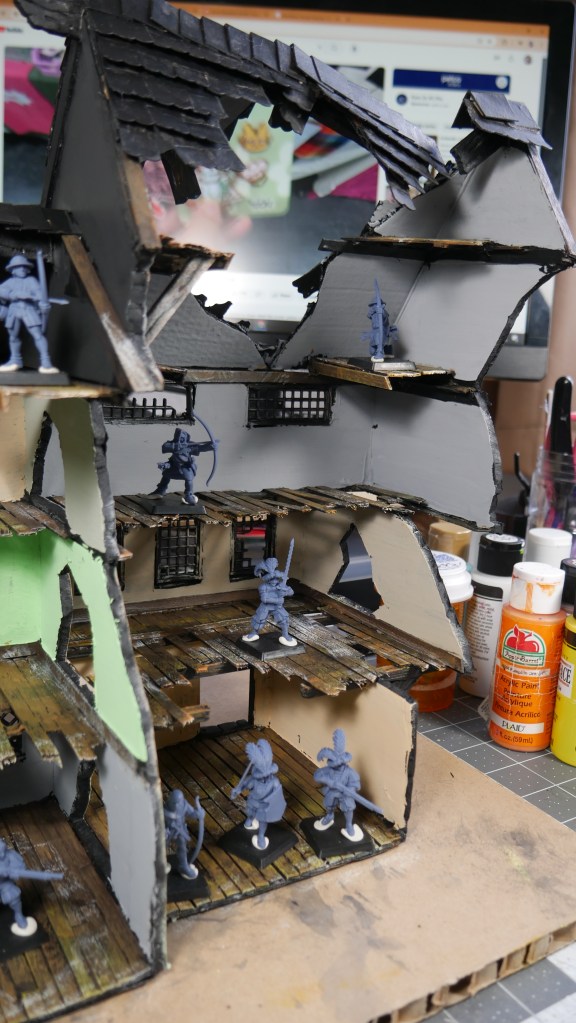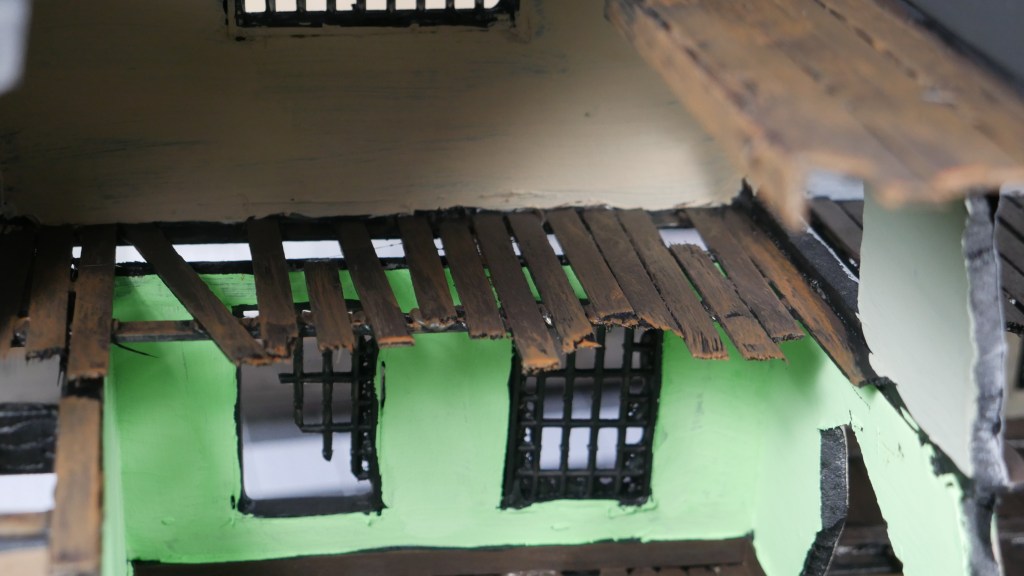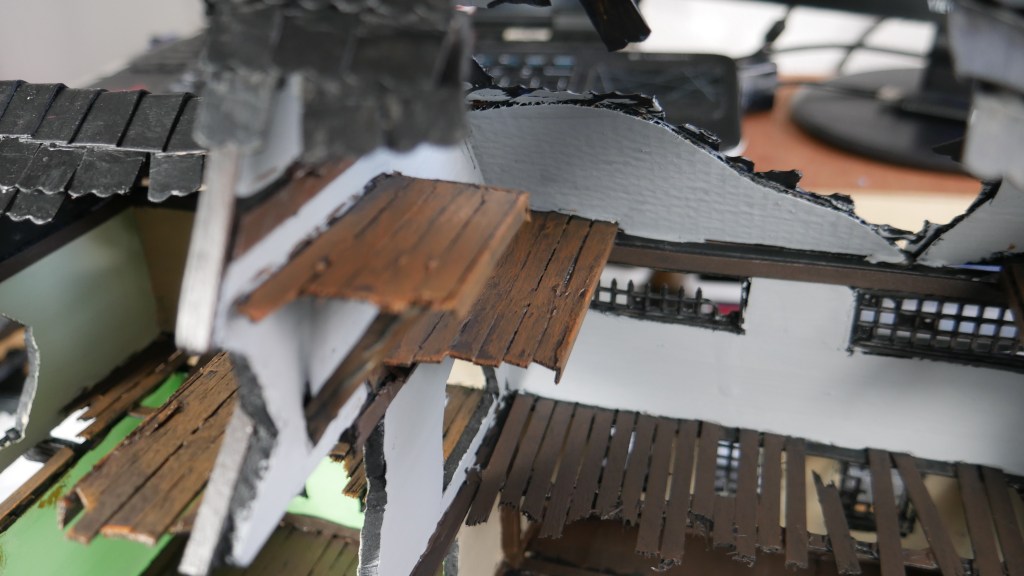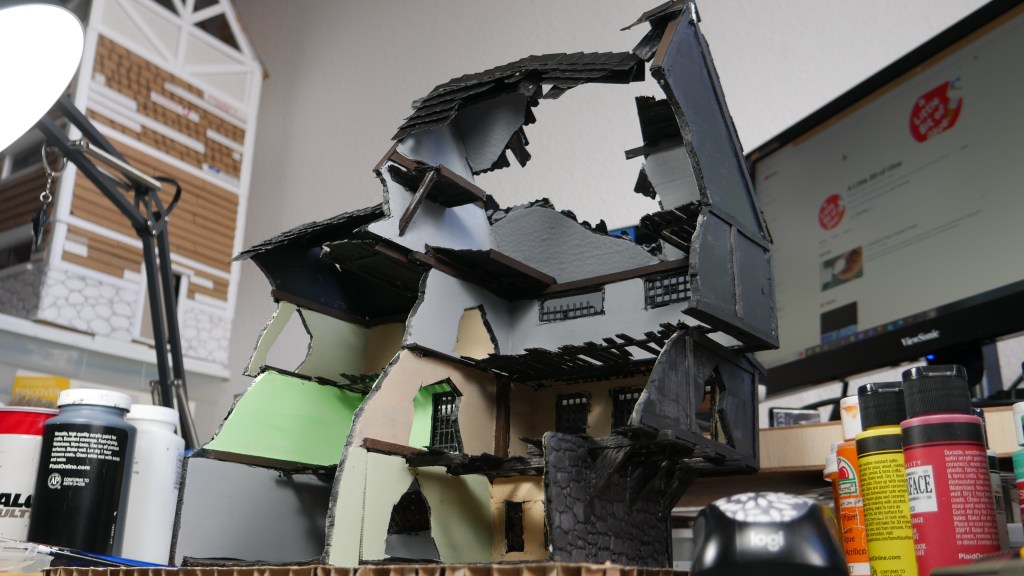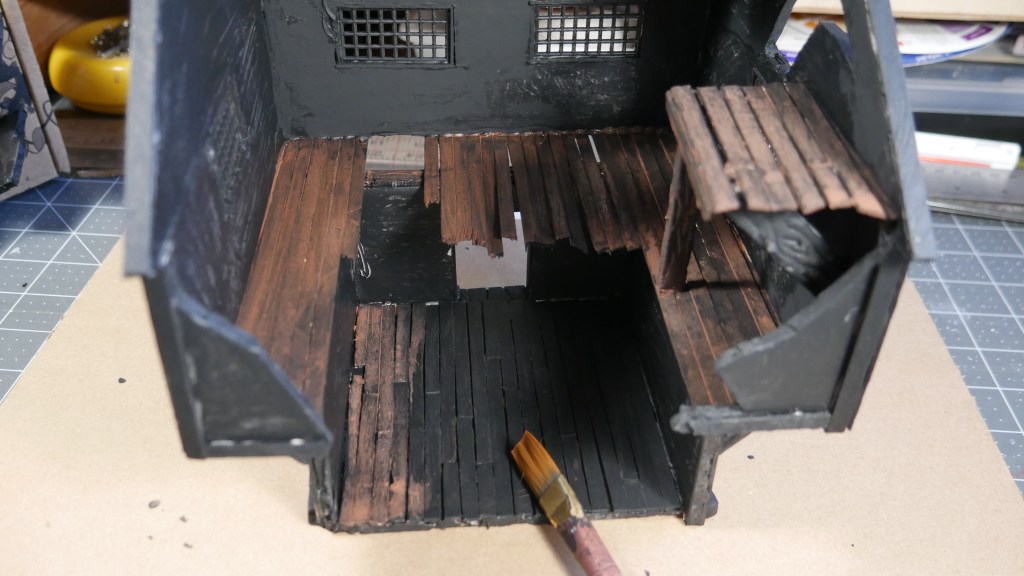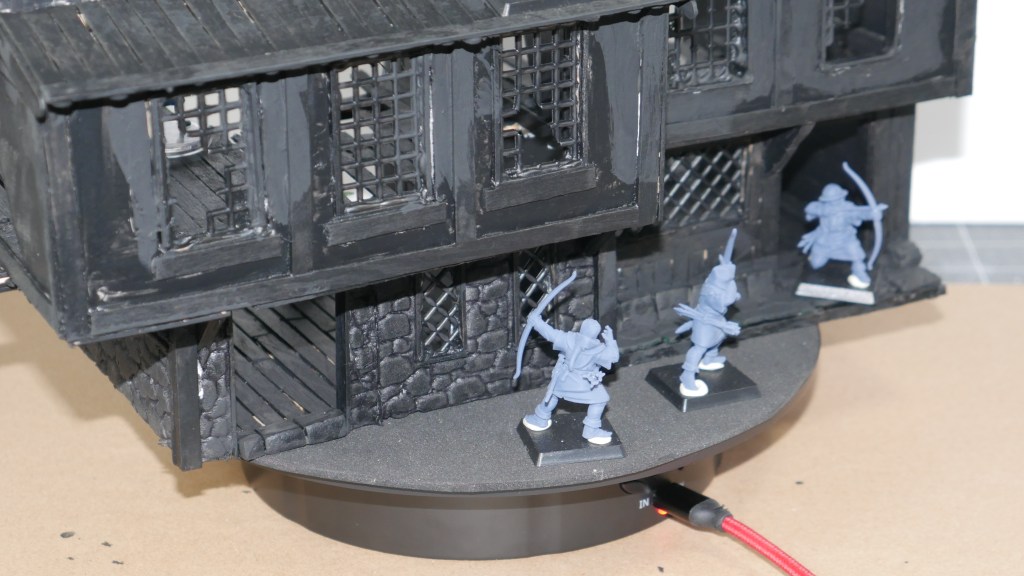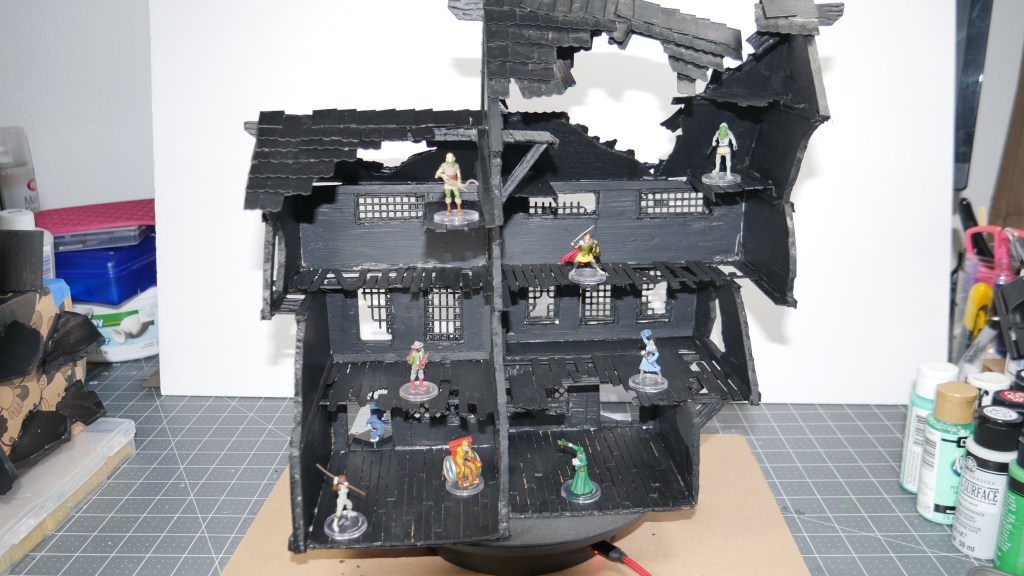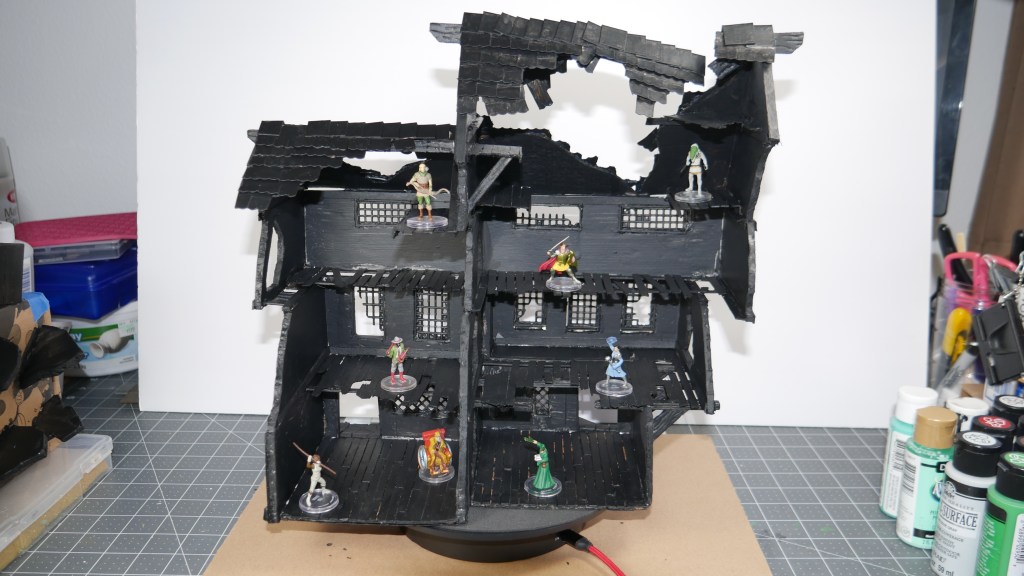
My Take on the Mordheim Starter Box Terrain

Hi. It’s been a minute. Actually, it was just a few weeks. I took that time to reflect on the starting point into my Mordheim/Fantasy/Old World terrain making journey. It was definitely a challenge, but I was glad to have taken it head on.

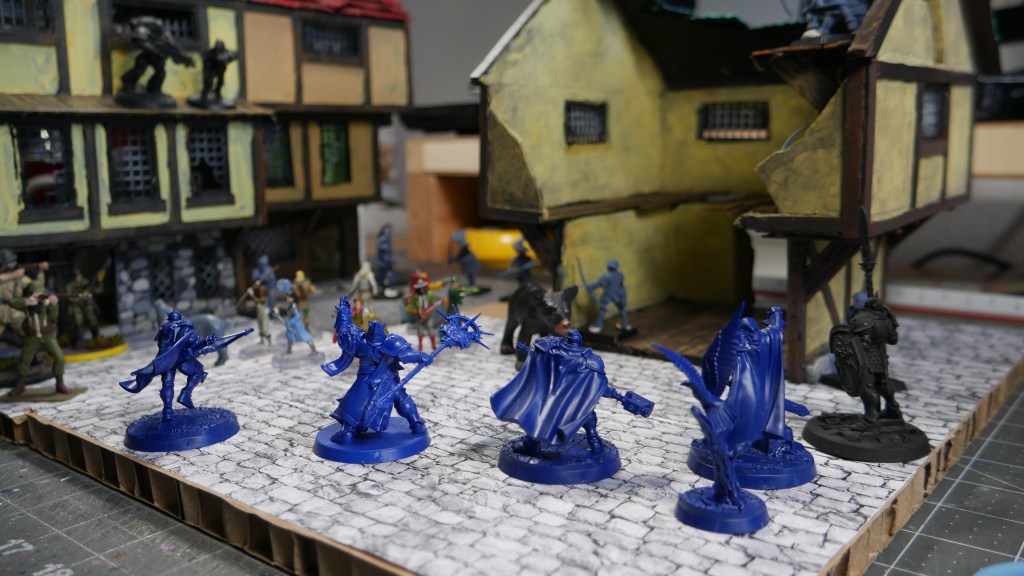
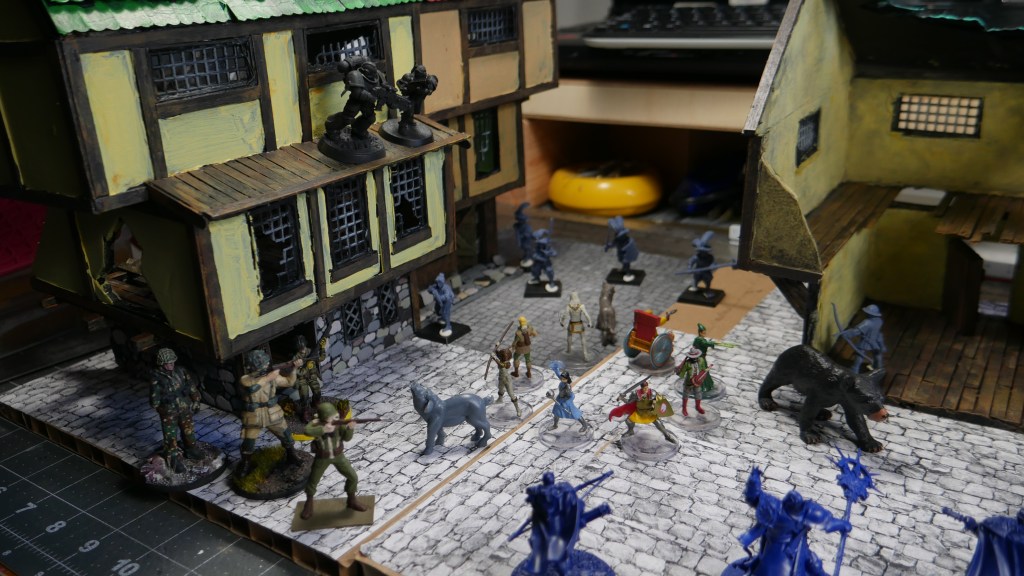
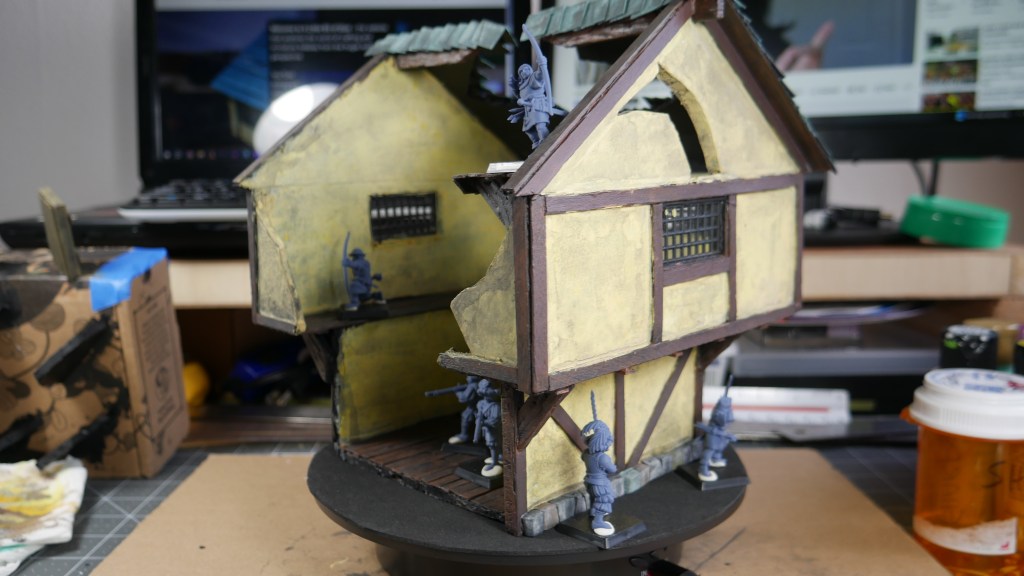
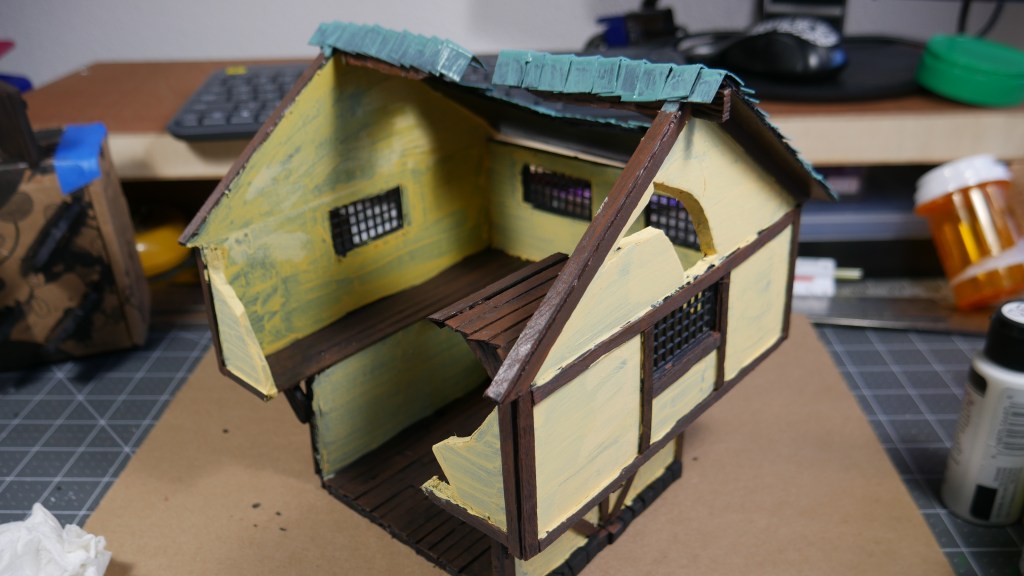
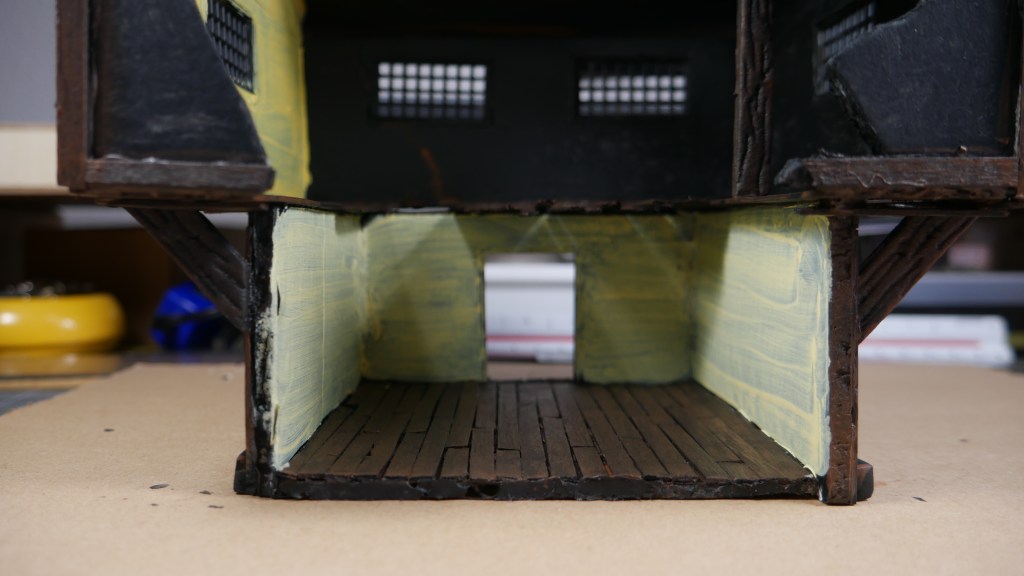
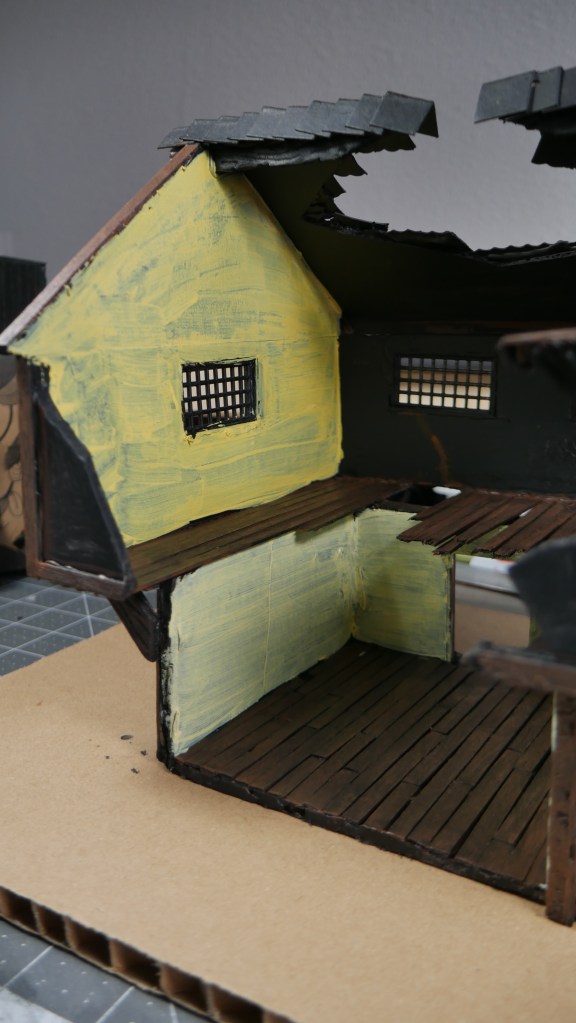
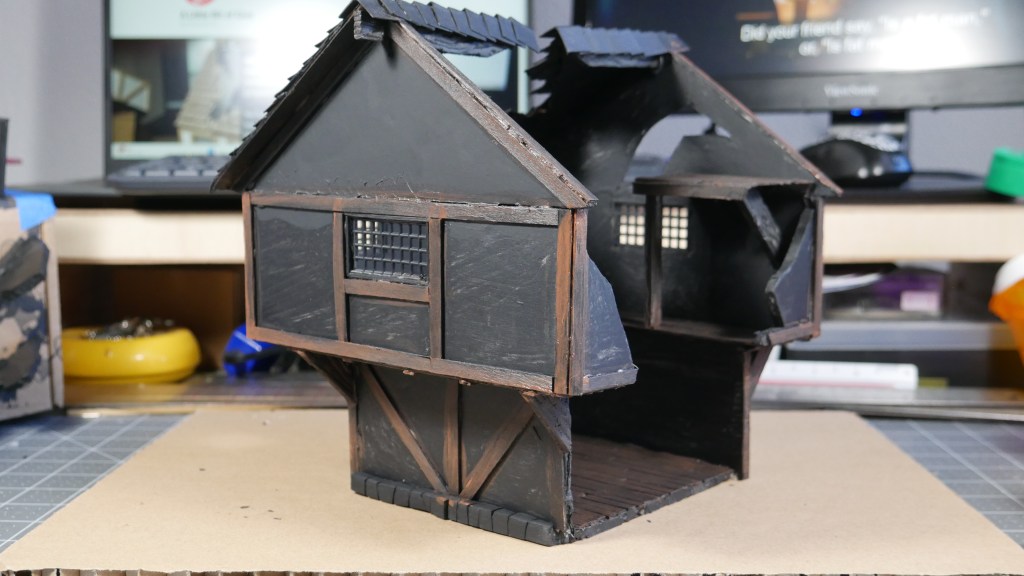
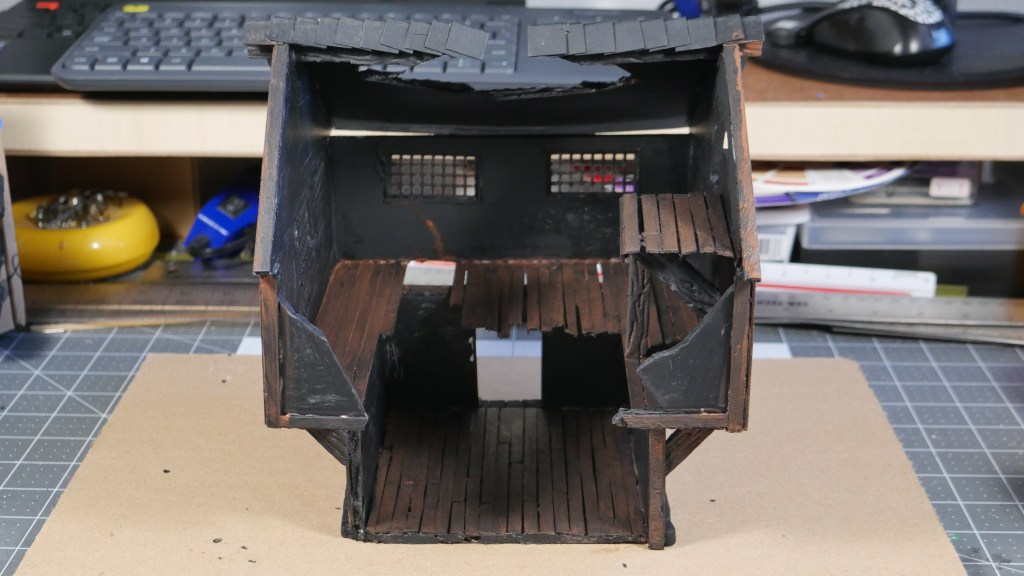
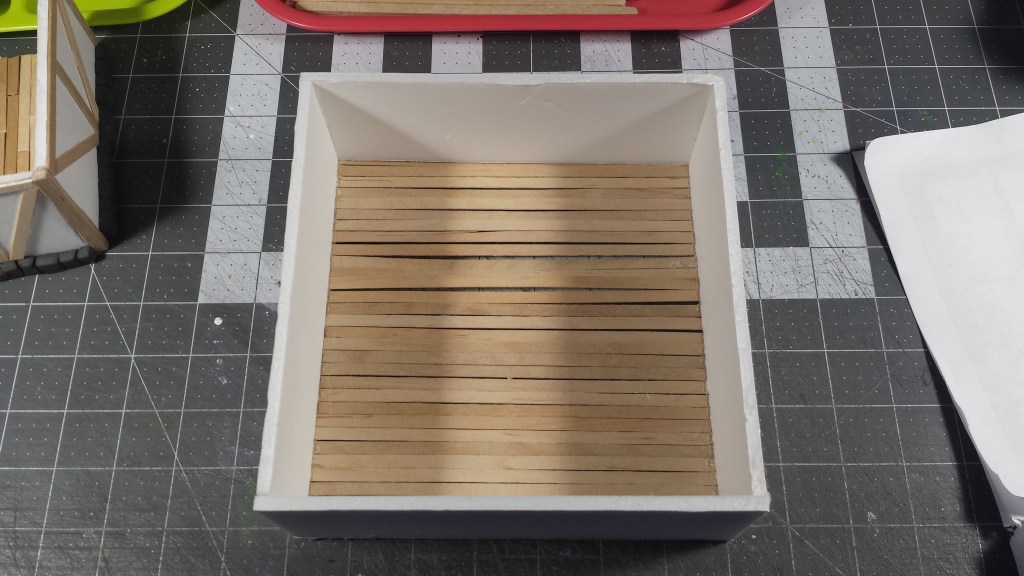
I decided to go back to the basics and do my take on the Mordheim Starter Box Terrain. To be honest, I didn’t even know what the starter terrain set looked like. I was so engrossed with the fantastic terrain builds from the creators in the Mordheim community that I neglected to look at where it all began. I set out (thru my interweb browser) to find some reference material. I quickly found some through Broheim, of course.

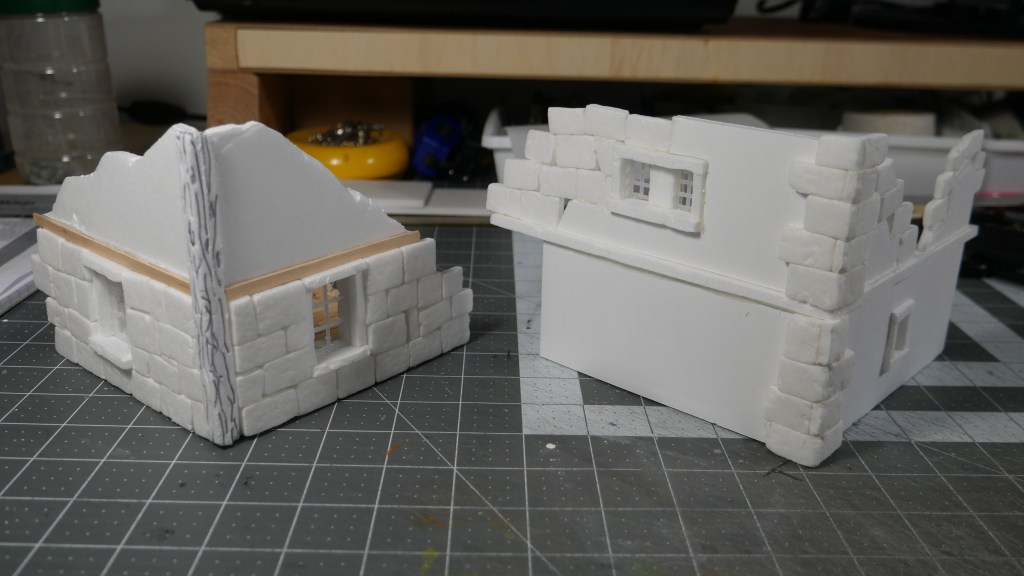
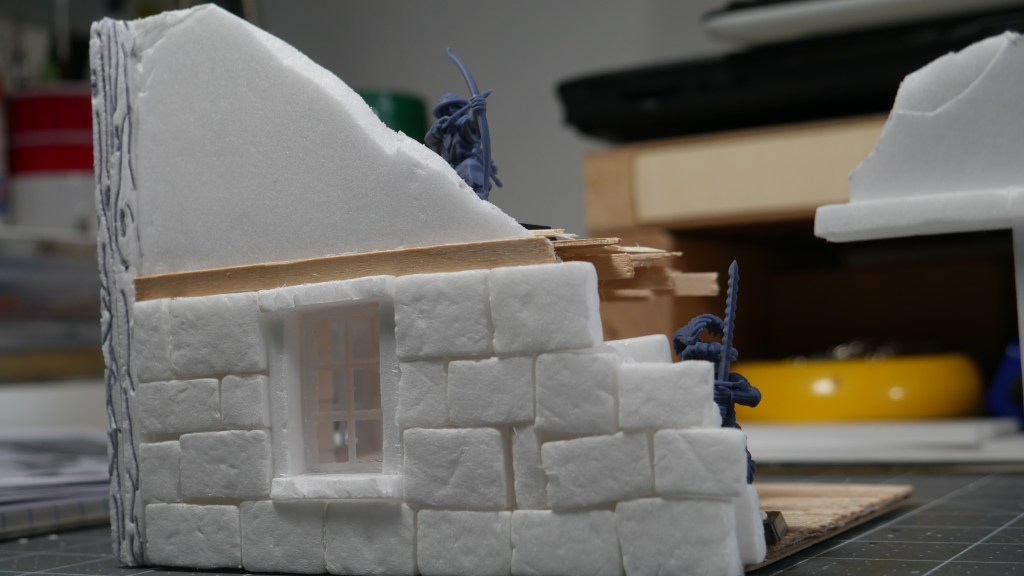
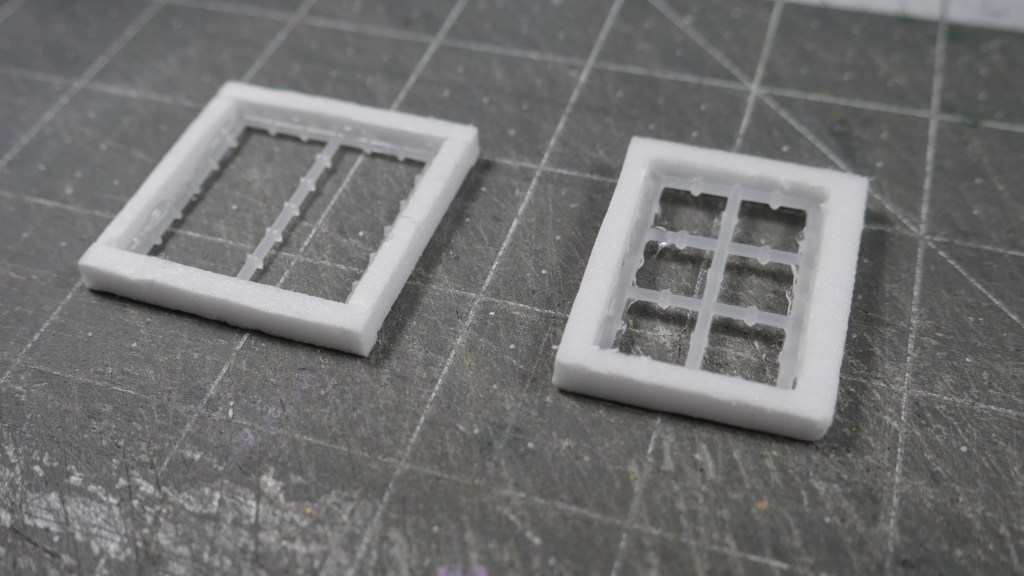
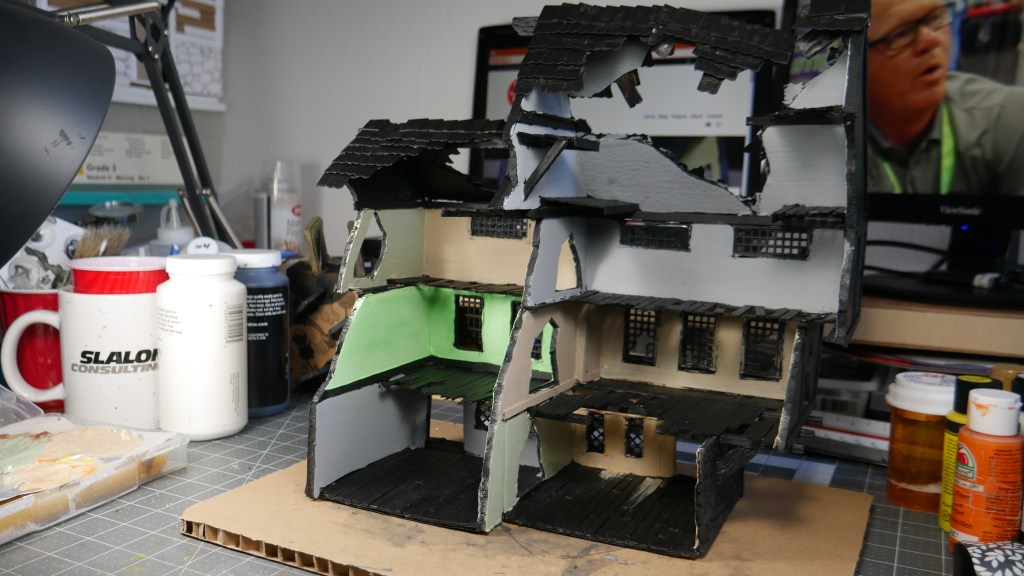
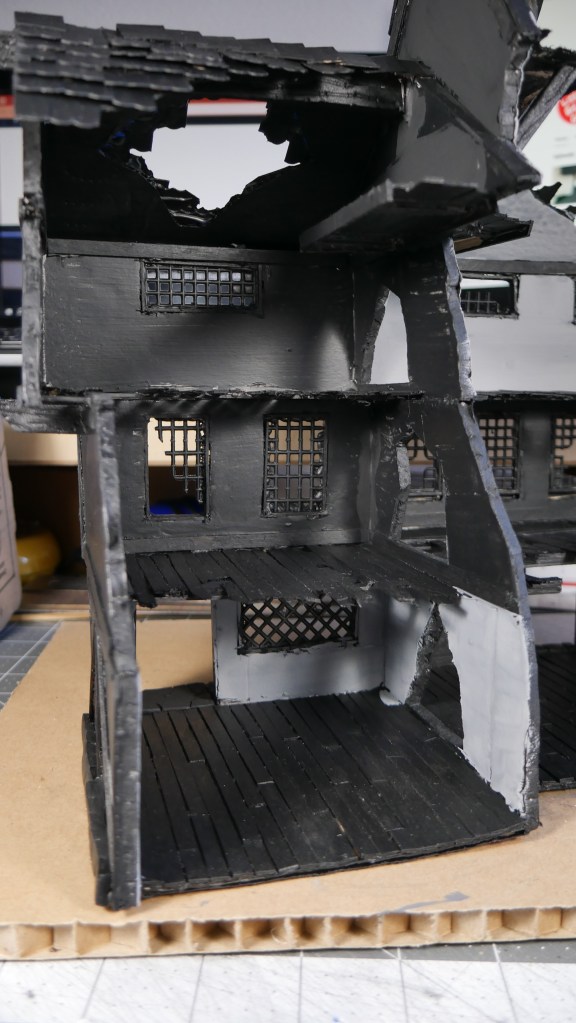
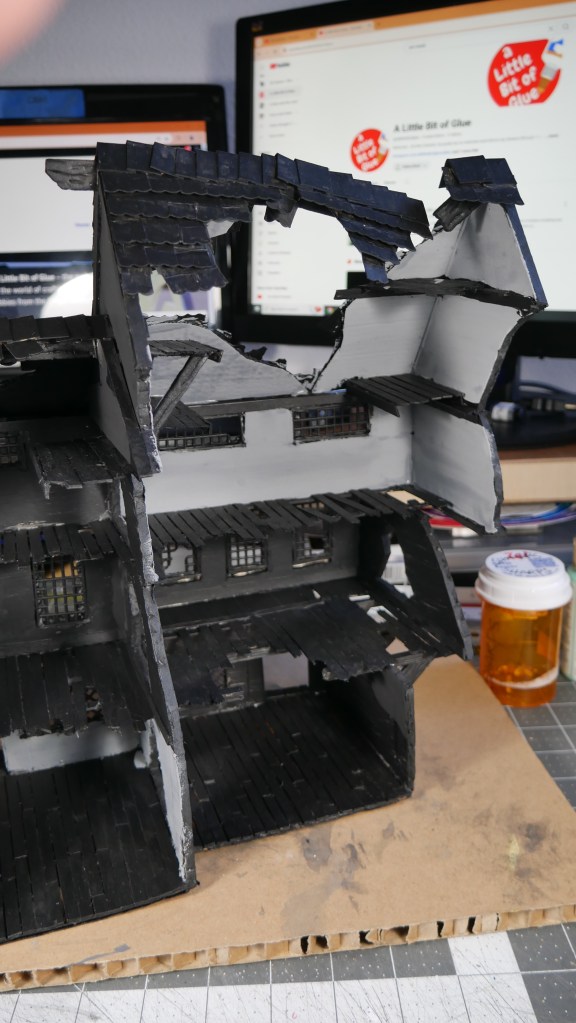
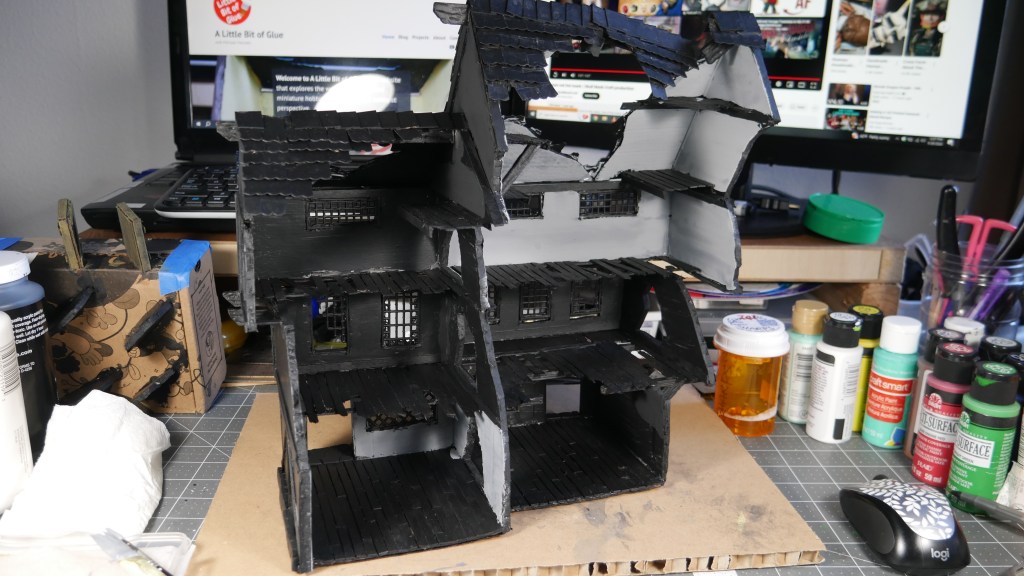
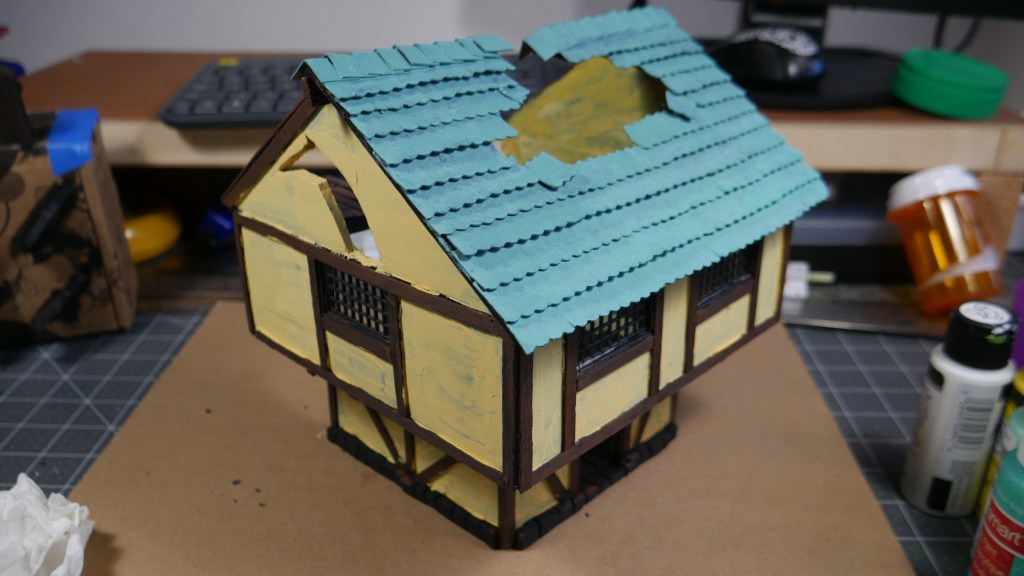
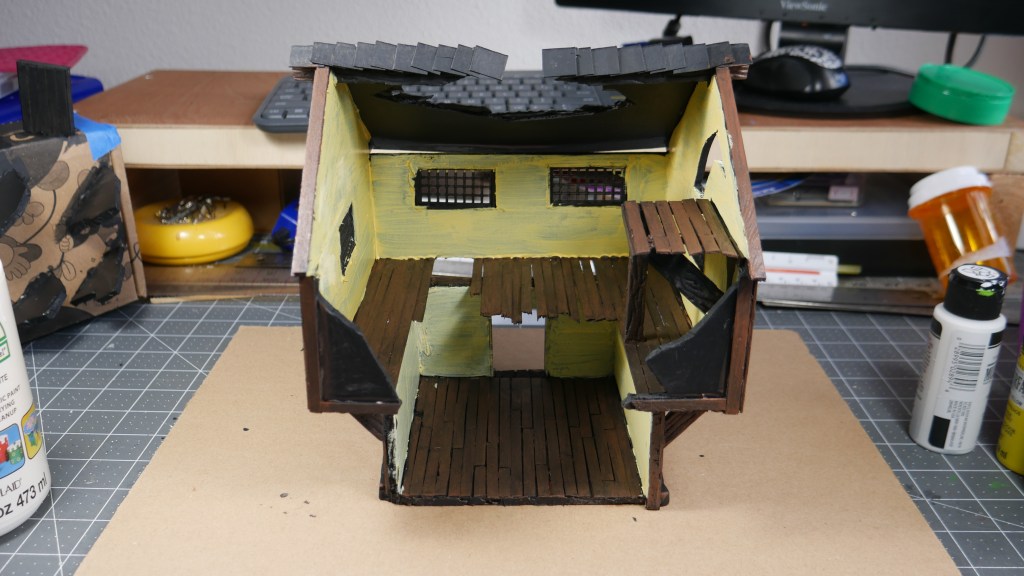
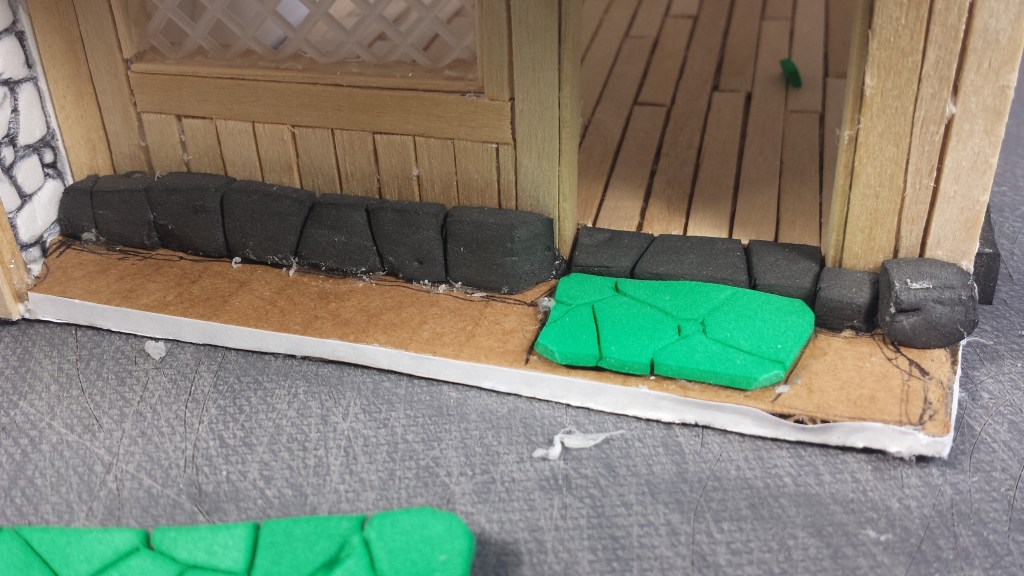
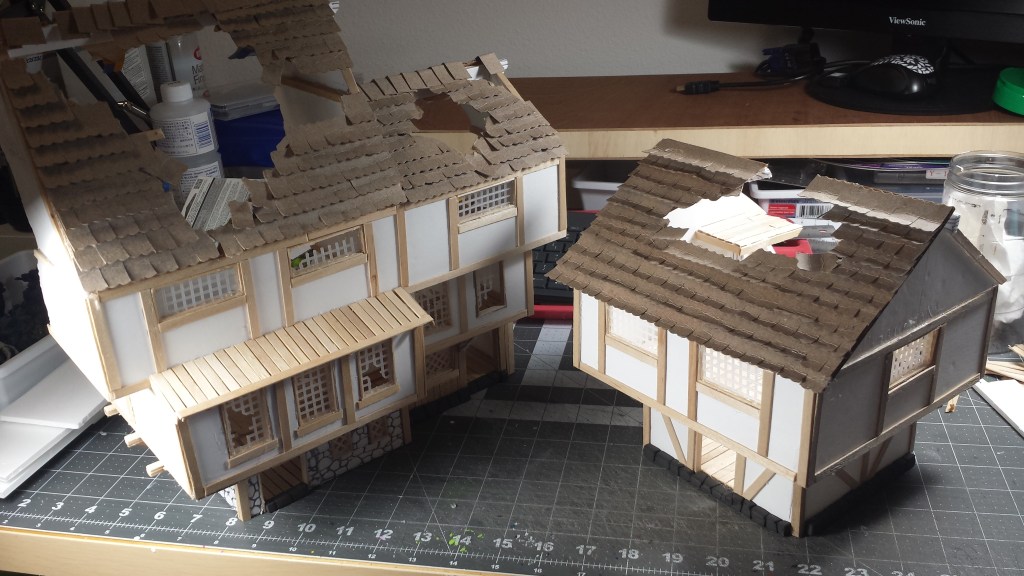
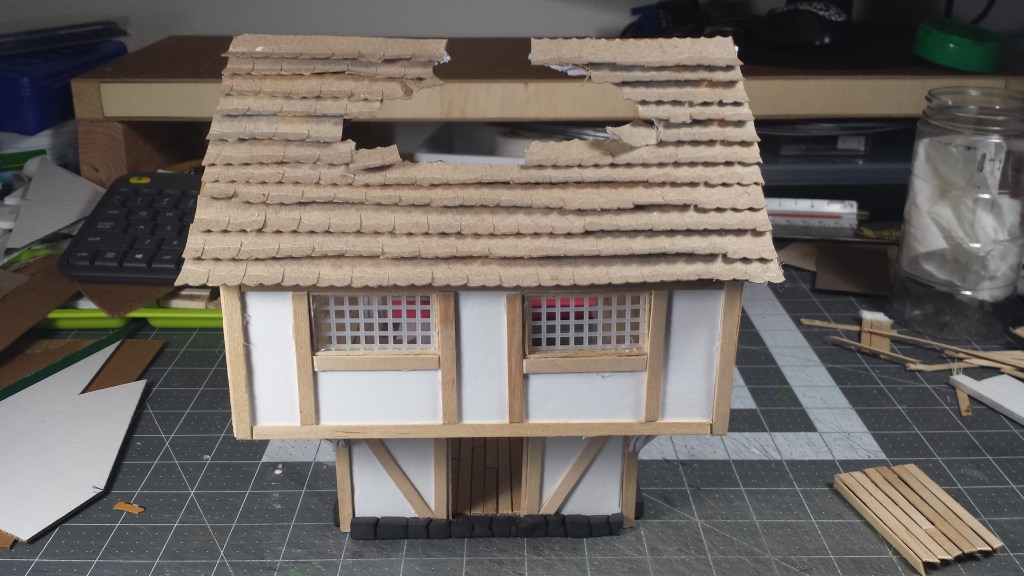
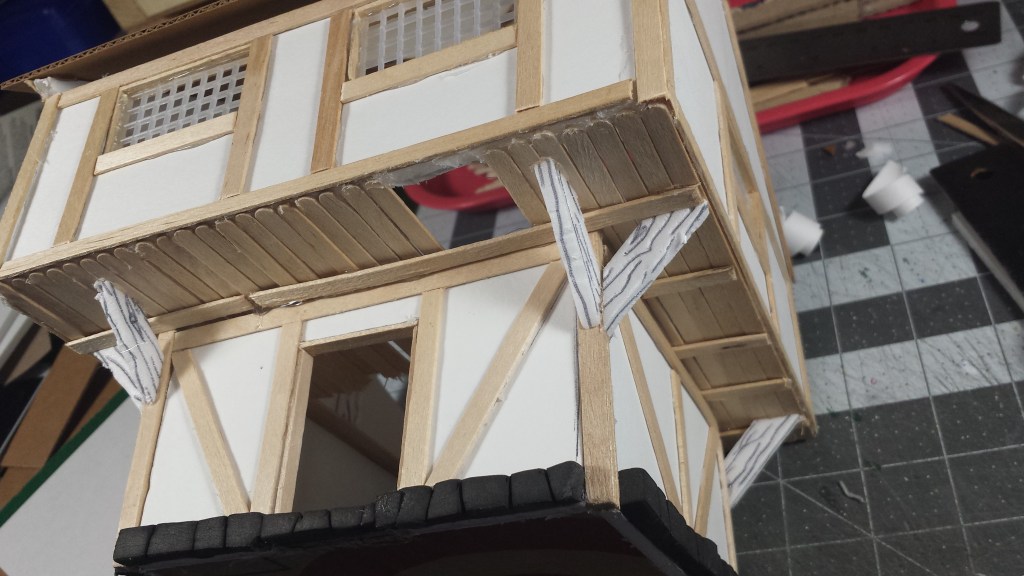
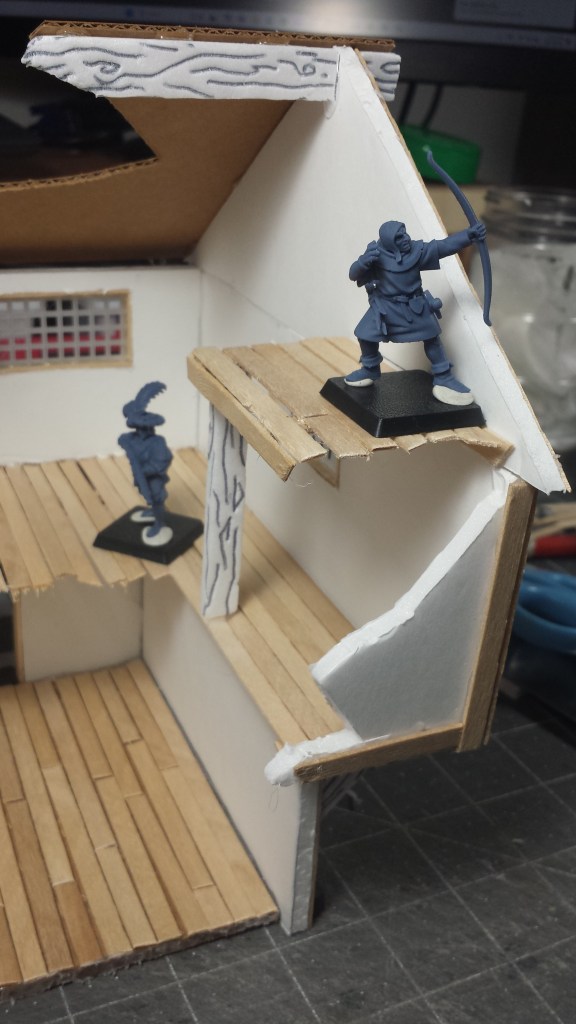
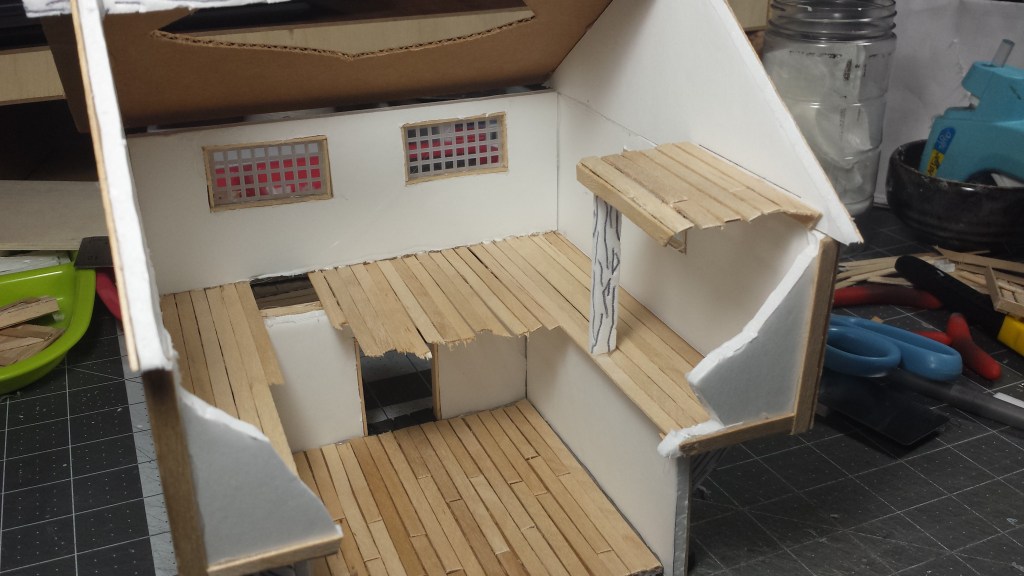
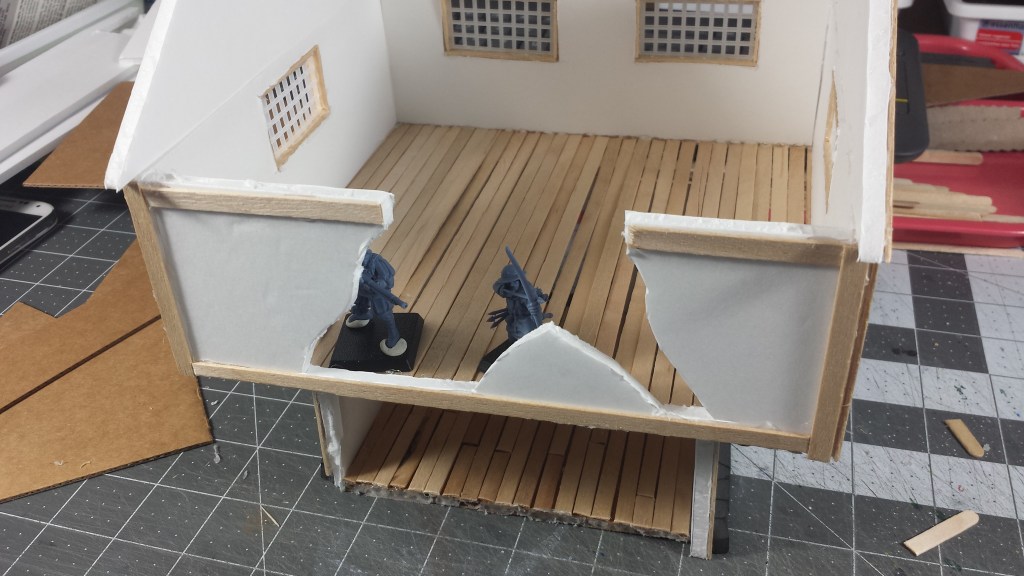
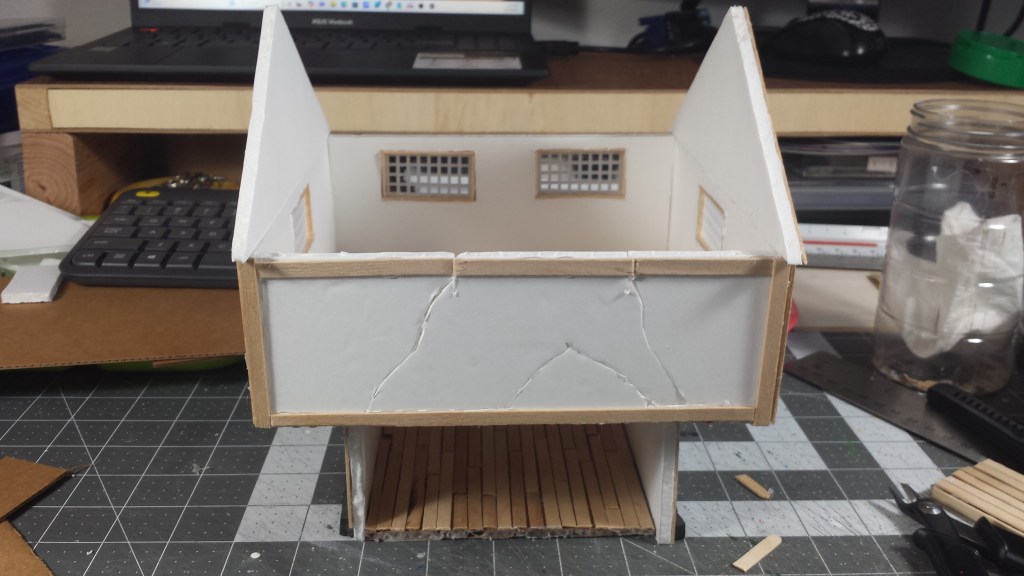
I have started on the Corner House 1 and Corner House 2 using the scans of the original cardstock prints as inspiration for my take. I also am taking lessons learned from my first build. You can check out my previous blog posts for details on that. I also wanted to try out a couple of things, like cutting individual “stones” out of foamcore and gluing them on the structures. I also wanted to see if I could streamline the workflow by standardizing some sizes and methods.

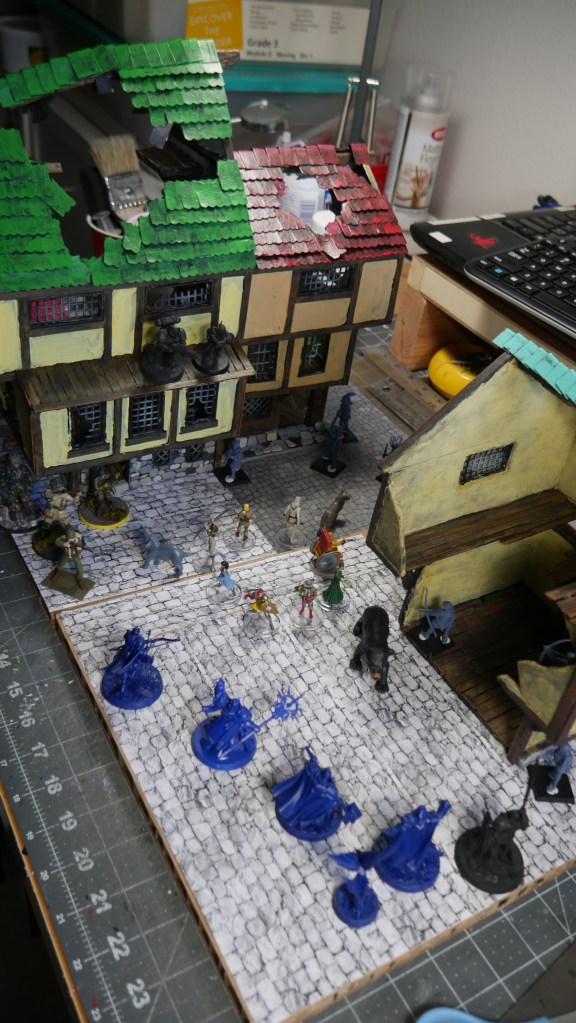
Here are some beginning pics of this next build series. My take on the Mordheim Starter Box Terrain. I am also considering editing and uploading a couple long form videos to m my YouTube channel in addition to my Insta posts.

As always, help me game the algorithm by leaving a like and comment. Check out my affiliate links (if you are having a hard time finding materials or tools) – let’s be real though, most of this stuff you can find at the “dollar” store. But consider purchasing through my links. They are free for you to use, but I get a small commission to help support this endeavor including helping with production costs to take on these projects and share them with the community.

Happy crafting!
Recap and Look Ahead: Mordheim Fantasy Rowhouse Build

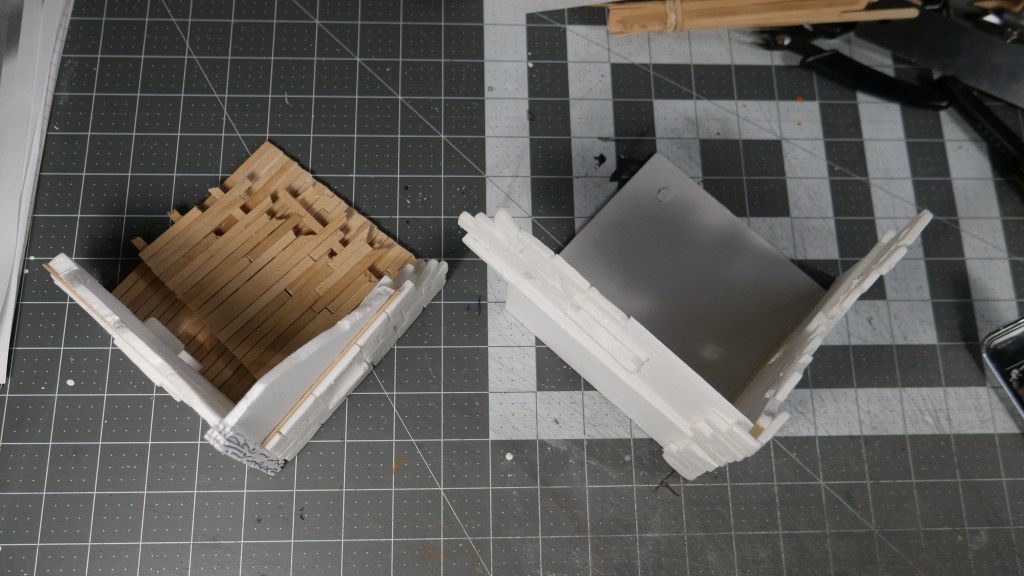
Hi. So, we’ve come to the part of the story where we conclude this project. First, is a brief recap. Then talk about the good and bad. And finally, ask what’s next.

Goals:

  1. Have fun with the process and outcome
  2. Build “good enough” initial piece of 28mm compatible scale terrain for use with tabletop wargames
  3. Share work in progress and final pics with the community through socials
  4. Annotate lessons learned
  5. Come up with new goals and commit to timeframes
  6. Grow social media and community presence to support a revenue stream for the household

I certainly had fun with the process at certain points of the build. I think the hardest part was just starting. I kept looking at the internet for inspiration and got lost in the sea of amazing builds and creative talent. I almost gave up before getting to start line. I am glad I pushed through and was able to build something I could be proud of. If anything, my kids could use it to display their Smiskis or Sonny Angel (those are their latest obsessions – it should be schoolwork, but I’ll let it slide)

Some lessons along the way. PVA and any water/liquid-based glue will warp cardboard (surprise, surprise). You can simply add a flat heavy object on the surface where possible to prevent/minimize warping. Make sure you can reach all areas with your hand, brush or airbrush – otherwise you will have nicely painted build with a massive exposed spot where you couldn’t quite reach, embarrassing. You will ultimately miss something. It’s OK. You can go back later and add it or fix it or remove it, it’s your prerogative. I had to look up the spelling, I’ve been spelling it wrong all this time. Have fun as much as you can. Feel free to share with your classmates.

I was able to share this project with you all through my socials, Instagram, this Blog and lastly, YouTube. At one point, I was posting daily progress. That was a little stressful TBH, but I was able to ground myself and focus on completing the next steps of the build. I was able to maintain my creativity and I learned how to use the IG and Blog platforms more. Win-win. I definitely want to thank those who took a moment to view my posts, like and even comment. It means a lot.

What’s next? Well, I have a few ideas in mind including another couple of buildings. I want to try out some techniques including incorporating the airbrush into my workflow. I want to see if the production time could be reduced to provide content in a timely manner – let’s say start to finish within a week? Too ambitious? I also want to record some of the process and produce some longform content for my YT channel. They say you should strive for SMART goals, but on the other hand, they also say to push yourself to the limits and go beyond them!

Grow the socials and provide a small revenue stream. Yes. There has to be some compromise. Some give and take. I will share as much as I can, but I also don’t want to lose the passion for the hobby in general. I wouldn’t mind from the community some words of encouragement, constructive feedback or even a simple “thumbs up”. In return, I will strive to provide timely content that you will hopefully find entertaining, informative, and educational. Lofty, I know, right.

Thanks again for joining me on this project. See you in the next one. Help me game the algorithm by liking this (and other) post(s), commenting on my socials, and sign up for my email list so that you are informed the moment new content is available. For now, enjoy some more pics.

Happy crafting!

Beams and Stone

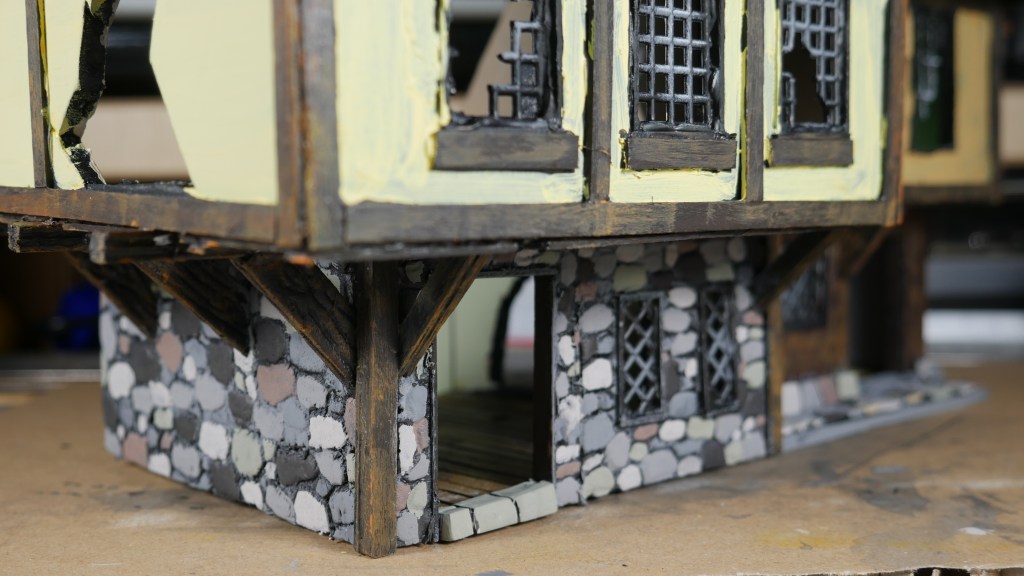
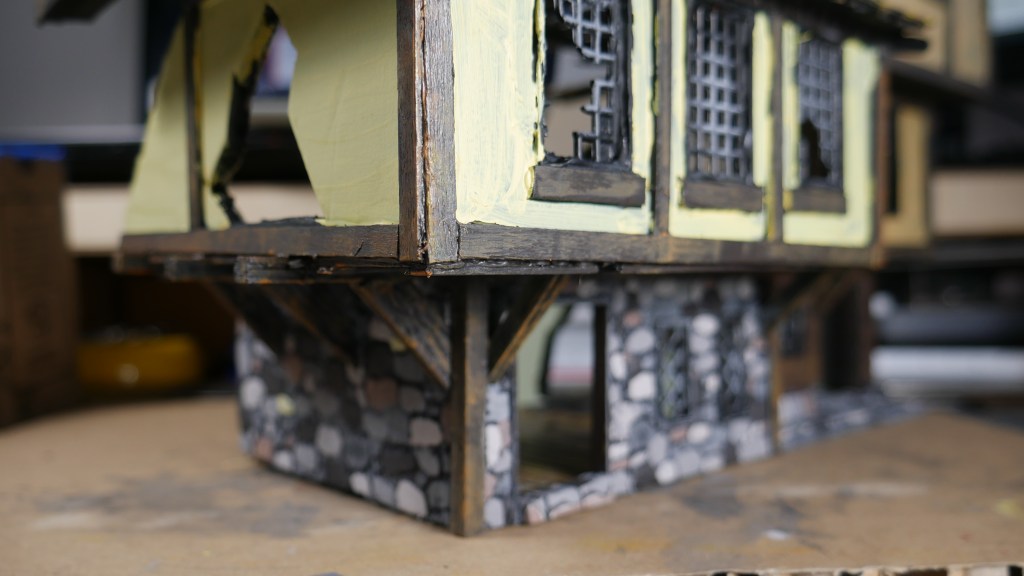
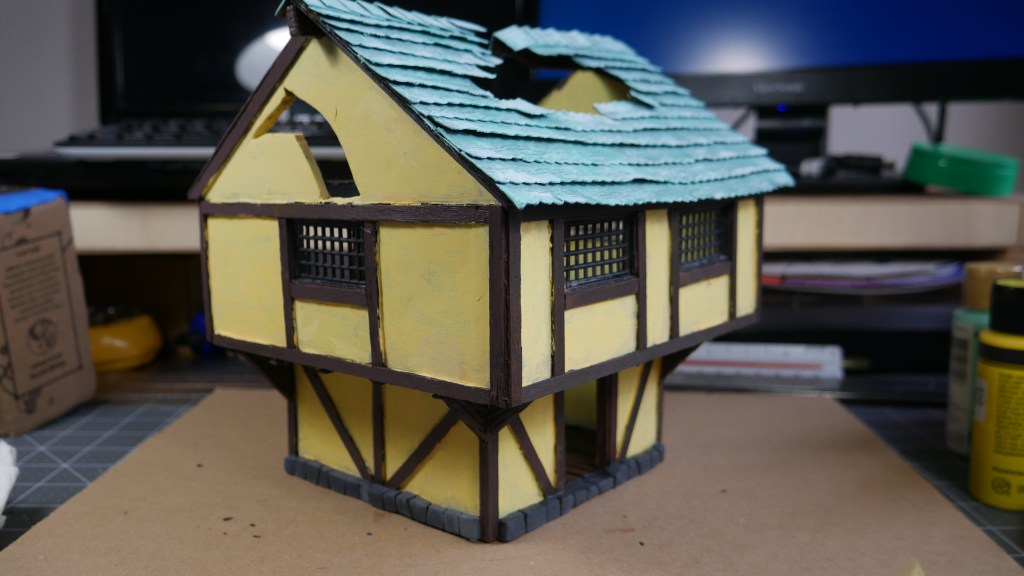
Hi. It’s a bit overcast and dark on what started off as a bright and sunny Tuesday. Today I worked on the beams and stonework adding some color to the black basecoat.

I mixed up some brown acrylic with black and laid down some undertone for the faux beams that give the building some character and help it read “olde world”. I proceeded to add lighter coats to give the beams some depth doing my best to let some of the dark undertones peak through the grains of the “wood beam” stir sticks.

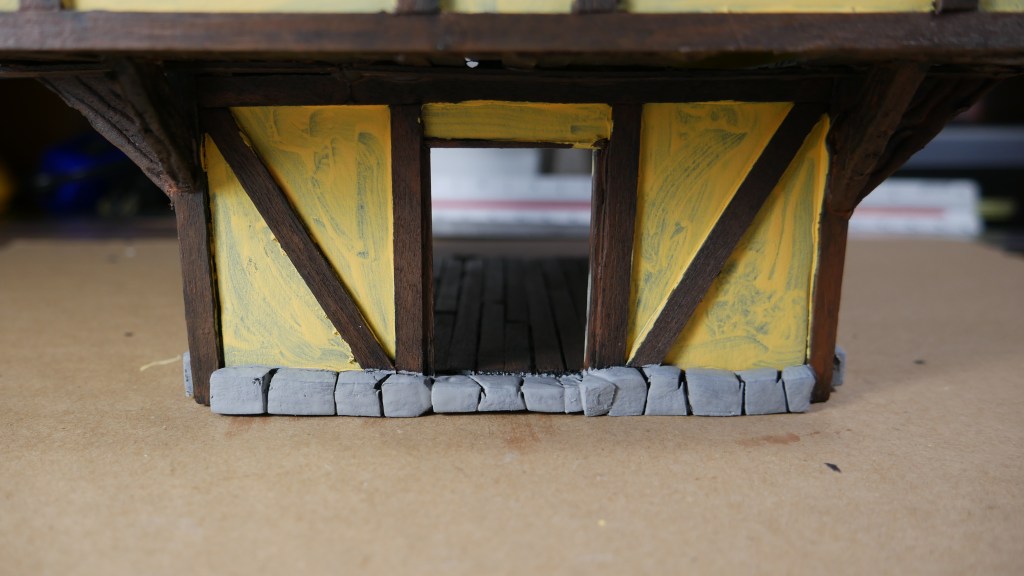
I then proceeded to add color to the stonework. I started with the wall section. At first I just simply dry-brushed a lighter tone gray over the black basecoat. Then I got the brilliant(?) idea to paint as many of the individual drawn stones in its own color. I also started doing the ground stones on the adjacent attached house. I mixed various earth-ish/stone-ish looking tones and went to town. To be honest, I got lost in the tedium that it was almost meditative. Both wall and ground stones turned out OK.

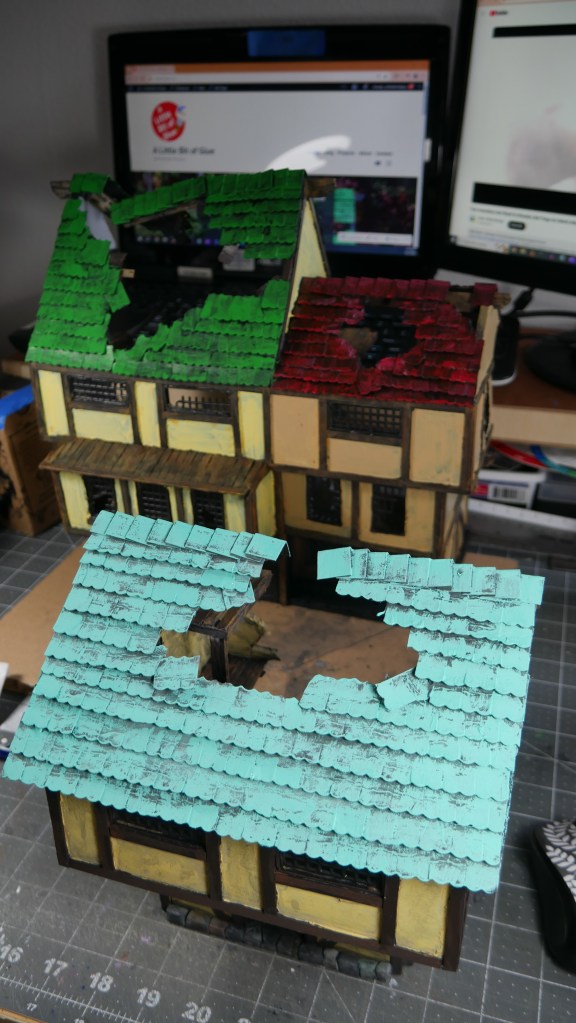
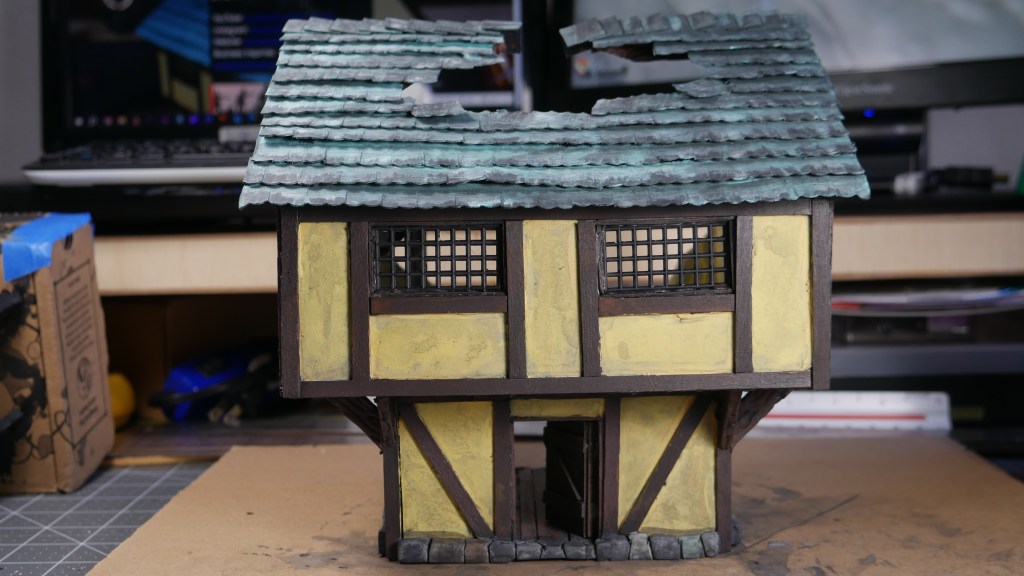
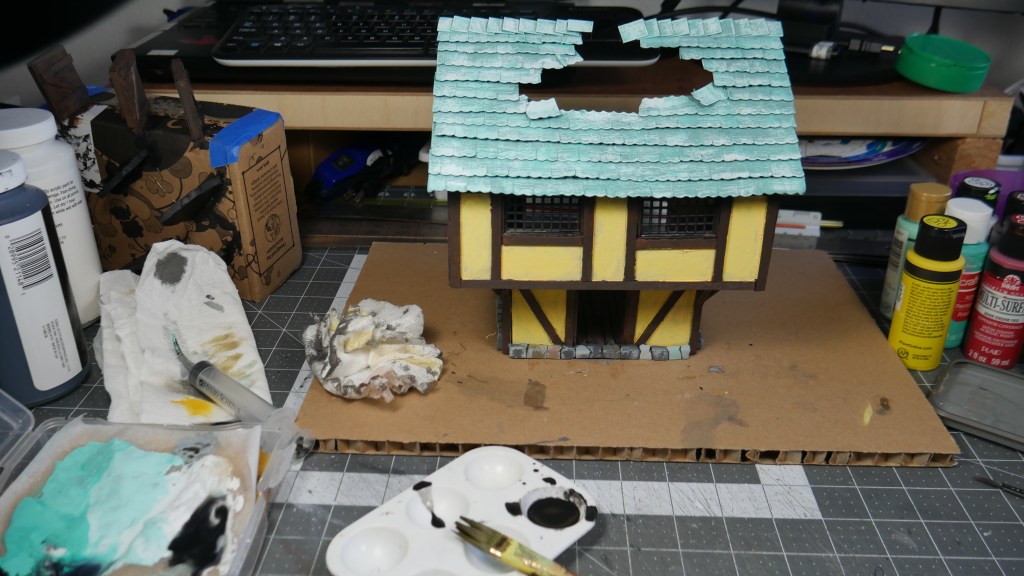
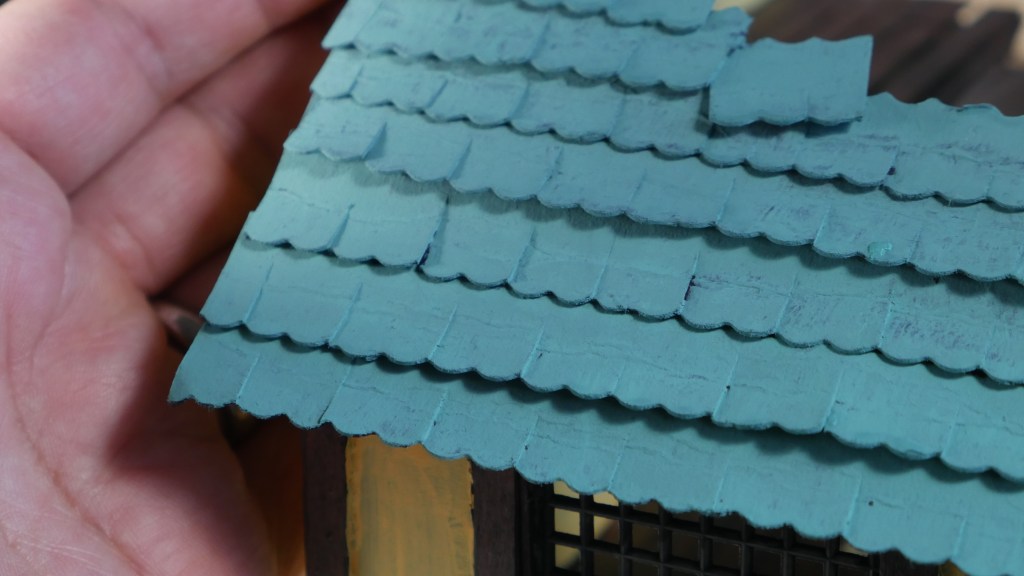
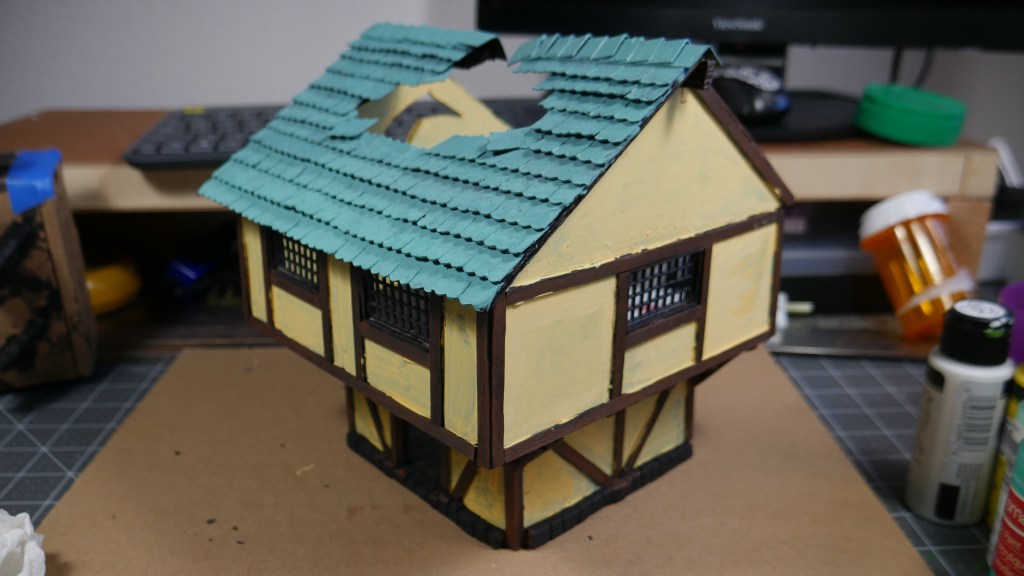
I then looked at the smaller structure and decided the roof was a bit too gloomy (for Mordheim? really?!) and I added a fresh dark coat of turquois blue.

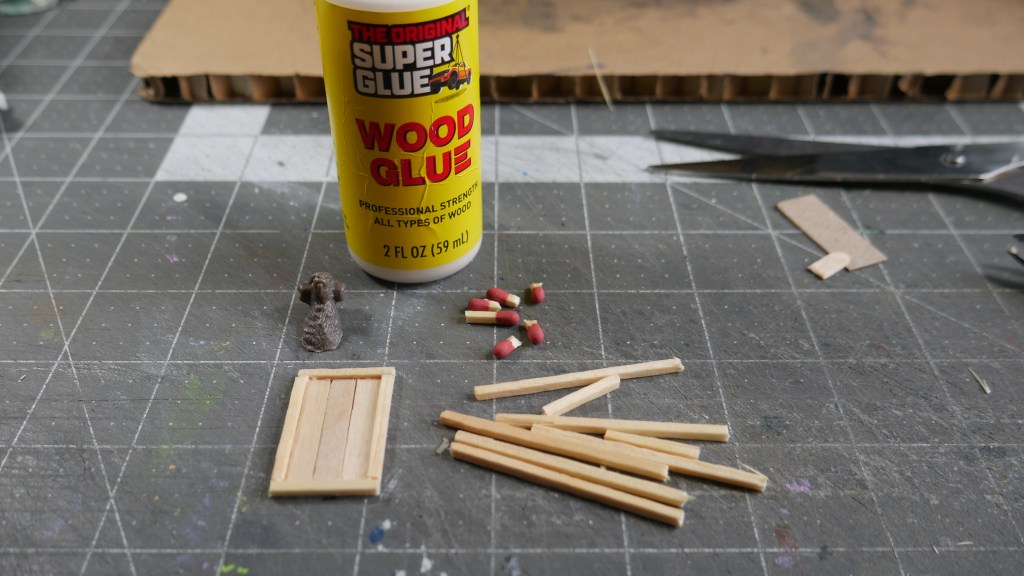
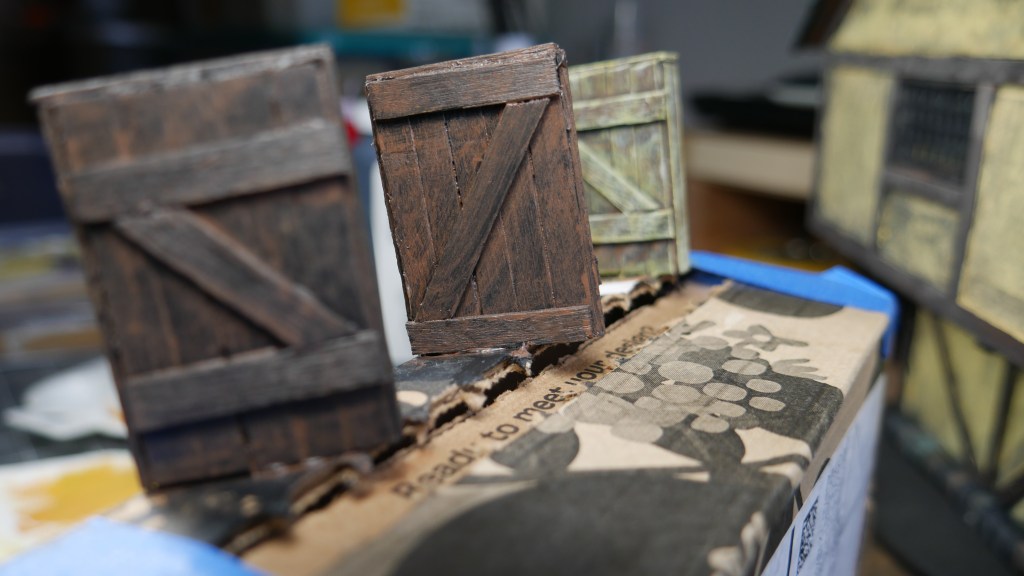
I am letting the structures dry overnight. I just have to glue the remaining doors and I will call this project done-ish. I will revisit it to add some embellishments like obligatory graffiti, posters, blood splatter, and the like.

Enjoy the pics. We are nearing the finish line. What do you think about this build series? What other builds would you like to see? I will continue with the Mordheim/Fantasy related projects and hopefully have enough terrain for an actual game. But first I need to get the minis tabletop ready. Oh boy.

Happy crafting!
Get to the Roof(s)!

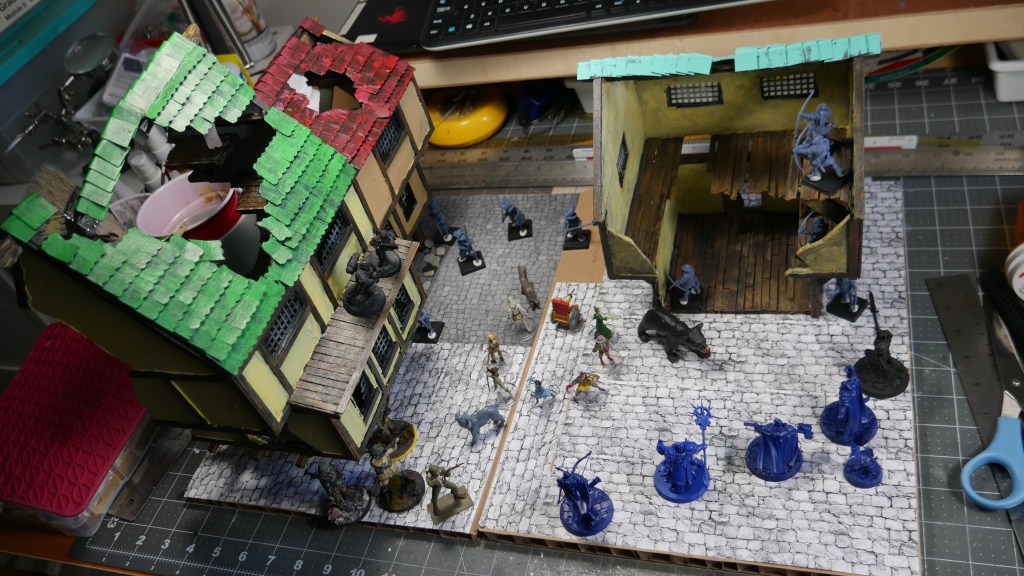
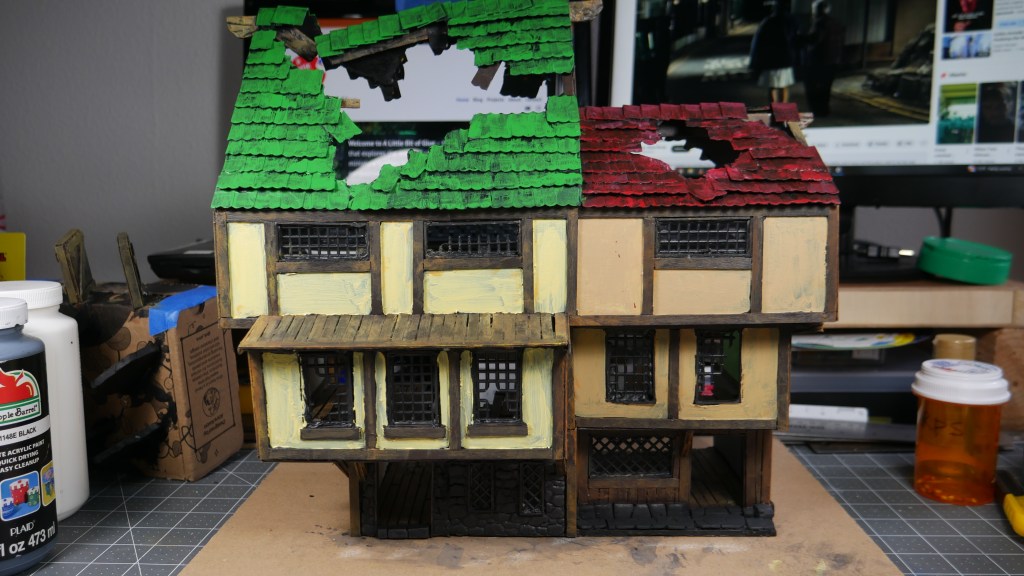
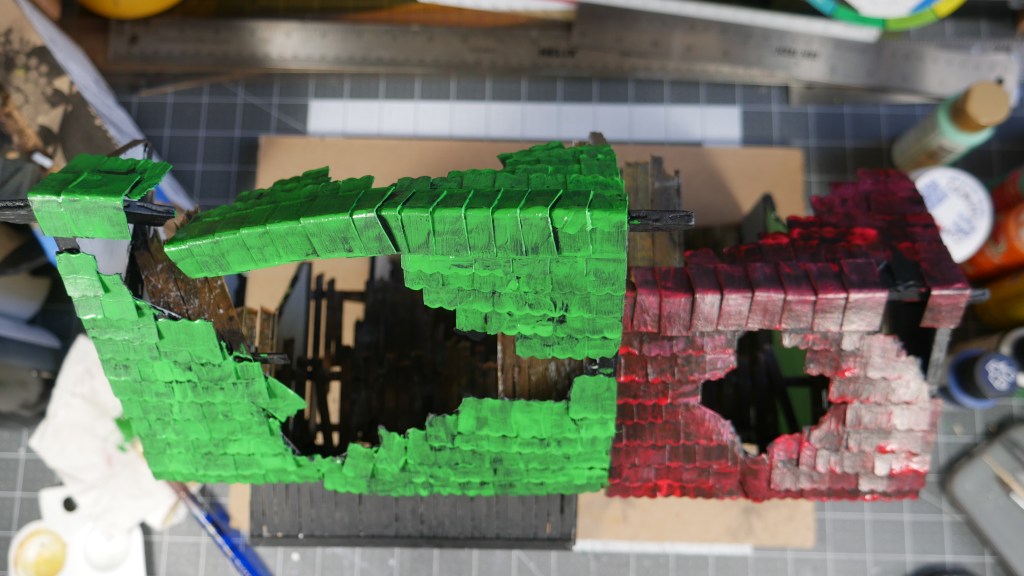
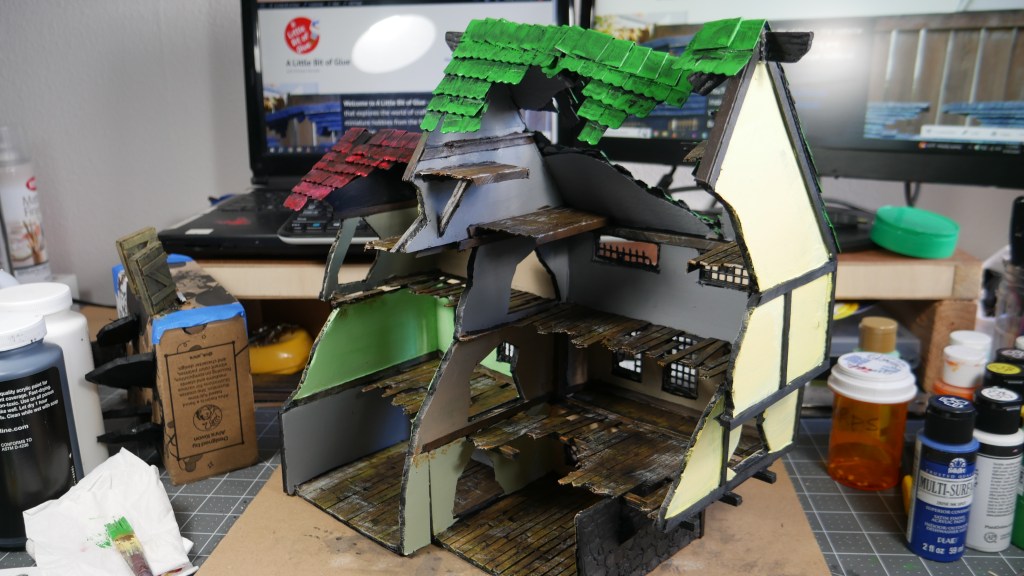
Hi. It’s me and my unnecessarily long Mordheim/Fantasy Rowhouse build project. I have been recently visited by the Building Inspector of the Mordheim City Works department and got approval to continue the work. Today is Monday and that meant, well it doesn’t really mean anything. It’s time to paint up the exteriors of the larger of the 2 structures. Yay!

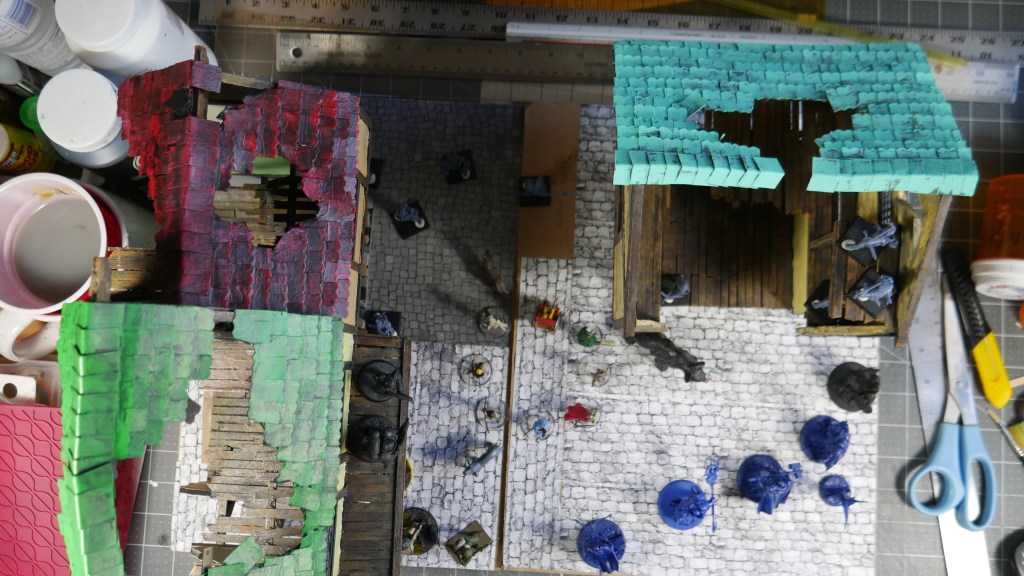
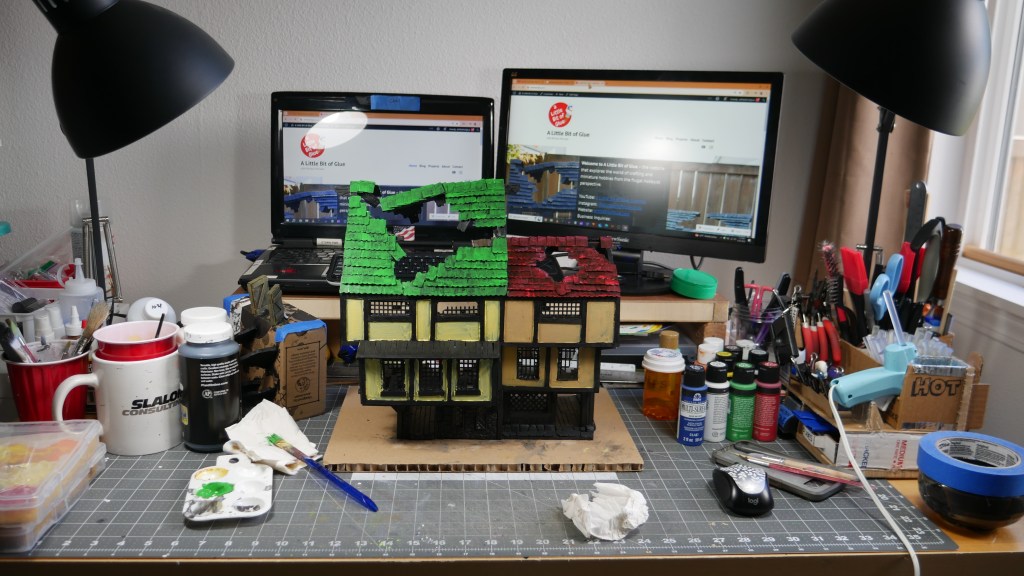
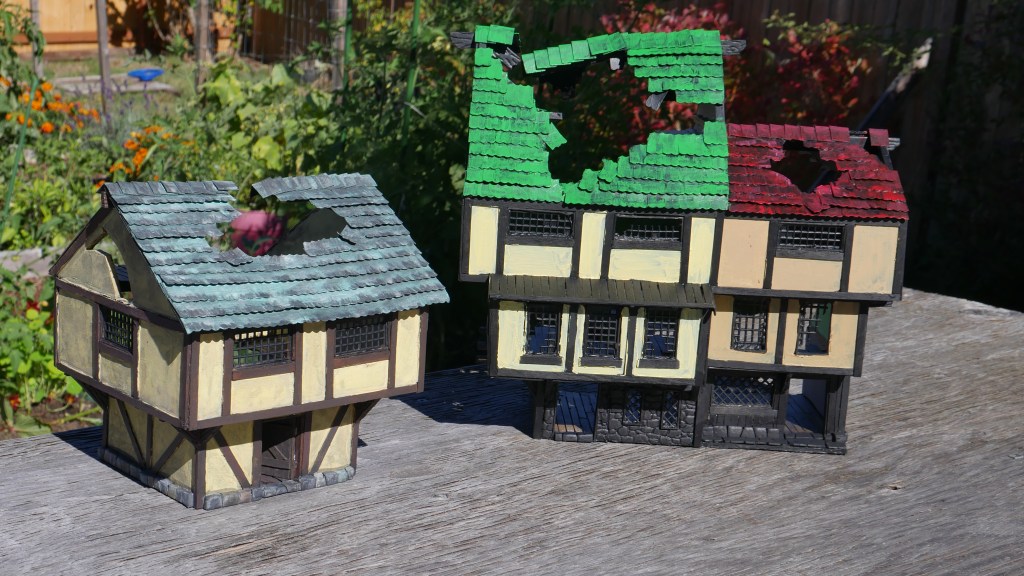
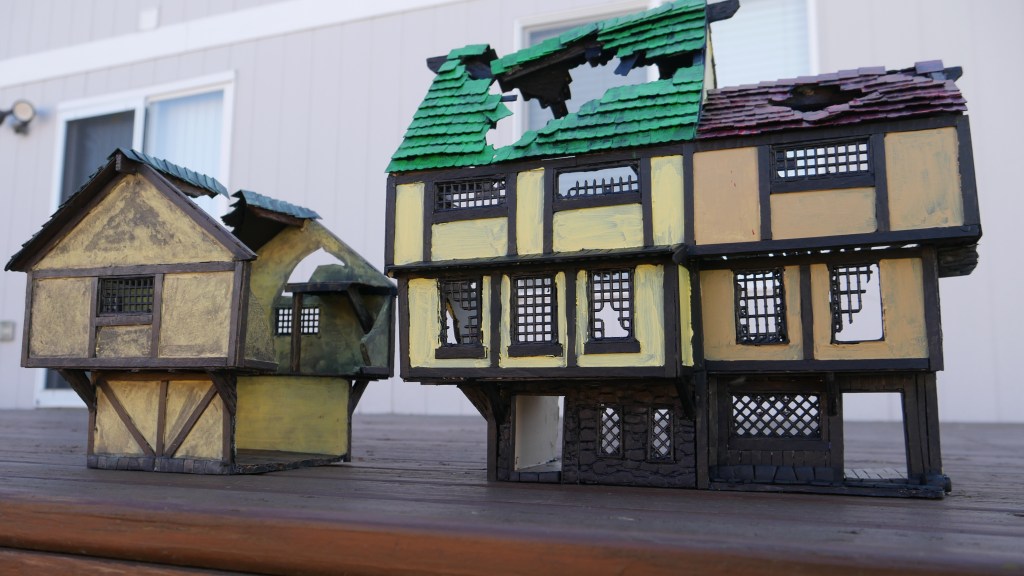
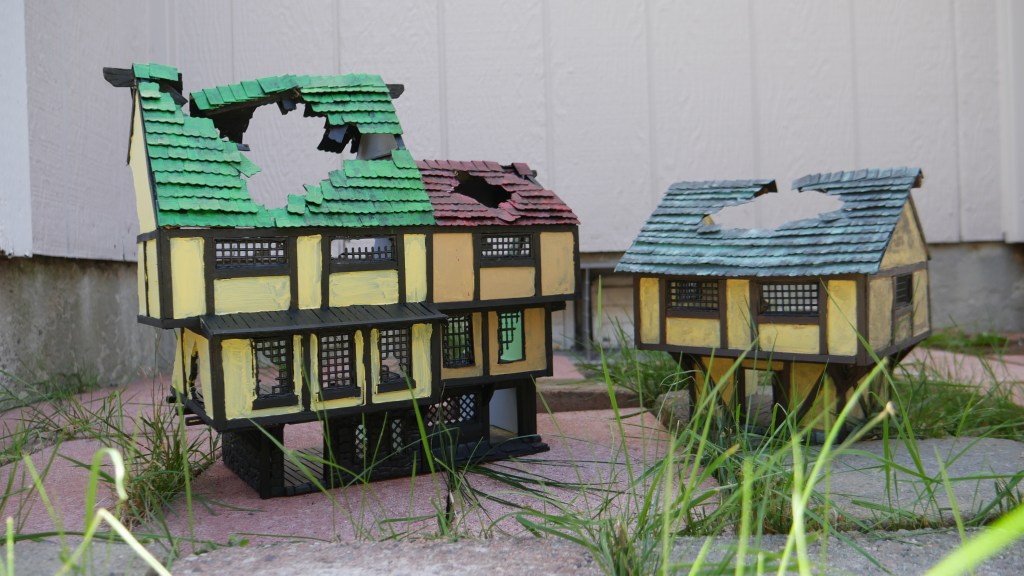
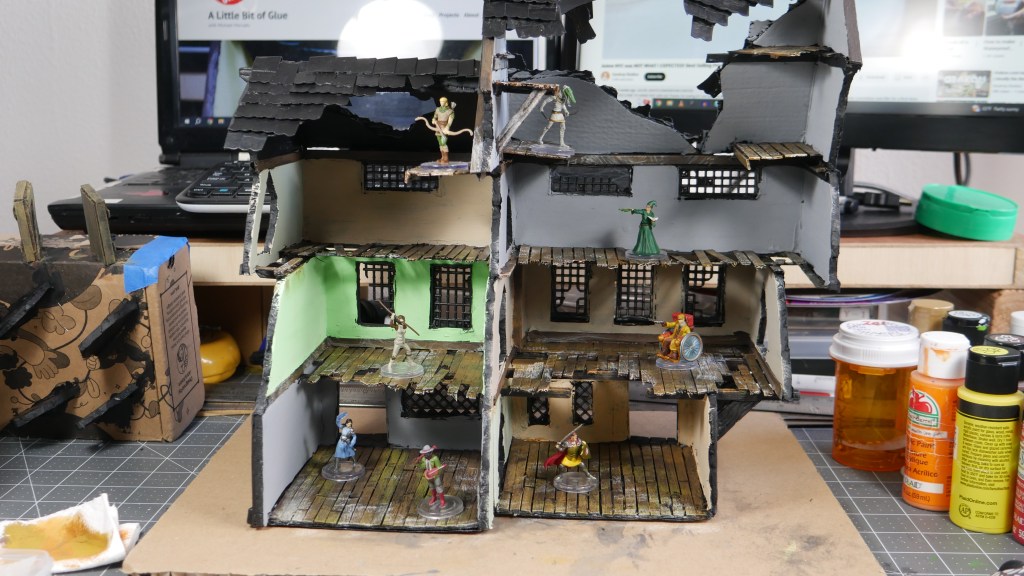
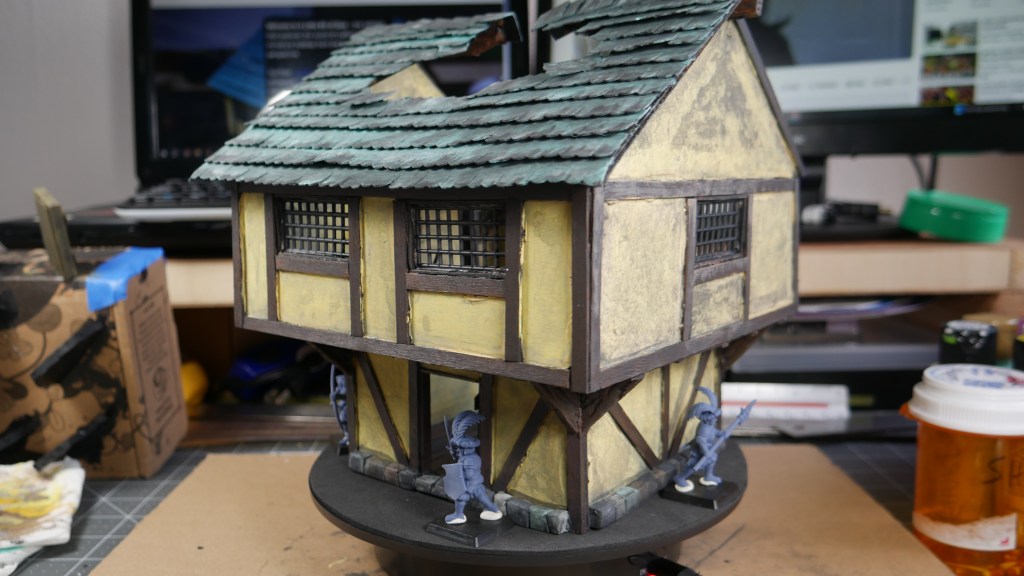
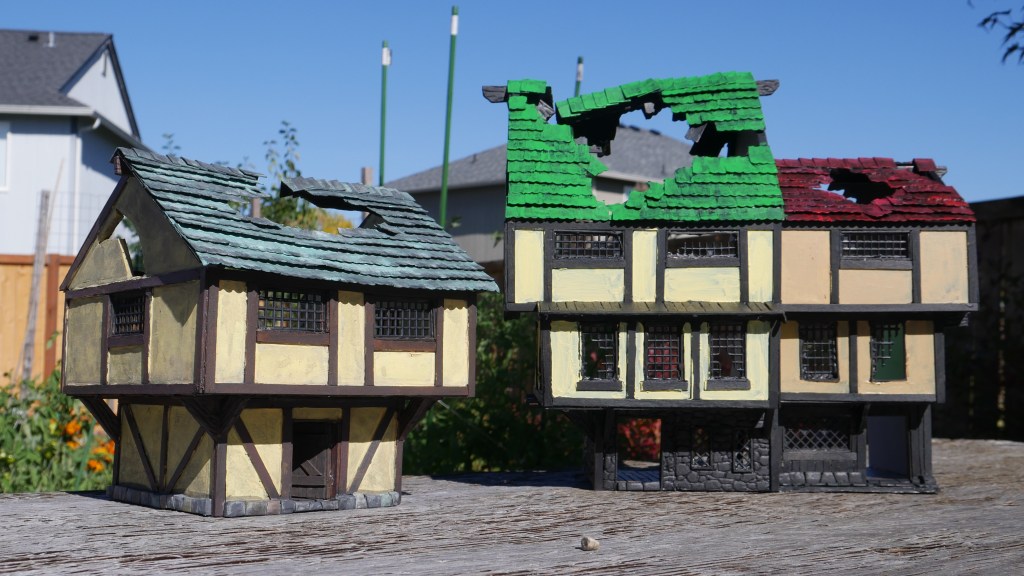
I started with the exterior walls, painting only the main panels. I will paint the wood beams and stonework in a little bit. I just wanted to see the building with some color, especially the roof tops. I laid down a base of red and green because, why not?! I think it came out OK. What do think so far? I also included a behind the scenes pic of my workspace. I like to have either music or streaming videos in the background while I work.

As before, please enjoy the pics. More to follow.

Happy crafting!
As a bonus, I took advantage of a break in the weather to take some photos outdoors.

2nd Mordheim/Fantasy Rowhouse Terrain Update – Interior Paint

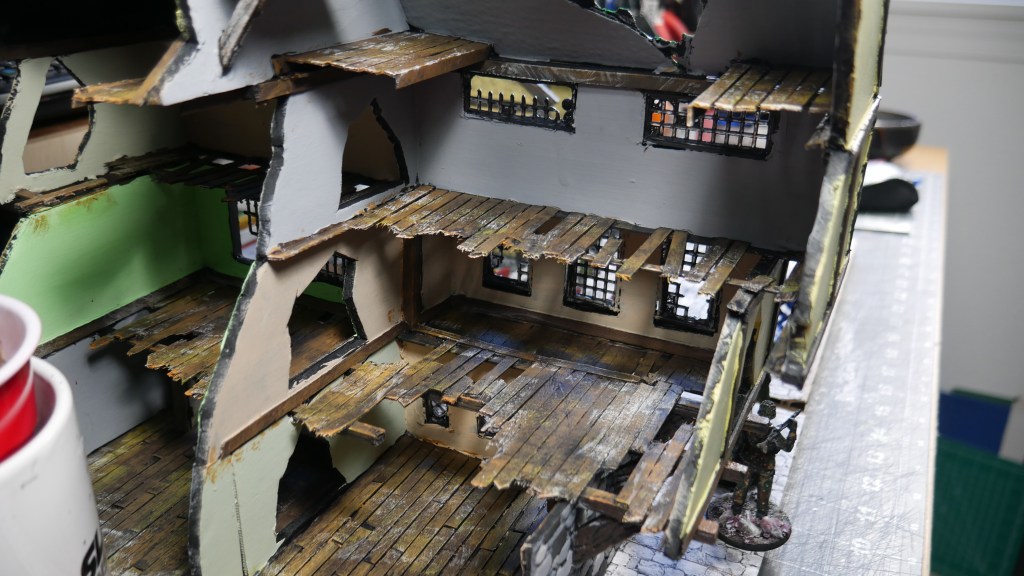
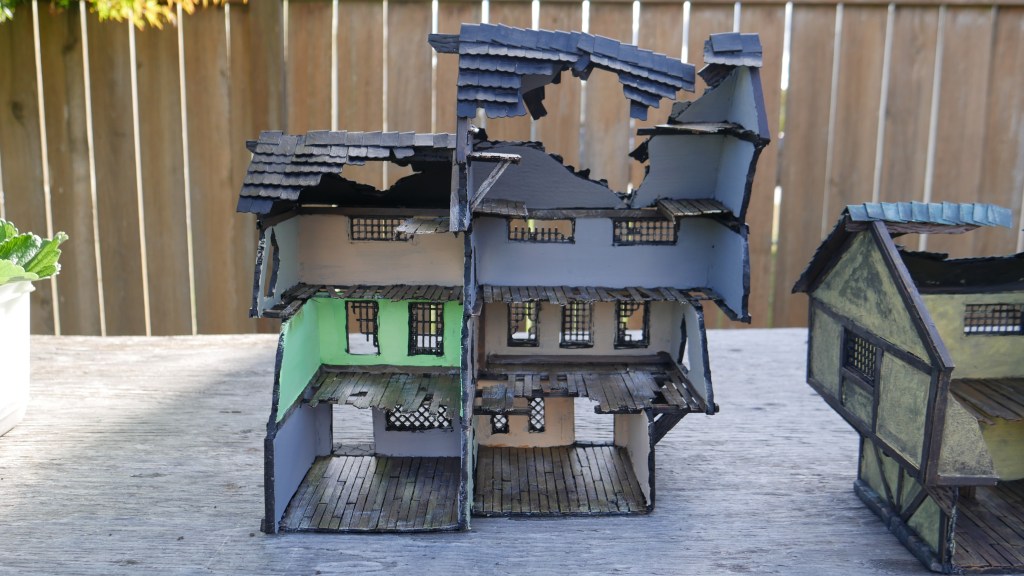
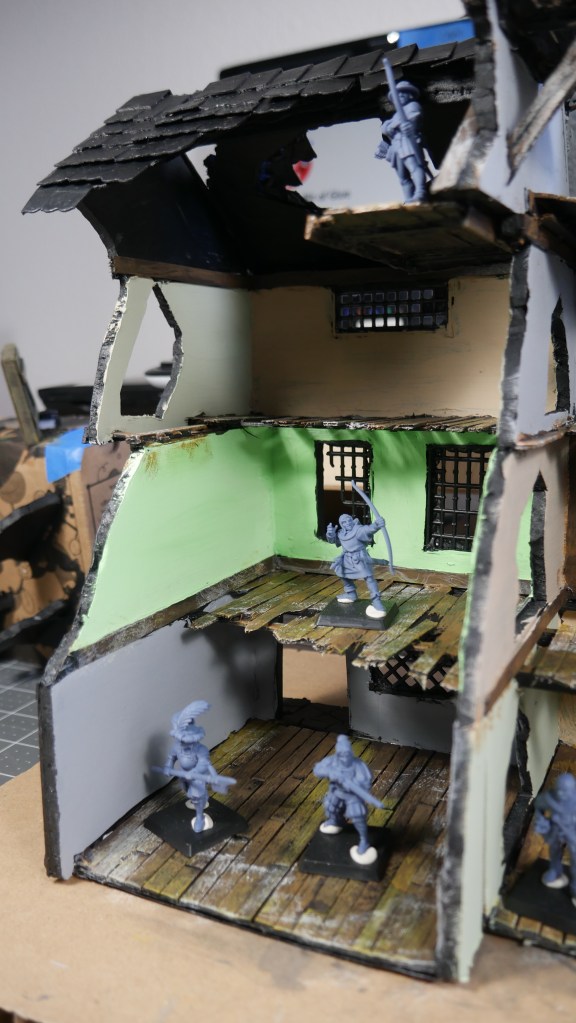
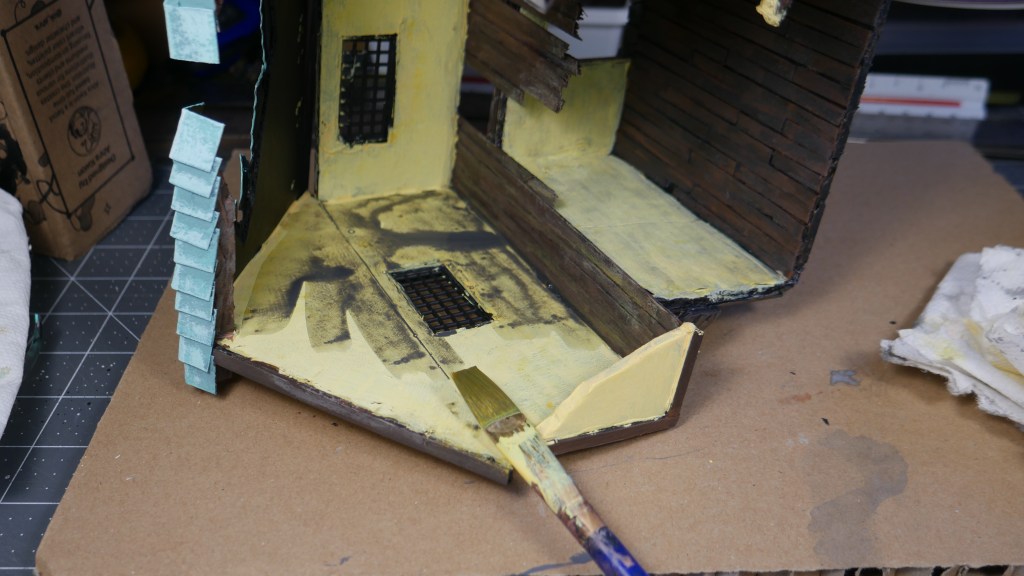
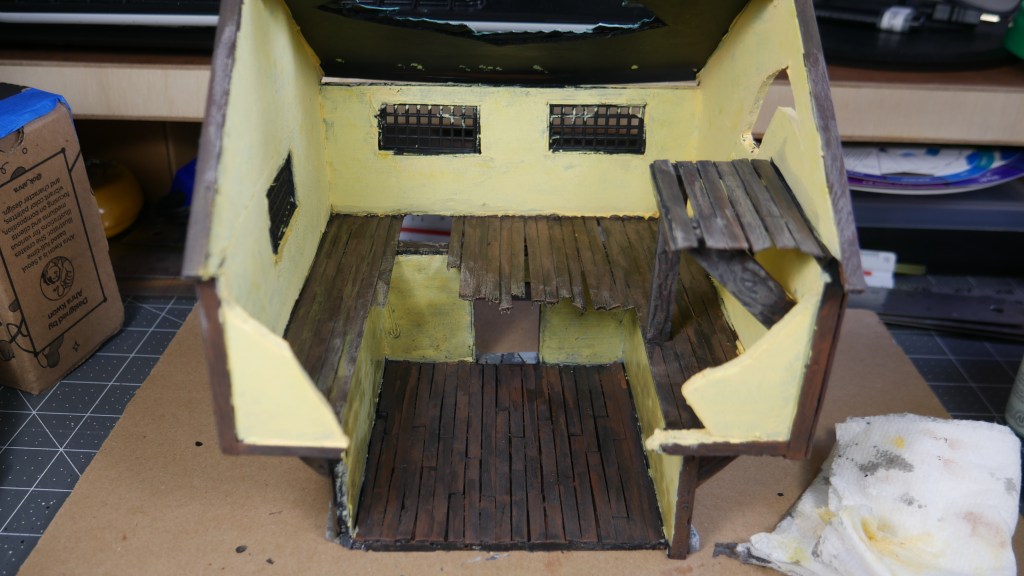
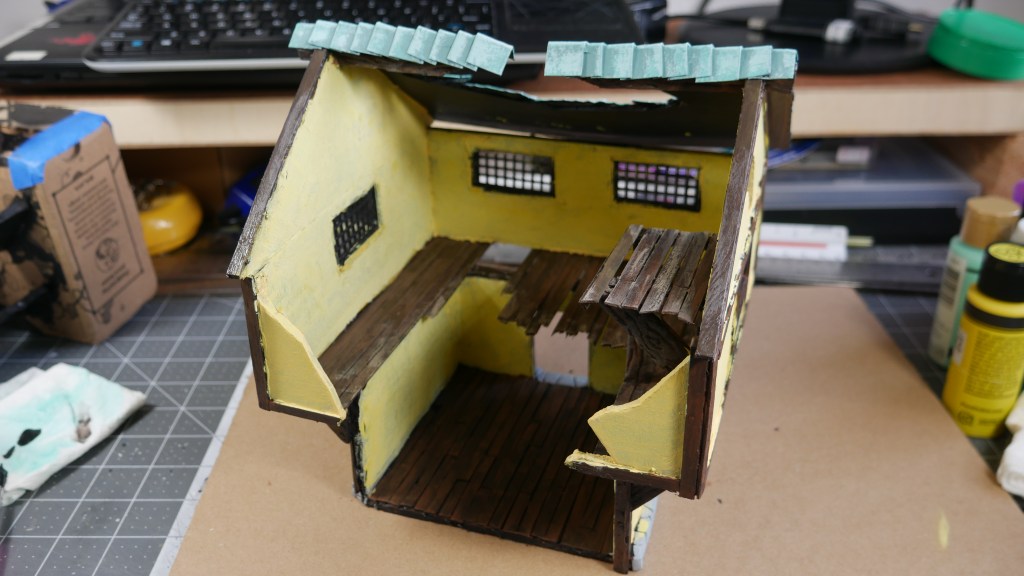
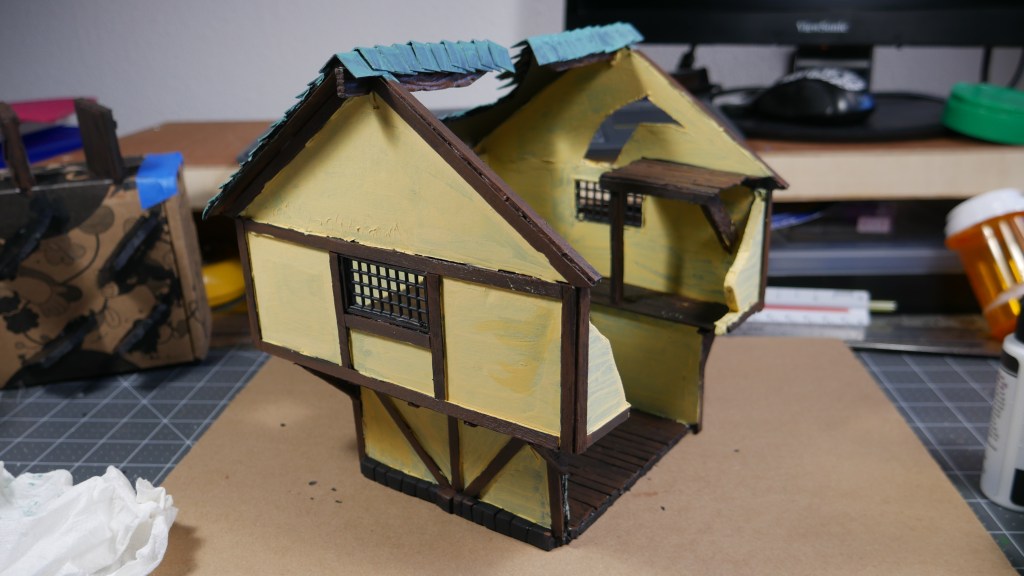
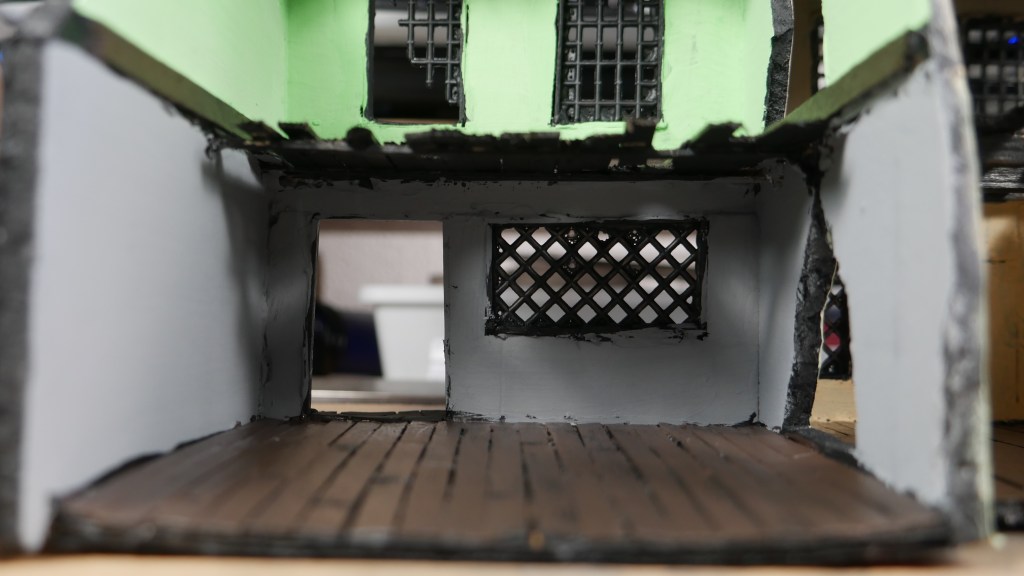
Hi. Just a Sunday afternoon update. I started paint work on the 2nd Mordheim/Fantasy Rowhouse terrain structure. As with the smaller of the two structures, I started with the walls. Instead of painting them in a consistent color, I though that maybe the previous inhabitants wanted some color in their life before the chaos.

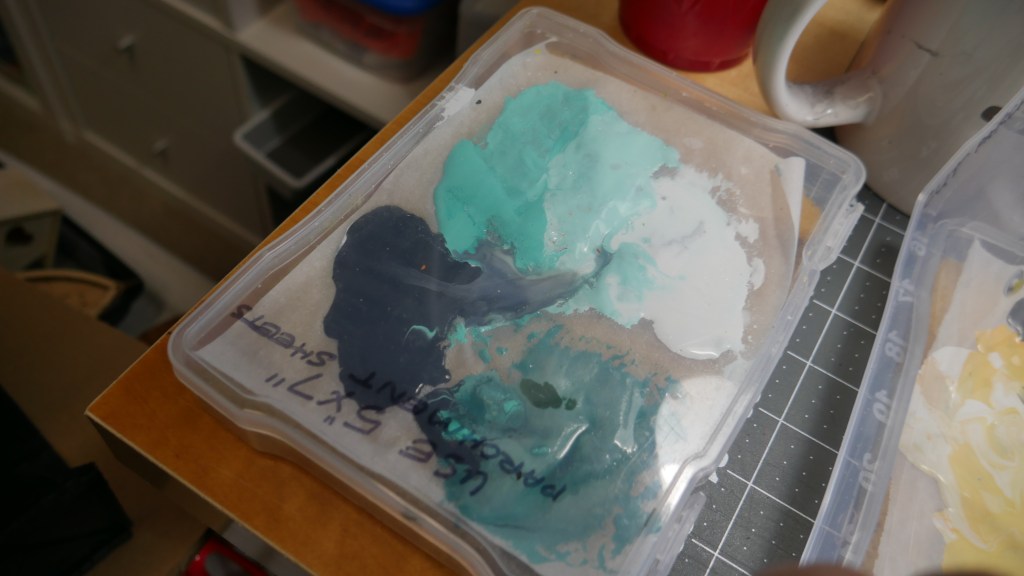
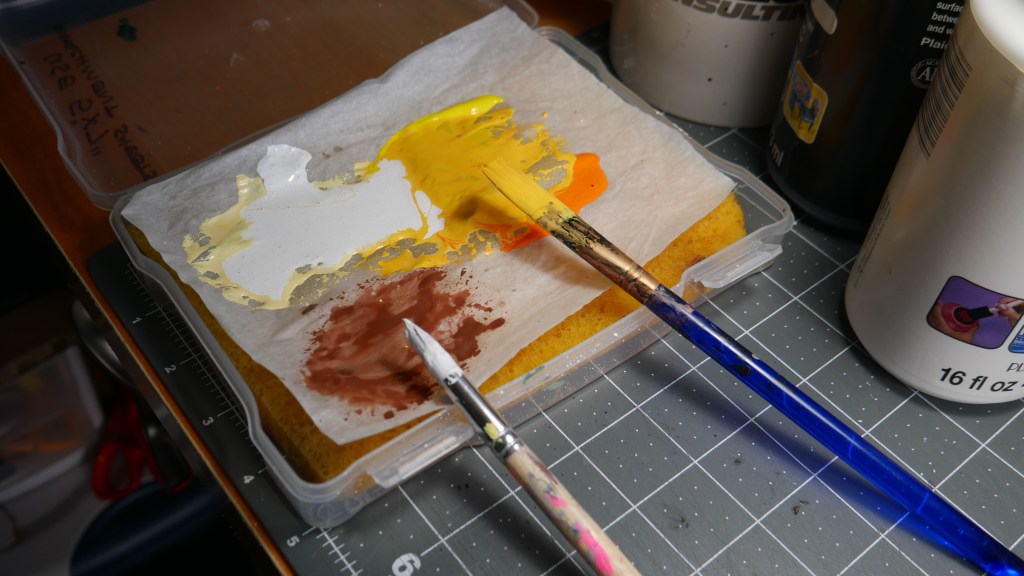
I put new parchment in my wet palette and laid down some colors I thought would look nice. I treated each dwelling space as it’s own little apartment so to speak. I went to town putting color to the walls as cleanly as I could. I think it turned out OK.

I then went to work on the flooring. Now, to this point I am still trying to figure out the best method for layering each would color so that it actually looks like wood – aged or not. My method is lay down a dark brown base , then start adding a lighter colors to the brown including orange, then yellow, then dry-brushed white. Help me with suggestions on how to paint wood easily and quickly, maybe direct me to a color/painting guide? Much appreciated.

Check out the pics. More to come.

Happy crafting!

1st Mordheim/Fantasy House Terrain, Done-ish

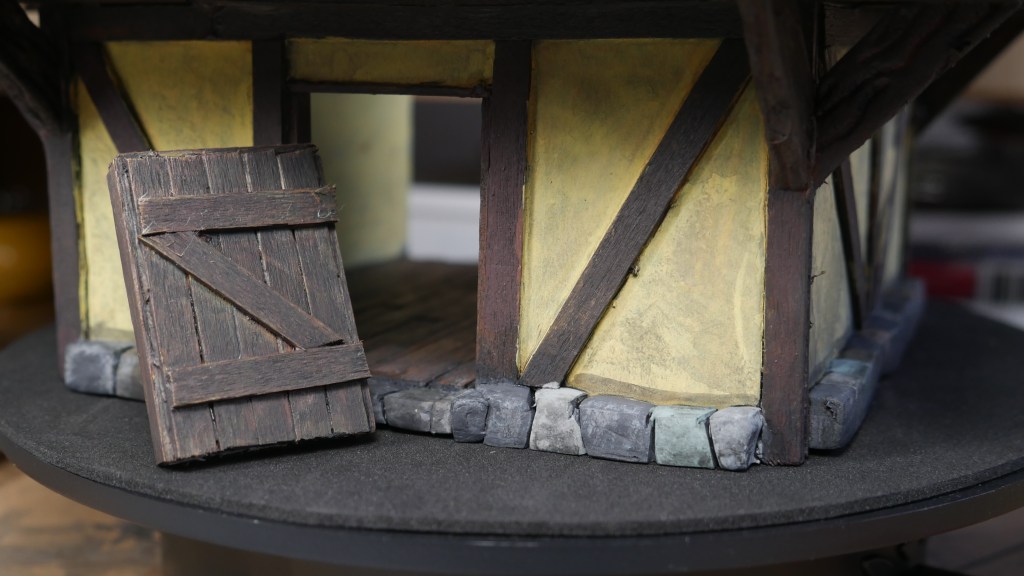
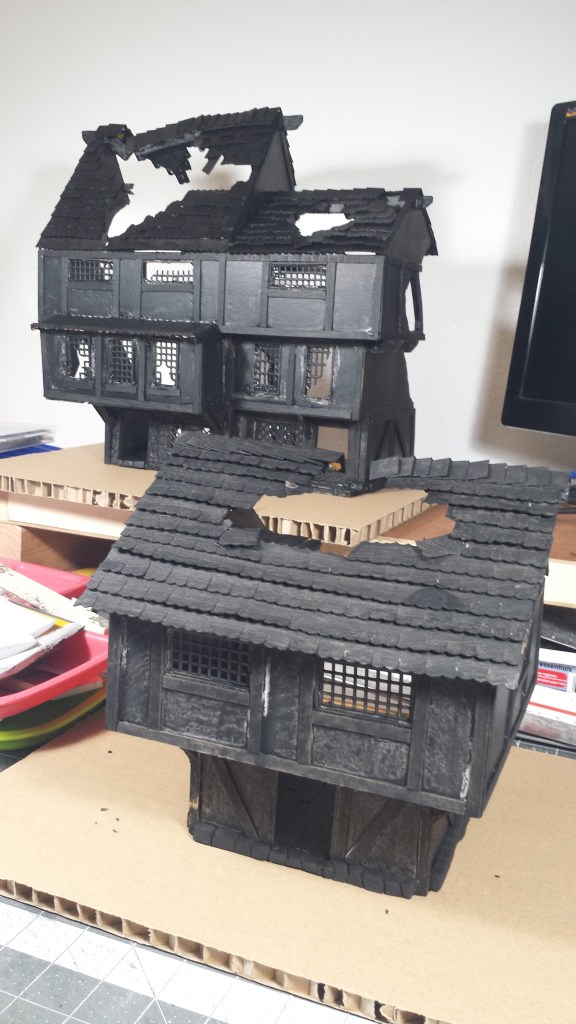
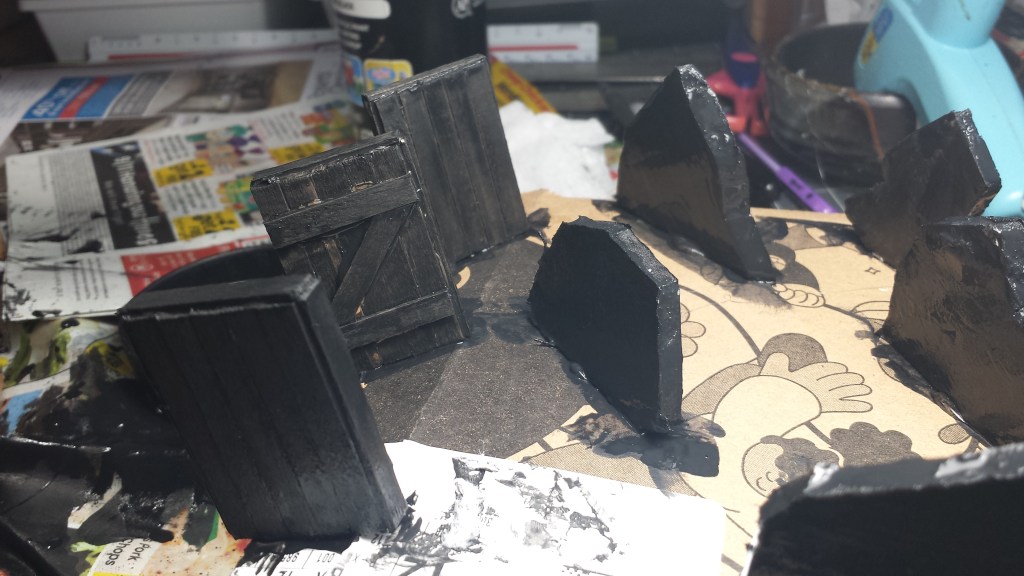
Hi. I am calling this first Mordheim/Fantasy House terrain piece done-ish. I added a simple blackwash to the entire structure. NGL – I was a little sad to see the blue colors of the roof, the yellow tones of the walls and browns of the wood get muted by the wash. I also black washed the door that I eventually hot glued into place. I left the door ajar to offer a dynamic feel as well as add an ambush point at the main entrance. Even though there is a craverness opening in the back of the structure.

I got kind of lost in the decision black hole when it came to a detail I wanted to add to the structure. I got the idea from a youtuber, Summon Lesser Maker, to cut up a plastic toy animal (wild or farm) to use as a “gargoyle” and place on the structure somewhere. I was thinking a step further to use severed animal head as signage and make the structure a tavern, inn or even a place of ill-repute. I think I will hold off for now.

I scheduled an appointment with Mordheim City Inspectors so that they can sign off on this unnecessarily long build. Also, I will start on the remaining structure. Maybe this time, use an airbrush?

In the meantime, enjoy the pics. Let me know if you have any questions or suggestions to improve the build and/or process.

Happy crafting!
Painting along

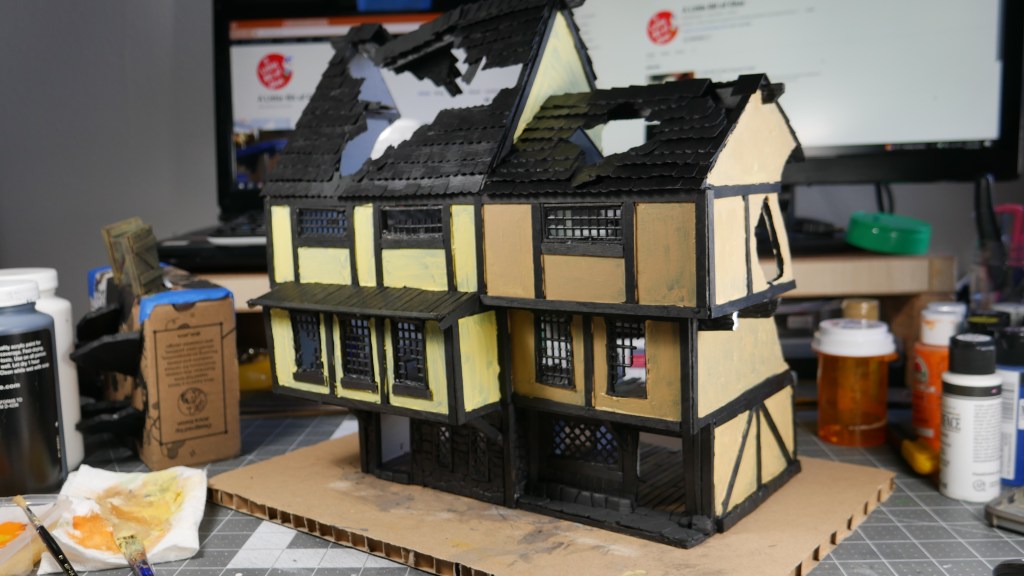
Hi. Making some progress on the smaller structure. Running into some challenges with this one. My rule of dumb – yes dumb – is to just try and paint what looks good to me. This is easier said than done, because I tend to be overly critical of my own work and start comparing it to others.

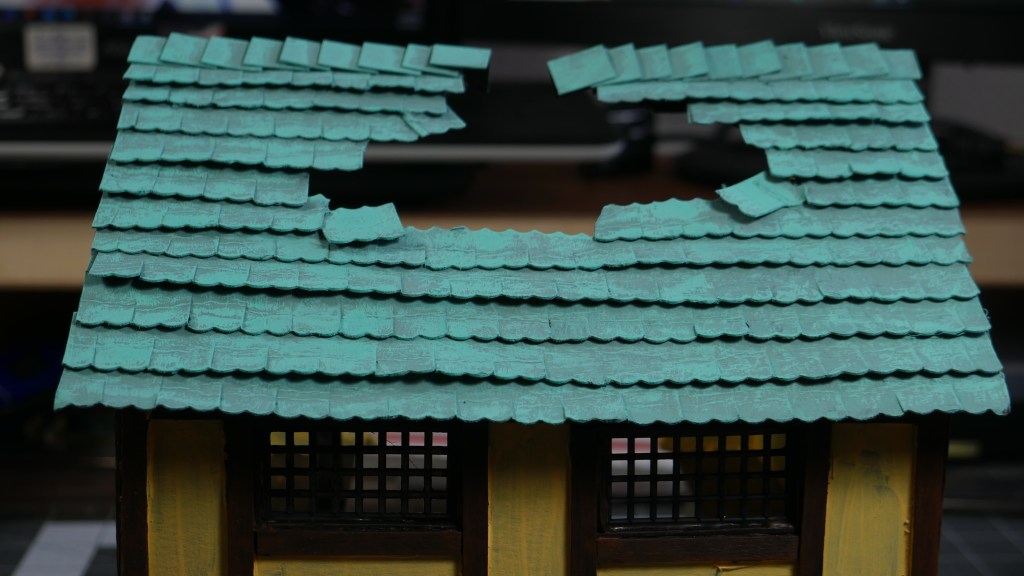
Take the roof for example. I started with a dark base layer of a nice turquois shade and mixed in black to get a darker tone. I started adding lighter shades by mixing white into the original shade on my wet palette. I added more white to get a gradient of sorts. As the layers started to contrast, I realized I probably should have started with a darker shade. Then again, I will be black washing this after I put all of the colors down. Plus this terrain piece is for Mordheim/Fantasy “grimdark” and it will most likely turn out fine in the end.

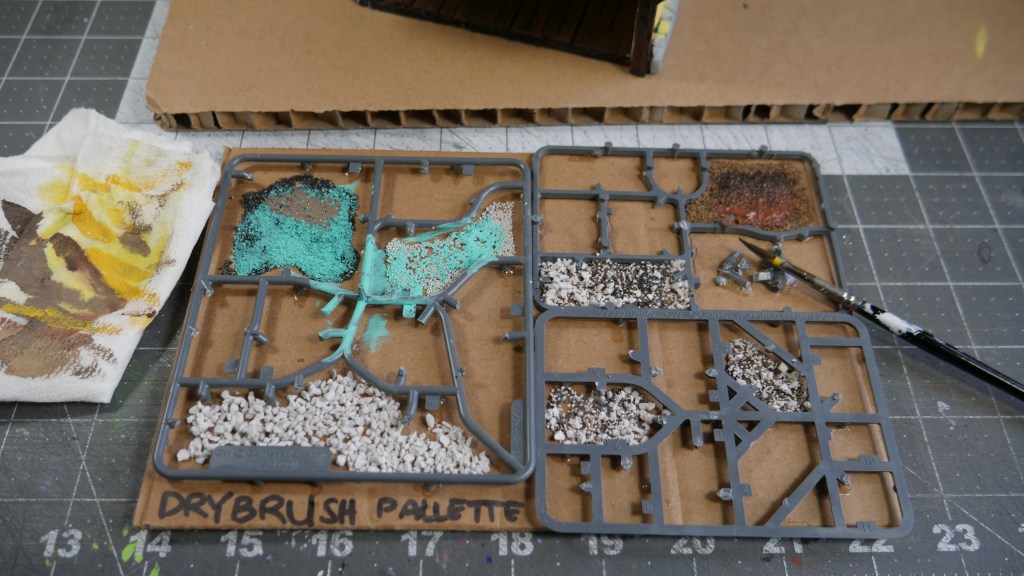
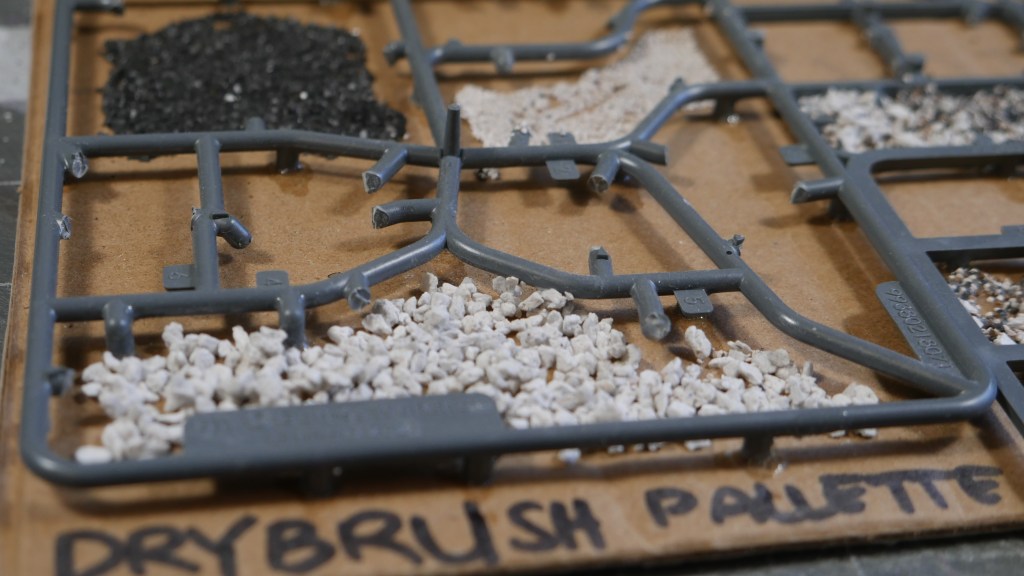
Also, I got a chance to finally try out a DIY “dry brush palette” – I know, I spelled it wrong. To be honest, I ended up just using a dry paper towel to reduce my paint volume on my brush. You can see the drybrush palette is simply made by gluing some old sprues to a flat piece of cardboard. I then glued on some texture, like small rocks and sand to provide texture for the paint to rub off of. You use it by brushing away excess paint on the various surfaces.

The DIY wet palette is also doing well, although I have an idea for improving it as my first iteration’s sponge layer is not very flat and causes the paint to prematurely mix on my parchment paper. You could also just buy a wet palette. Check out my Tools and Materials page for my affiliate links.

Enjoy the progress pics. More to follow. I am looking forward to getting to the larger structure for painting.

Happy crafting!
Trust the Process

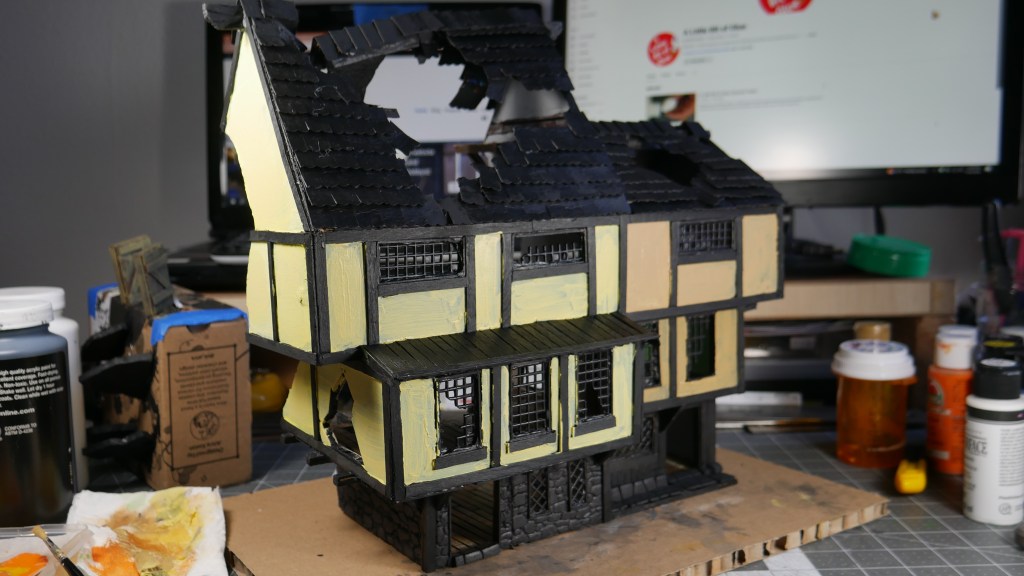
Hi. Back from a little break. I started back up the Mordheim/Fantasy row house build by starting to paint the smaller of the two structures. To be honest, it took me a little bit to start painting the terrain. I cleared my workspace by cleaning up the area. I then gathered materials like paint, brushes, water cups, paper towels. I even got out my DIY wet palette that I made from a plastic closing clamshell printed photo holder (whew! that was a mouthful). You can see how I made this wet palette HERE. I even started setting up my recently upgraded airbrush setup. I placed the small structure on the workspace. I got out my camera to help document the progress. And then…

I sat. Staring. Pondering. Frozen. It had to have been at least 10 minutes, by my reckoning. I got lost in thought. What colors should I make this? What combination will look best? Should I use the newer paintbrushes that I just bought? What if I get paint all over my workstation? Should I just airbrush the whole thing? What about the details?

Slap!

I felt the imaginary hand strike me across the face as I heard myself calmly say. “It will be fine. Just start. Trust the process. We can adjust, if we need to, along the way.” And with that bit of wisdom from my inner voice, I started.

Enjoy the progress pics. More to come.

Happy crafting!
Here it is, baby. Primed, Sealed, Delivered…It’s yours (to see)…

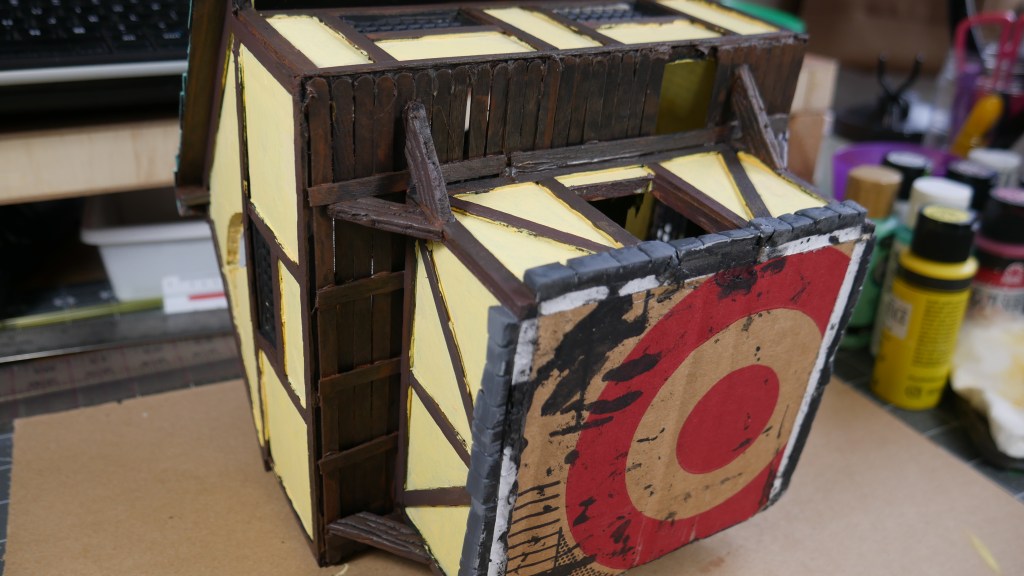
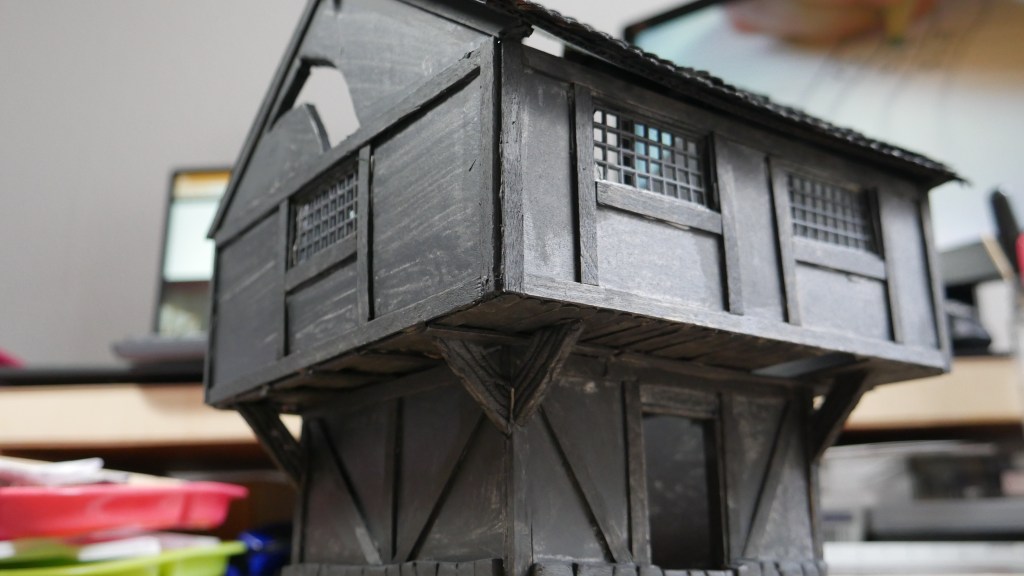
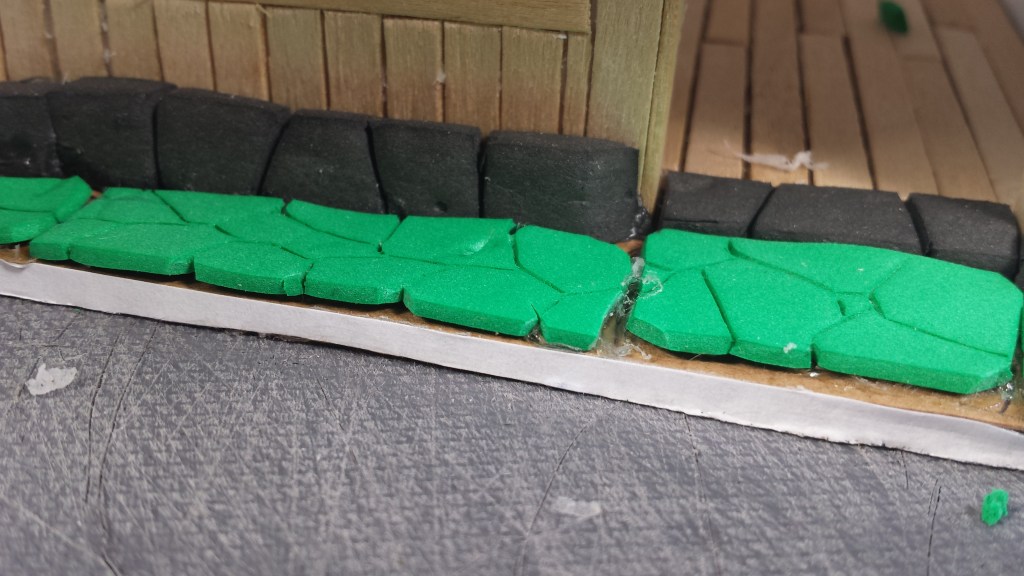
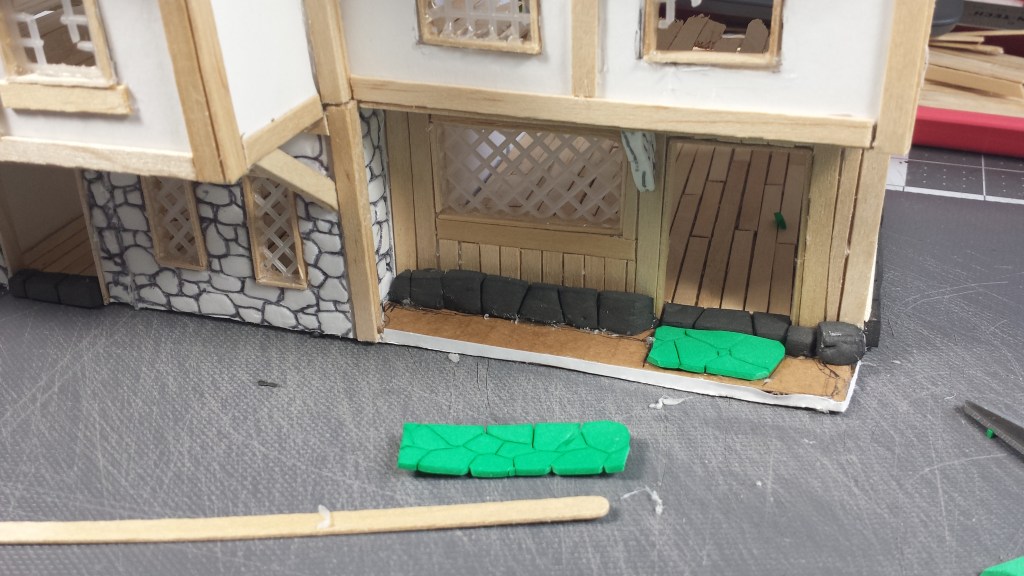
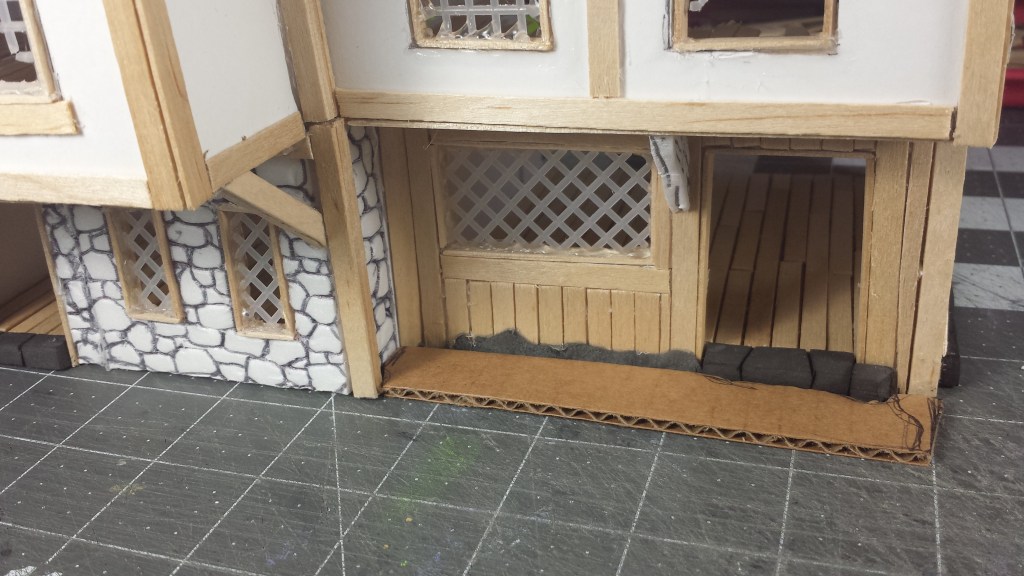
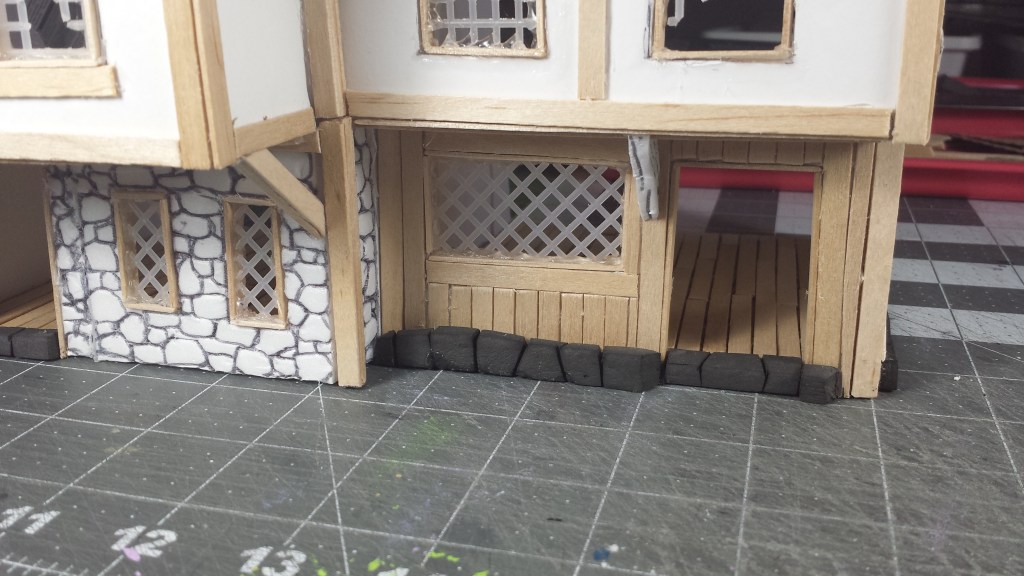
Hi. Happy Wednesday evening. Today I went about addressing an issue I found with building the duplex rowhouse with a front overhang. It tends to want to lean forward because of the weird center of gravity being that it has an open back. I added a little “foot” that sort off prevents the structure front going past the tipping point – at least for now. I clad it with thin EVA 2mm sheet (in green). I carved the stones with a blade and used a heat gun to open the cuts and seal the foam. This is a trick I learned from years of using EVA foam in my cosplays.

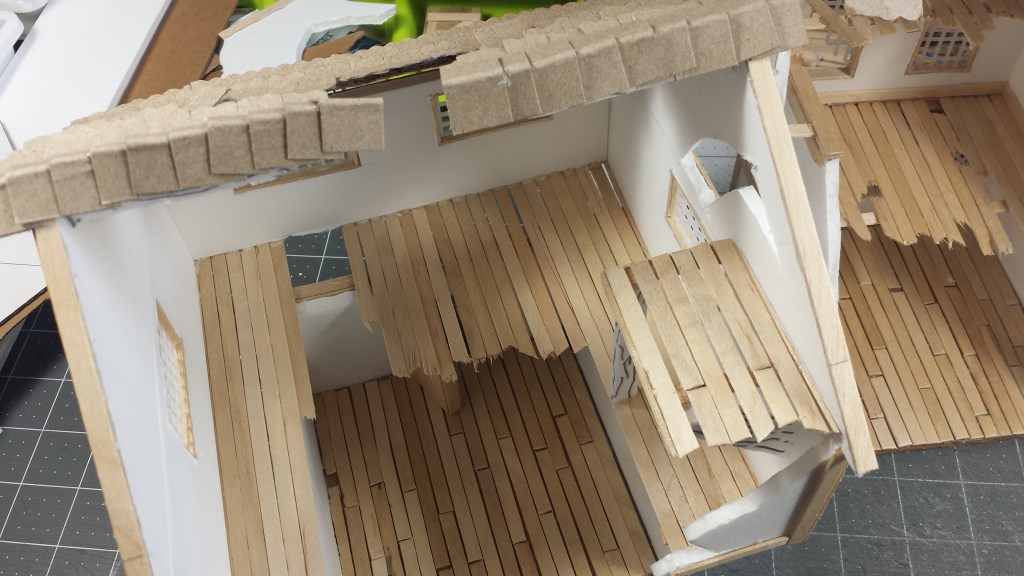
I added additional perch areas for shooting/observing from high vantage points. Basically, just glued in some makeshift platforms made with stir sticks/hot glue.

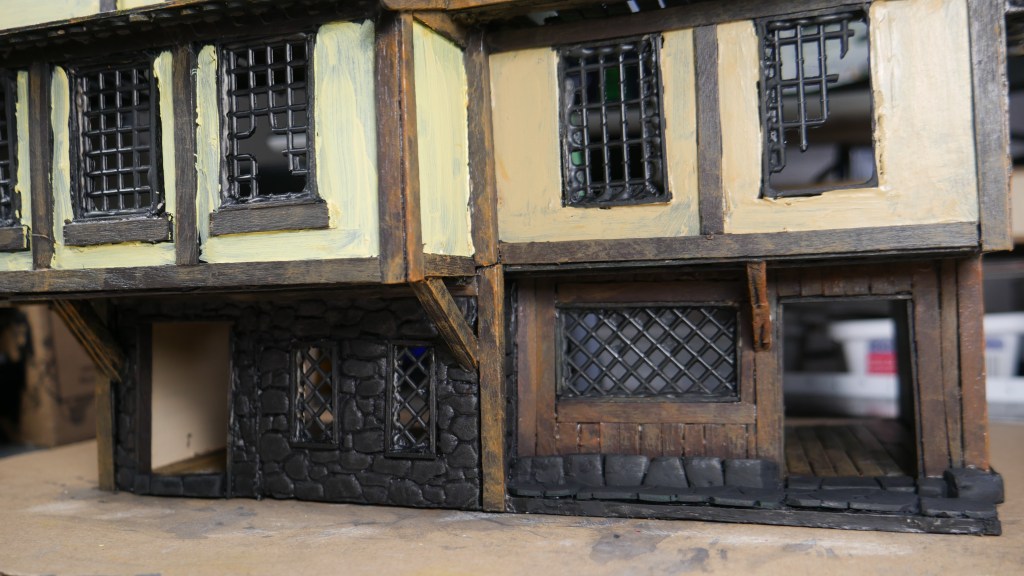
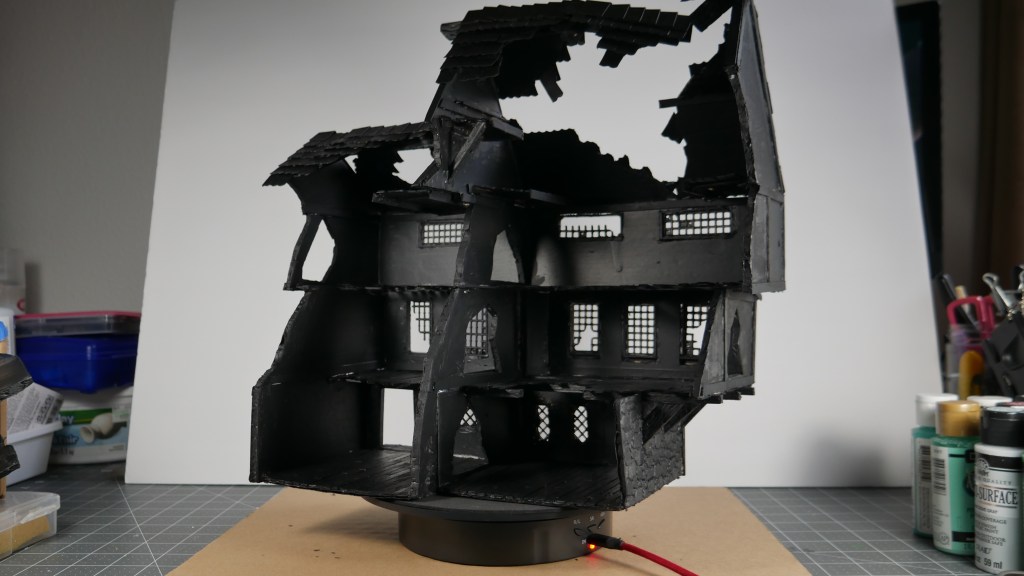
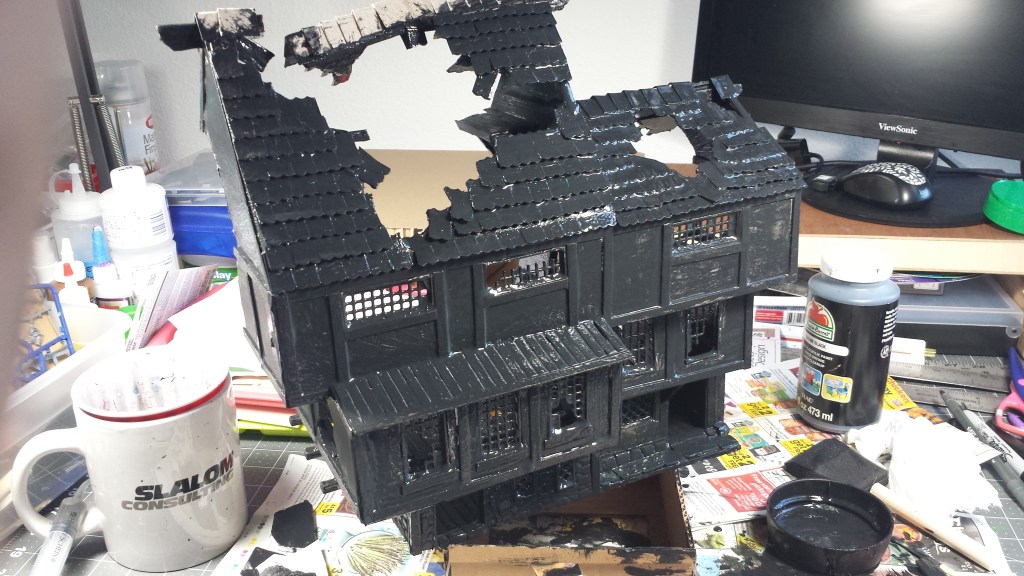
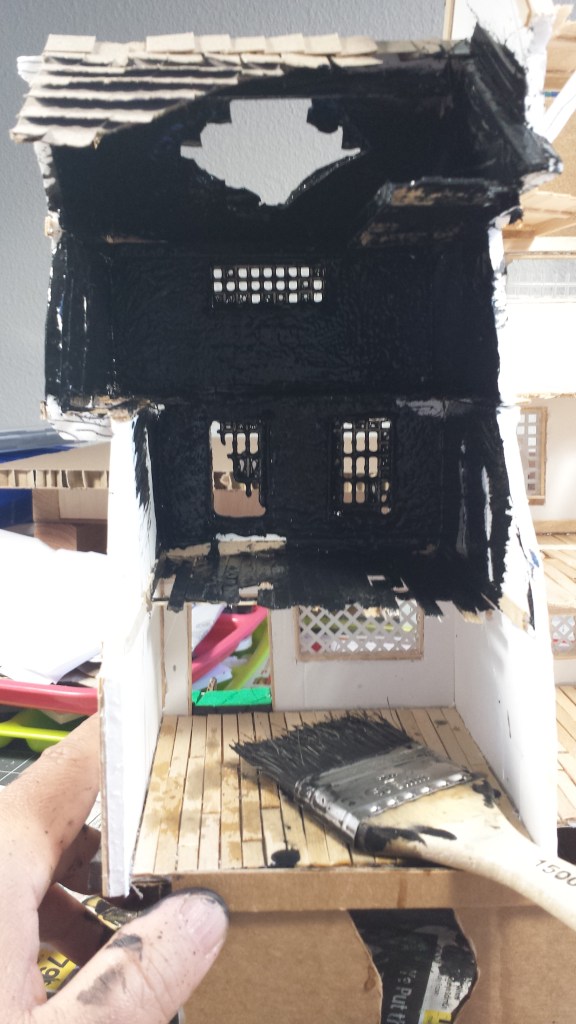
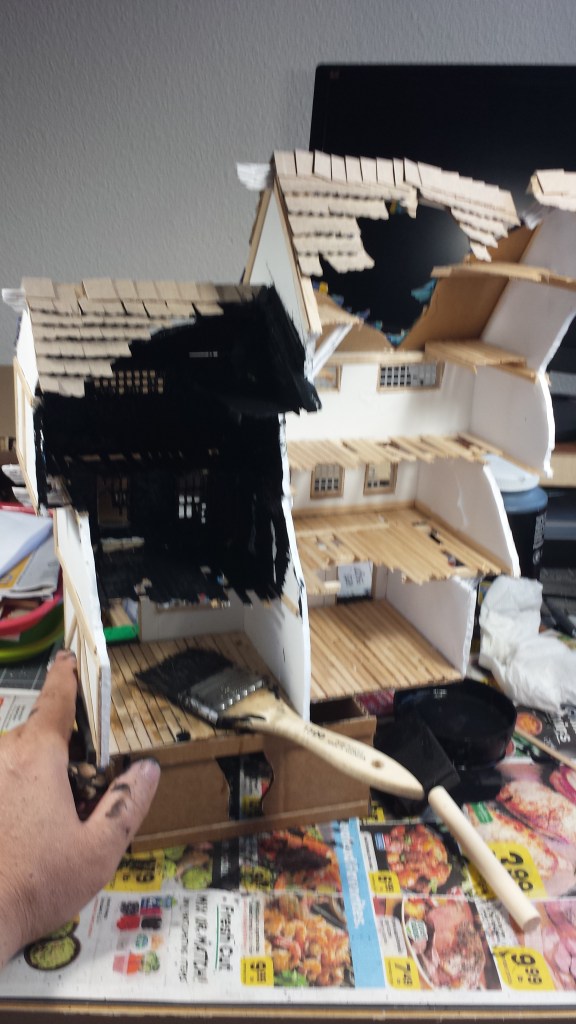
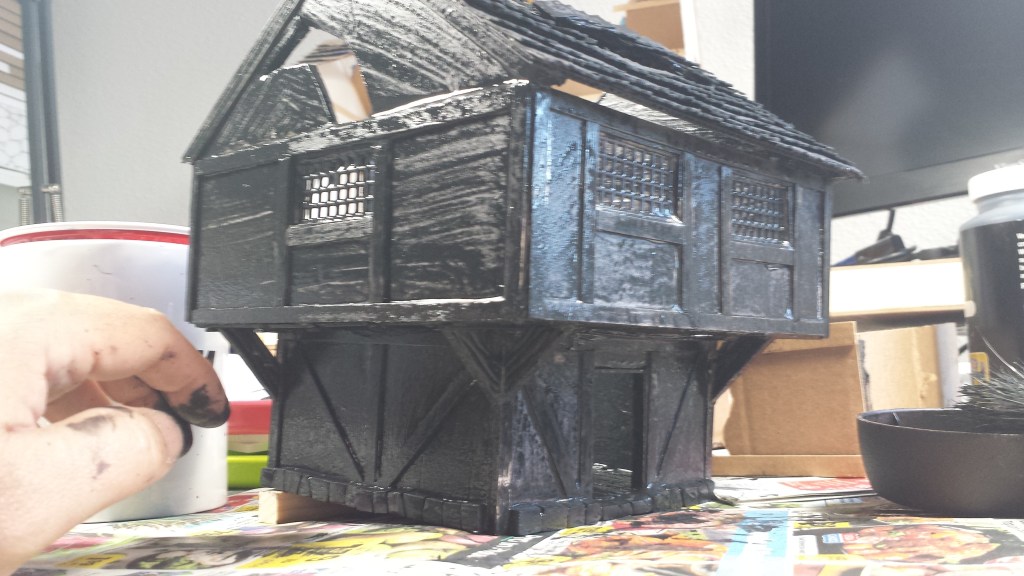
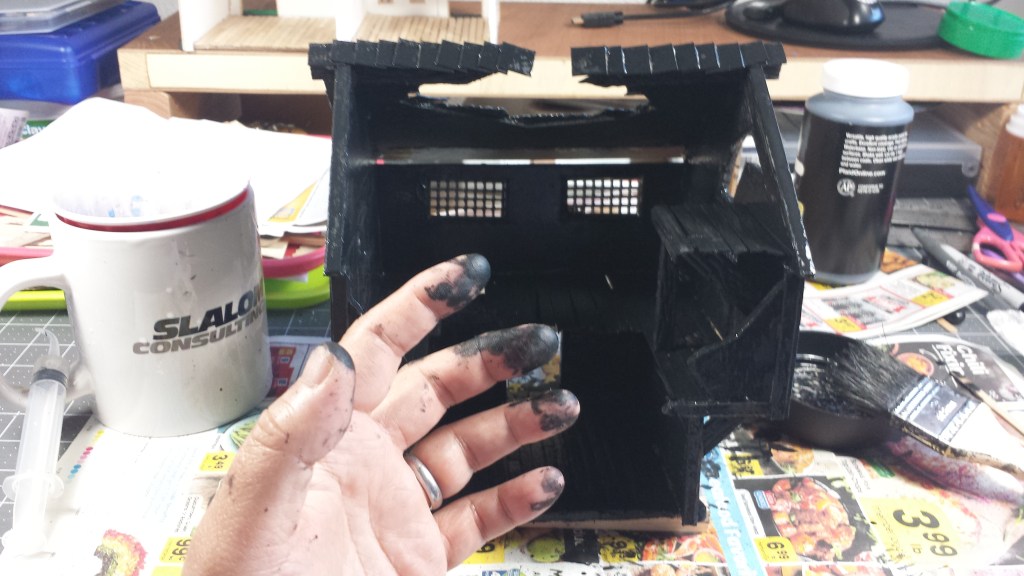
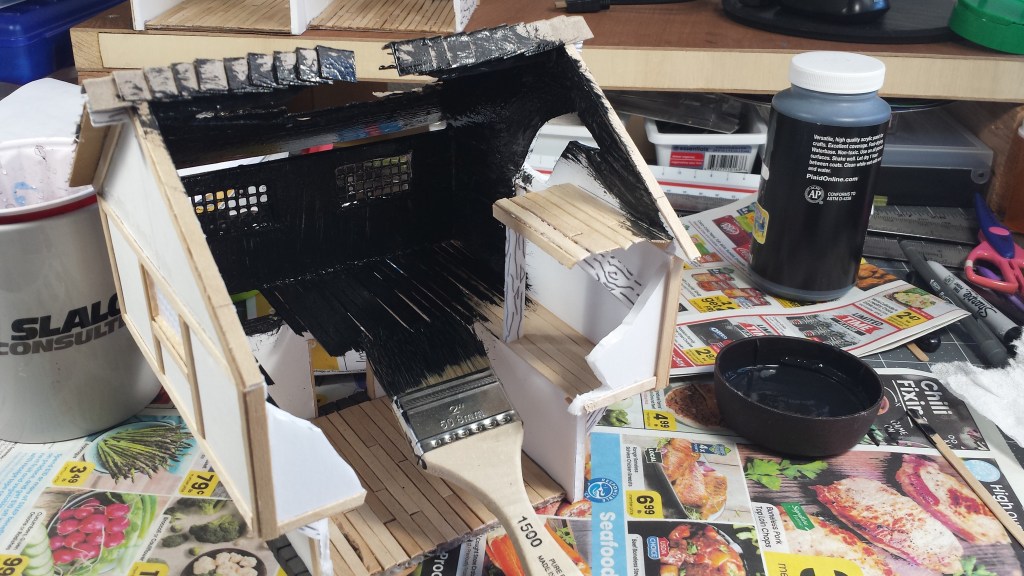
Priming and Sealing time! I mixed up some prime sealer – this is a combination of 1 part PVA glue (you can buy by the 1 gallon jugs or 3.7ish liters) + 1 part black acrylic paint (cheap craft paint will do just fine usually under ~ $1 USD) + water as a thinner. Mix well (I have a lot stir sticks lying around for some reason). I then painted both structure without trying to get too messy. I used a combination of a foam brush, an inexpensive bristle brush as well as a standard paint brush to apply the paint to all the nooks and crannies of the builds. I will let it dry overnight before continuing the paint phase.
Thanks for reading.

Happy crafting.

Monday, Monday. Can’t trust that day…

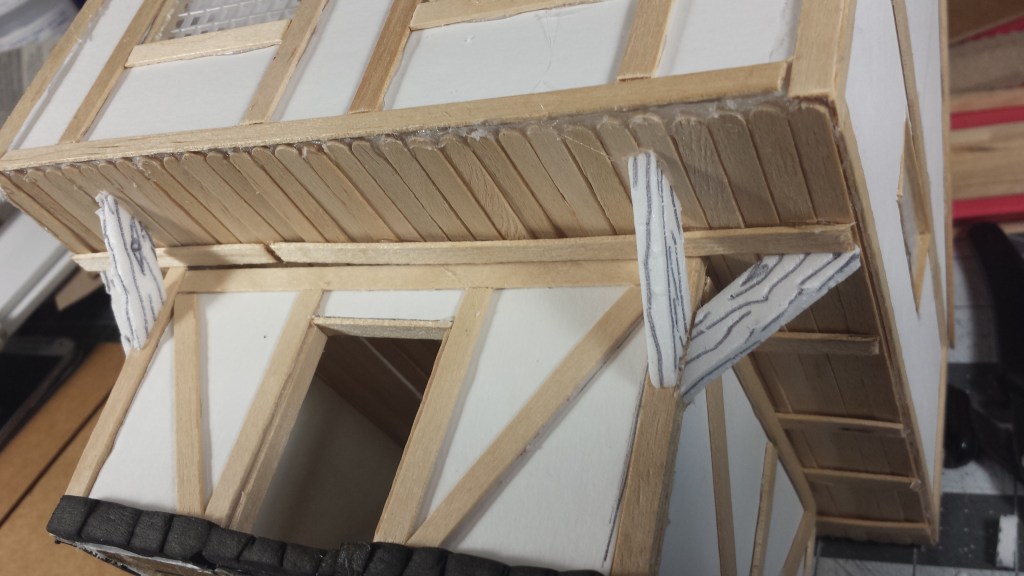
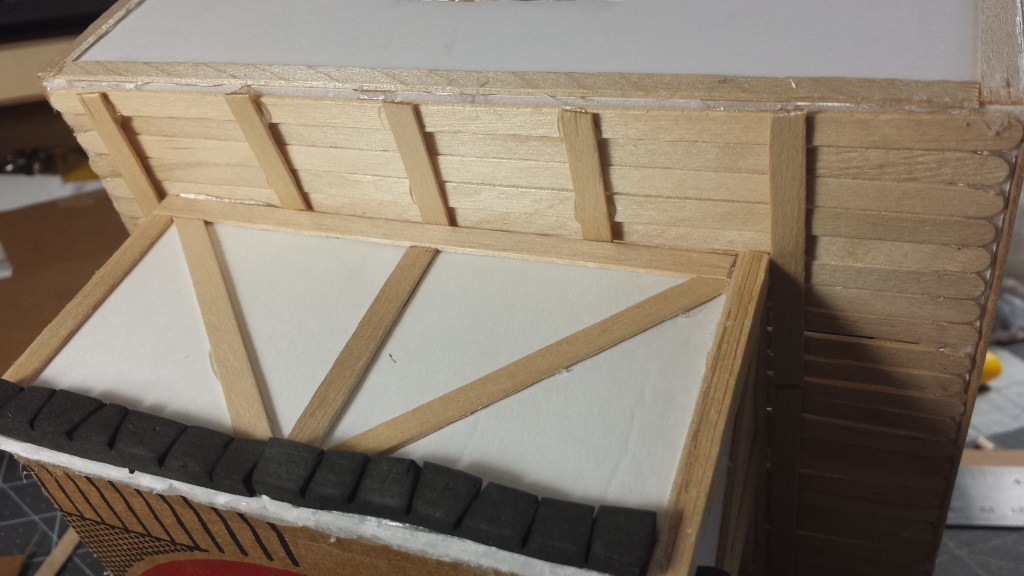
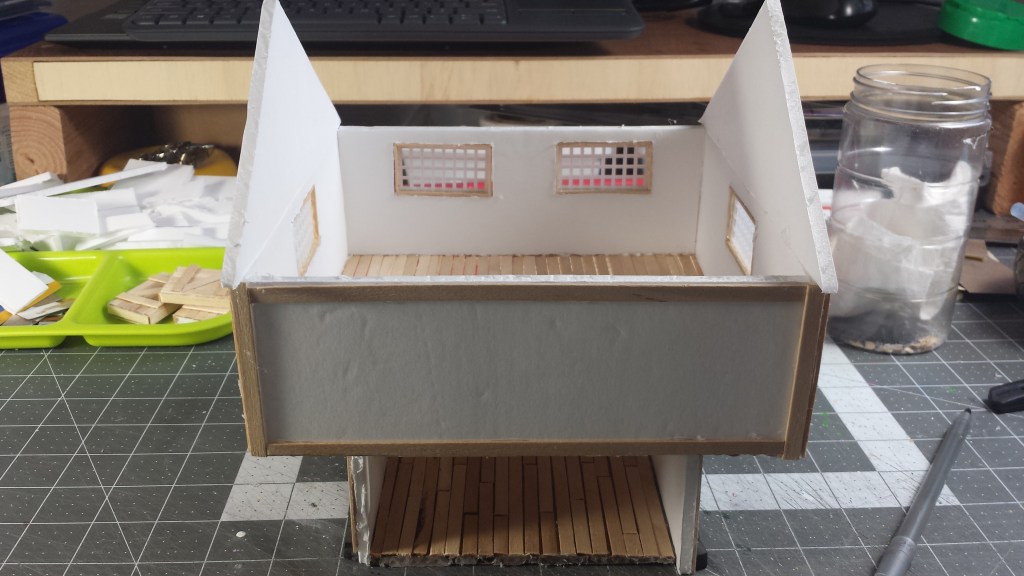
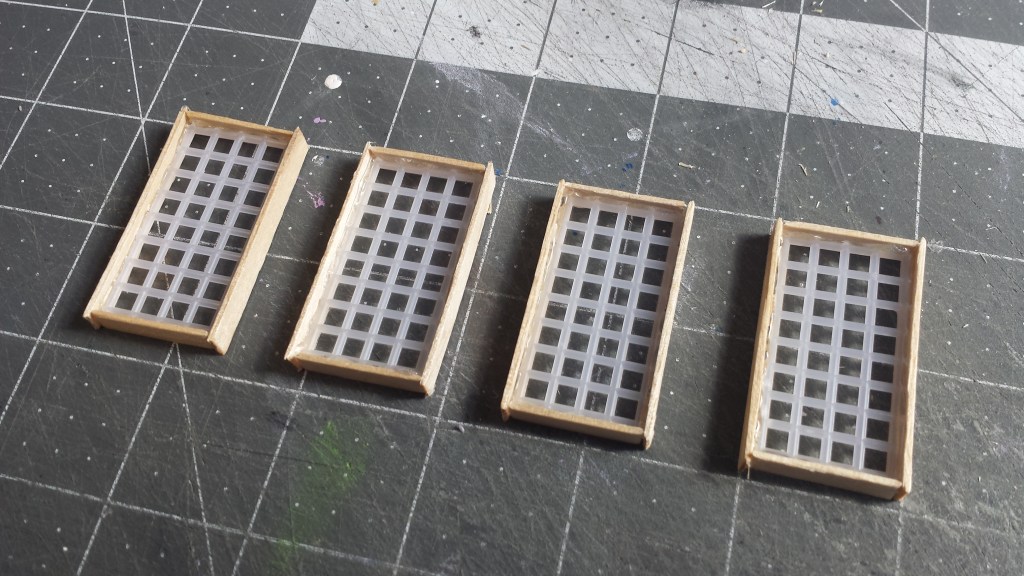
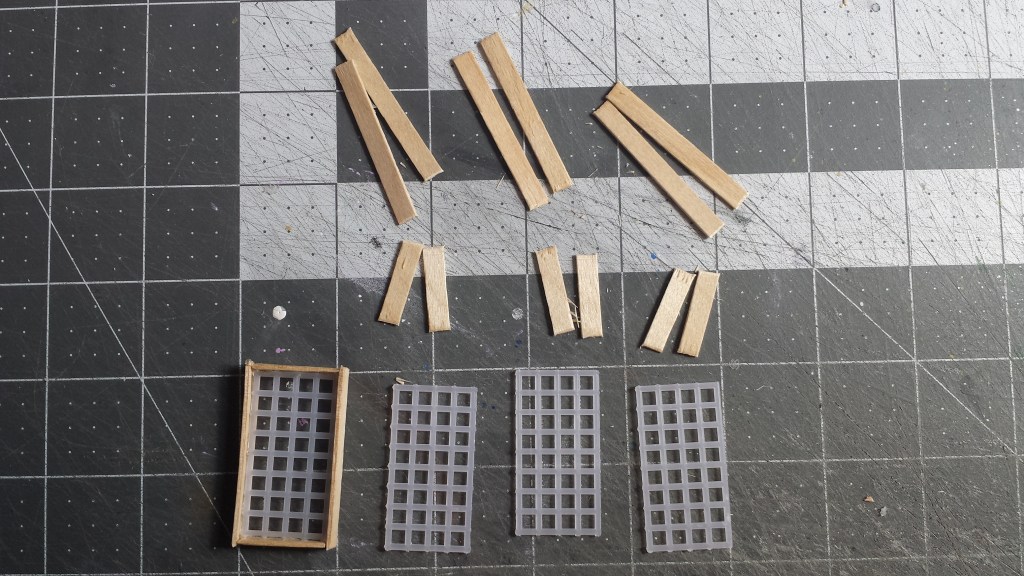
Hi. I’m back with another update to the Mordheim (Old World, DnD, Frostgrave, WW Europe, etc.) rowhouse/terrain build project. In this update, I worked on the smaller of the two units. I added a second floor and roof wall as well as included windows and a sharpshooter’s nest. On both structures, not having square stock .25 balsa strips on hand, I improvised and used the foam core from the foamboard. I removed the paper layers on both sides of the cut beams and used a pen to simulate wood grain. You can see these in action as “support angle beams”.

I did not post Monday because I was simply too tired to do a write-up on this blog as well as Insta. I did the work last night and spent some time today as well to get to where I am. Are they ready for paint? Maybe.

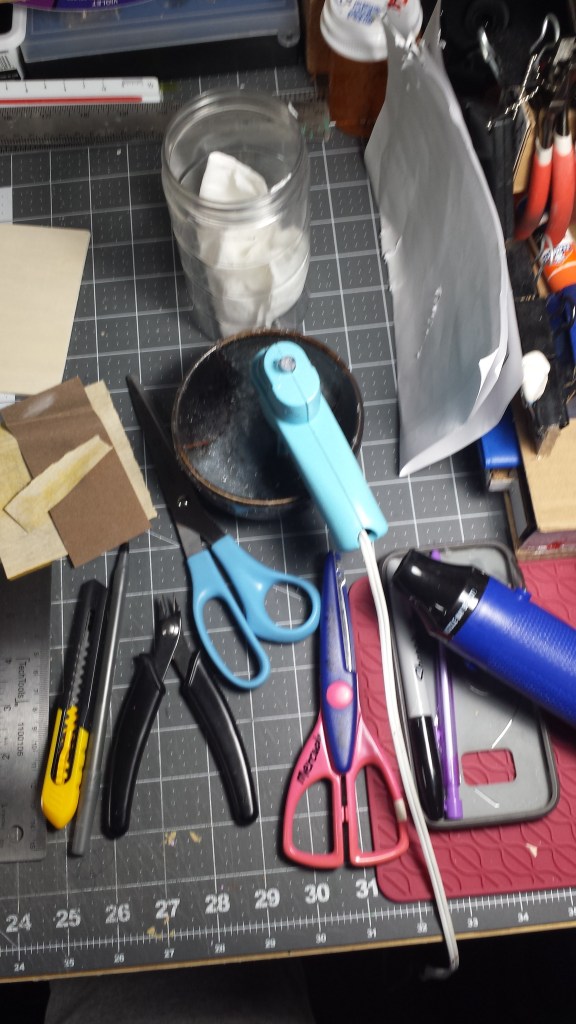
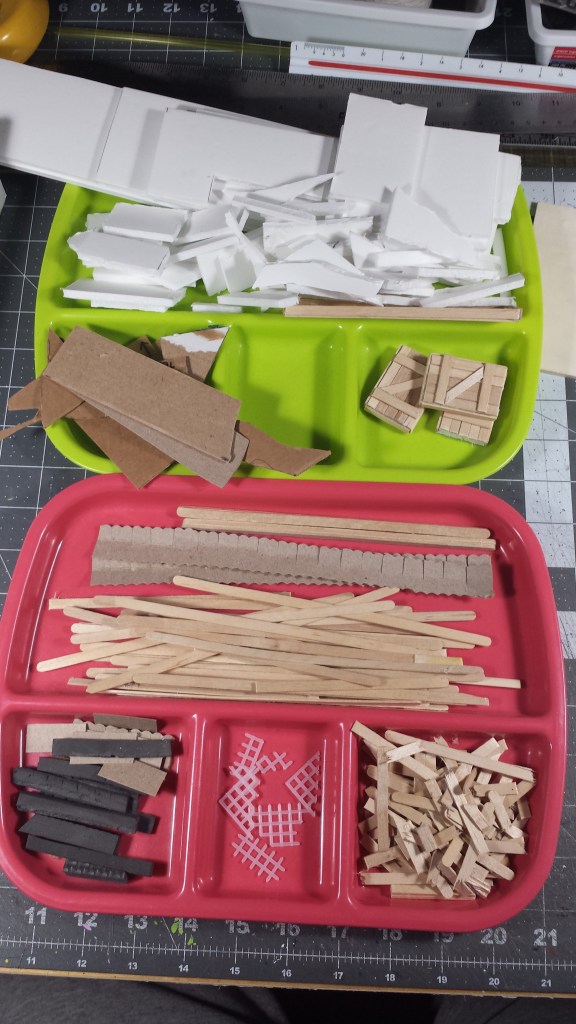
Pro tips: Try to keep you workspace clean-ish during your workflow process. Organize your materials and tools. At stopping points, sort and clean up your scrap materials. I use my kid’s old plastic meal trays as sorter plates. I try to keep my tools in one general area of my workspace. If I can use bits, I will keep for later, otherwise in the trash bin it goes. I keep a 13 gallon (50 liter) bin close to my desk. Keeping it close encourages me to discard waste whenever appropriate.

That’s all for now.

Happy crafting!